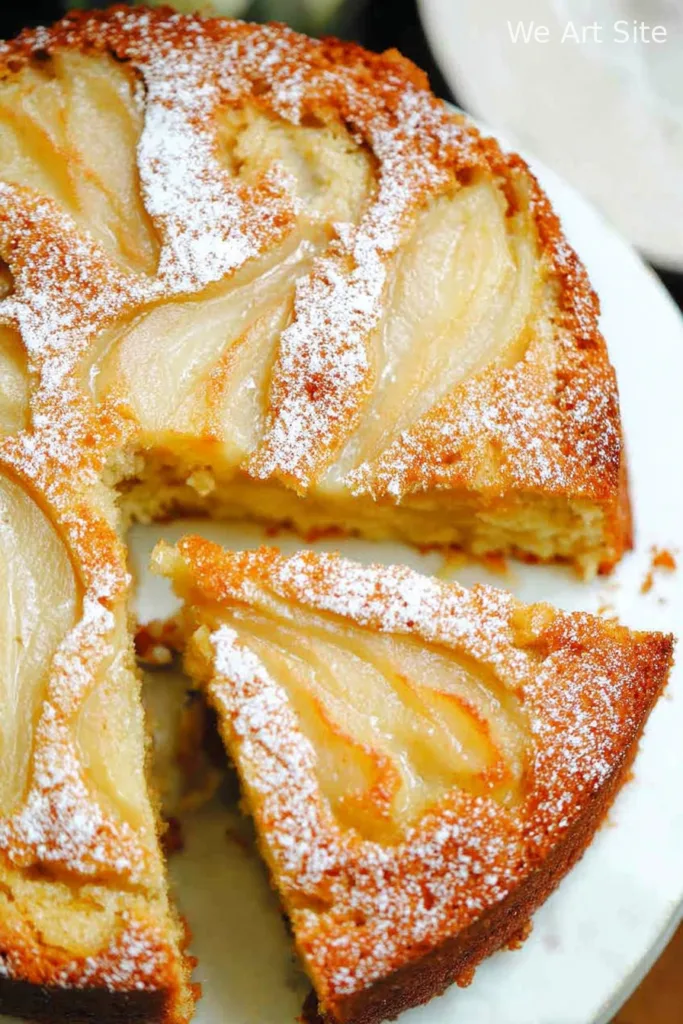
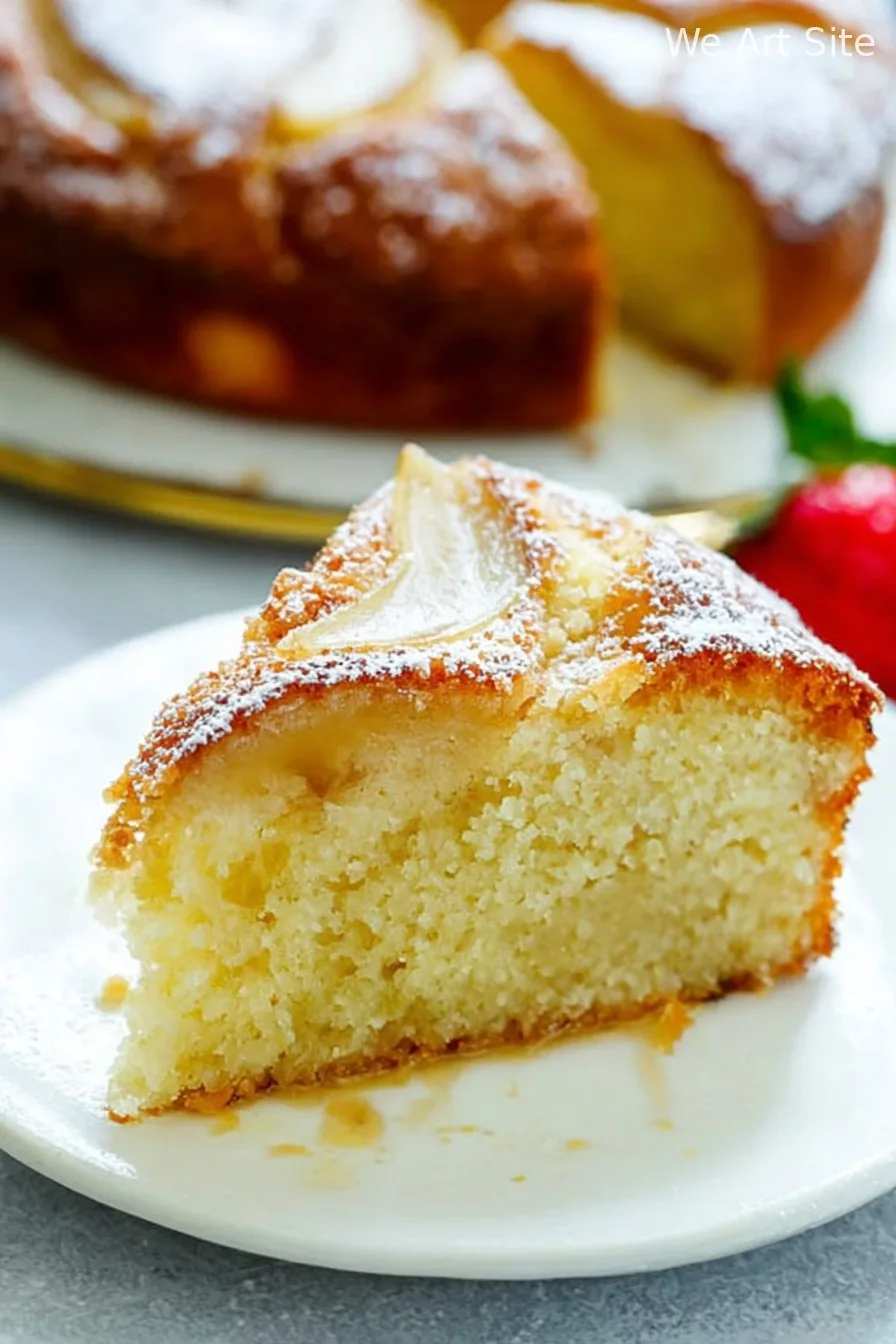
So I Tried Baking a Pear Cake…
Let me just say upfront: the first time I attempted this moist pear cake recipe, I totally forgot to peel the pears. I was just chatting away (probably more talking than chopping) and, well, the skin stayed on. And you know what? Everyone still ate it without complaint—though my sister did ask what the “extra chewy bits” were. Anyway, this cake is basically what I make when autumn rolls around and I’ve got those pears getting a little, um, tragic. Plus, if you’ve ever wanted your house to smell like a cozy bakery but you’re not totally committed to the 3-hour-croissant lifestyle, this one’s for you.
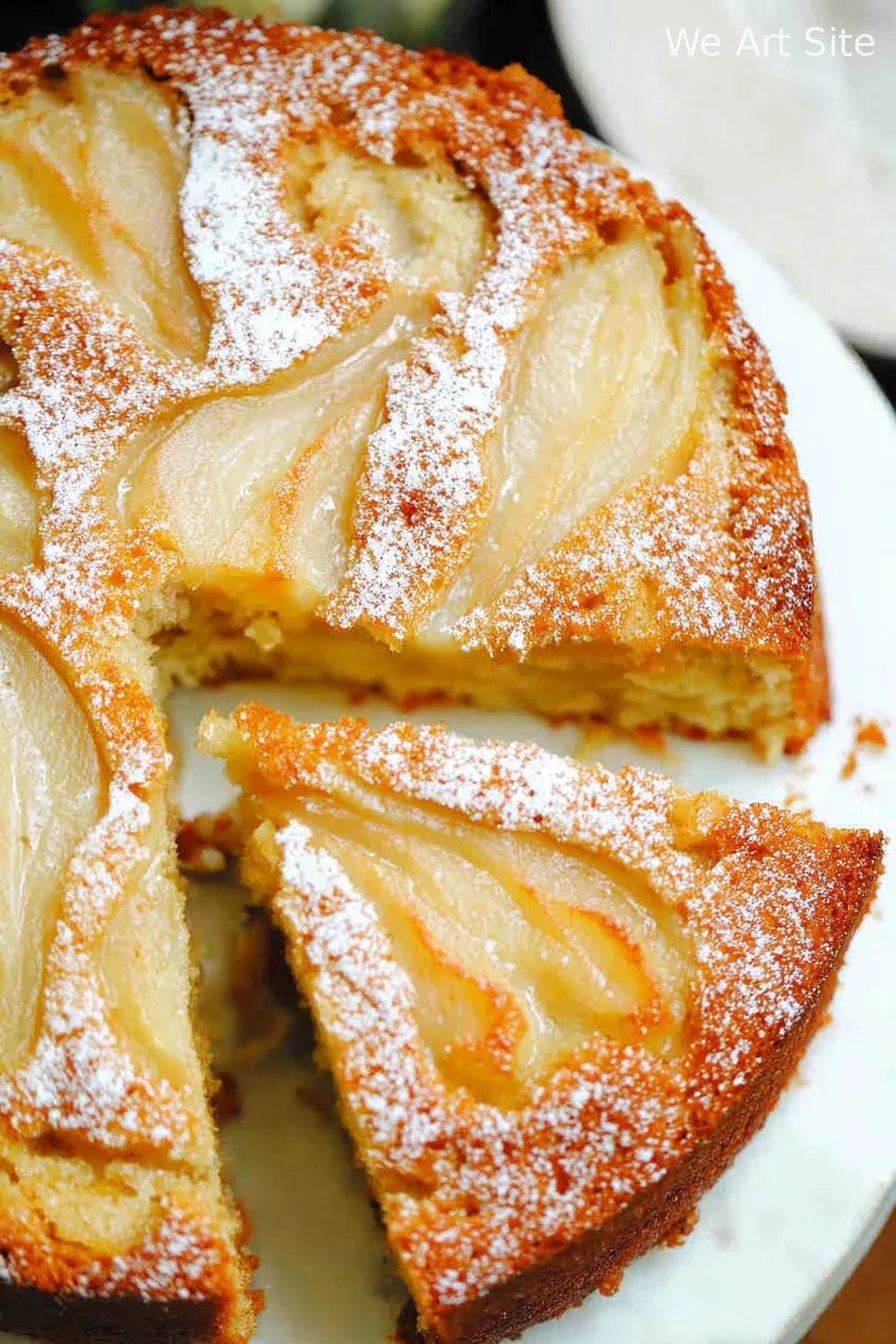
Why My Folks Are Into This Cake
I make this when I want to impress people with minimal effort—like, sometimes I toss it together on a Sunday when my cousin drops by (she always leaves me with fewer leftovers, cheeky thing). My family goes bonkers for this because it’s stupidly moist (oops, can I say “stupidly” in a cake recipe?). And you know, pears are usually overlooked behind apples and bananas, but in this cake? They truly shine. Oh, and I used to always get annoyed at recipes that needed a stand mixer, so this one just needs a bowl and a spoon.
Shopping List (Or Stuff You Might Already Have)
- 3 ripe pears, peeled, cored, and chopped (I know I said peeled, but honestly—sometimes I skip this if I’m feeling lazy. My granny always used Conference pears, but Bartlett or anything a bit soft is just fine.)
- 1 and 3/4 cups all-purpose flour (220g-ish; if you’re in the UK, just use plain flour, works the same)
- 1 cup sugar (about 200g; I sometimes use half brown, half white if I’m out of one type)
- 2 large eggs (duck eggs if you’re feeling fancy, but not necessary)
- 1/2 cup neutral oil (like sunflower or canola, or even olive oil for extra richness)
- 1/2 cup plain yogurt (Greek yogurt works, or sour cream if you have it—but don’t stress if you only have milk; just use a tablespoon less)
- 1 tsp baking powder
- 1/2 tsp baking soda (not essential, but I think it helps)
- 1/2 tsp cinnamon (throw in some nutmeg too if you’ve got it hanging around)
- Pinch of salt
- Optional: handful of chopped nuts (walnuts or pecans—unless you have a rogue nut-hater in your house)
Okay, Here’s What You Do
- Preheat your oven to 350°F (180°C), and line a 9-inch cake tin with baking paper. I always forget to do this first, but it’s way less messy if you do.
- In a biggish bowl, whisk eggs and sugar until it looks lighter (not totally pale, just kinda foamy).
- Add oil and yogurt, and stir till combined—don’t worry if it looks a bit split, it comes together once you add flour.
- Toss in flour, baking powder, baking soda, cinnamon, and salt. Mix until you don’t see dry flour, but don’t go wild—overmixing = tough cake (I definitely learned that the hard way).
- Stir through your chopped pears and any nuts you fancy. The batter will look lumpy and weird, but that’s right. Seriously, resist the urge to keep mixing.
- Pour into your tin, smooth the top a bit if you care (I sometimes forget), and bake in the centre of the oven for about 40 to 50 minutes. I usually check at 40—if a skewer comes out mostly clean (a few moist crumbs are perfect), it’s done.
- Let cool in the tin for about 15 minutes, then transfer to a rack. Or plate. Or just eat it warm straight from the tin—zero judgement.
Notes I Learned the Hard (and Sometimes Messy) Way
- If the top gets too brown before the inside’s done, lay a bit of foil on top – but, honestly, I forget and just enjoy the crunchy top.
- The cake always seems a bit wobbly in the middle when hot. It’ll firm up as it cools. (Do NOT panic and overbake. Trust me.)
- Actually, I find it works better if the pears are almost mushy-ripe—they melt into the cake and make it way more moist (that’s the point right?)
What I Messed Around With (and The One That Tanked)
- Tried swapping apples for pears—good, but not quite as juicy. Still works if you only have apples lurking.
- Added dark chocolate chips once: very rich, not for everyone, but my nephew adored it.
- Don’t try to go coconut oil all the way. I did. It ended up too heavy and kind of greasy—had to use it as a doorstop (kidding… kind of).
Kit I Use, Or Don’t
- I always say you need a proper 9-inch cake pan, but sometimes I just use a big square Pyrex or even a loaf tin—just bake a little longer.
- No electric mixer? No problem. Bare hands and a wooden spoon are all you need here. I even used a fork once. It ain’t pretty, but it worked.
Storing (But Honestly…)
This cake keeps in an airtight container for about three days at room temp, or in the fridge if you like it chilly (my partner swears it’s nicer cold). Don’t freeze it though; I tried and the pears go kind of sad and watery. Though honestly, in my house it never lasts more than a day!
How I Like to Serve (And the Family’s Vote)
I love it just with a big mug of tea, but my cousin insists on a blob of whipped cream or, if you’re feeling posh, some vanilla ice cream. And if you really want to get wild, try a drizzle of homemade caramel sauce (I use this Bon Appetit one sometimes when I feel fancy). Oh, sometimes I lightly dust it with icing sugar, but that’s just for show, really.
If You Like Pro Tips…
- I once tried rushing it by cranking up the oven—bad vibes only. Got a burnt outside and soupy inside. Don’t be me, let it bake low and slow.
- Let it cool, even if you’re impatient (sometimes I am)—otherwise it’ll crumble the minute you try to slice it. Trust me, I’ve ruined more than one cake by jumping the gun.
- I find it tastes better the next day, if you can actually make it last. The flavors kind of meld together—plus, makes a mean breakfast (not that I’m recommending cake for breakfast… or am I?).
Questions Folks Actually Asked Me
- Can I use tinned pears instead of fresh?
If that’s all you’ve got, sure—just drain them well and maybe pat a little dry. Fresh is tastier, but no judgey here. - Is it possible to make this vegan?
Probably! I haven’t tried yet, but you could swap the eggs for flax eggs, and yogurt with a plant-based one. If you try, let me know how it goes! - Why is my cake dense?
Honestly, it’s usually from overmixing or maybe the pears weren’t ripe enough. Or on second thought, maybe too much flour snuck in? Try spooning it into your cup then levelling off. - What if I don’t have cinnamon?
Skip it! Or use mixed spice or even a touch of ginger powder. Sometimes I skip spices entirely and it’s just as good (but different). - Can I double the recipe?
Technically yes, but don’t try to bake it all in one tin—it gets way too gooey in the middle. Make two cakes or a traybake instead. - Where can I find other pear recipes?
Try Smitten Kitchen’s pear muffins—they’re fab if you want something different.
Right, I think that’s everything. (Oh, did you know pears are related to roses? I fell down a rabbit hole on the internet and found that out. Not quite sure what to do with that info, but now you know it too.) If you give this moist pear cake recipe a shot, drop me a message and let me know if you liked it—unless you hate it, in which case, maybe just… you know, tell me gently? Anyway, happy baking!
Ingredients
- 2 cups peeled and diced ripe pears (about 2 large pears)
- 1 and 1/2 cups all-purpose flour
- 3/4 cup granulated sugar
- 1/2 cup unsalted butter, melted
- 2 large eggs
- 1/3 cup whole milk
- 1 tsp vanilla extract
- 1 and 1/2 tsp baking powder
- 1/2 tsp ground cinnamon
- 1/4 tsp salt
Instructions
-
1Preheat the oven to 350°F (175°C). Grease and flour an 8-inch round cake pan.
-
2In a medium bowl, whisk together flour, baking powder, cinnamon, and salt.
-
3In a large bowl, beat together melted butter and sugar until creamy. Add eggs one at a time, mixing after each, then stir in vanilla extract.
-
4Add the dry ingredients to the wet mixture in batches, alternating with milk, and mix until just combined. Gently fold in the diced pears.
-
5Pour batter into the prepared cake pan. Smooth the top with a spatula.
-
6Bake for 45 minutes or until a toothpick inserted into the center comes out clean. Cool in the pan for 10 minutes before transferring to a wire rack to cool completely.
CLICK FOR NUTRITION INFO
↑
Approximate Information for One Serving
Serving Size:
1 serving
Calories:
265 caloriescal
Protein:
4gg
Fat:
10gg
Saturated Fat:
0g
Trans Fat:
0g
Cholesterol:
0mg
Sodium:
0mg
Potassium:
0mg
Total Carbs:
40gg
Fiber:
0g
Sugar:
0g
Net Carbs:
0g
Vitamin A:
0
Vitamin C:
0mg
Calcium:
0mg
Iron:
0mg
Nutrition Disclaimers
Number of total servings shown is approximate. Actual number of servings will depend on your preferred portion sizes.
Nutritional values shown are general guidelines and reflect information for 1 serving using the ingredients listed, not including any optional ingredients. Actual macros may vary slightly depending on specific brands and types of ingredients used.
To determine the weight of one serving, prepare the recipe as instructed. Weigh the finished recipe, then divide the weight of the finished recipe (not including the weight of the container the food is in) by the desired number of servings. Result will be the weight of one serving.
Did you make this recipe?
Please consider Pinning it!!