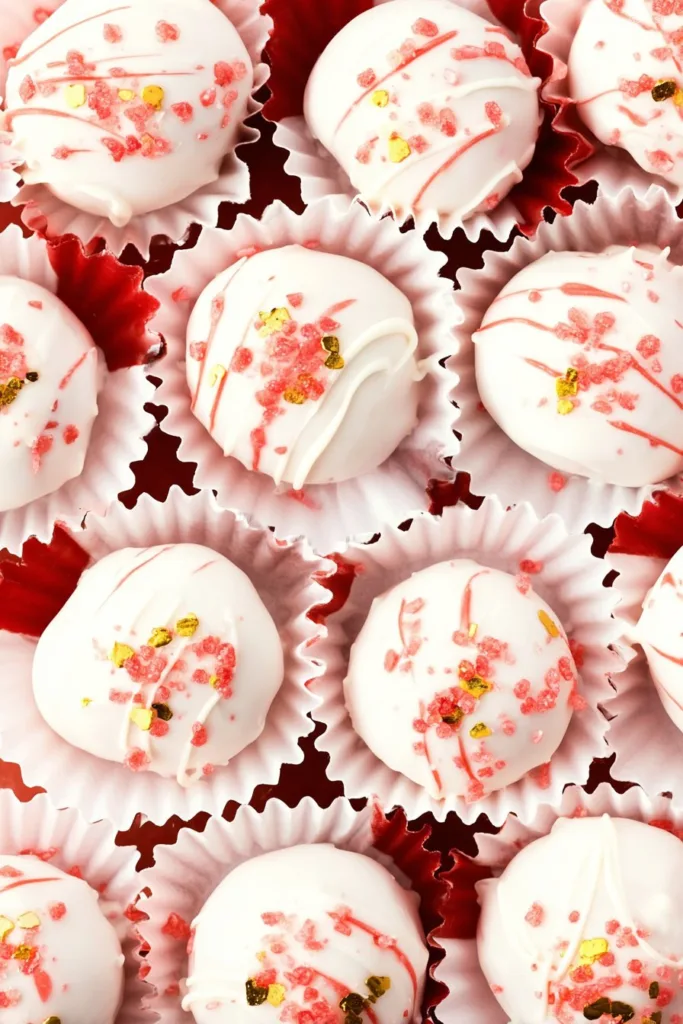
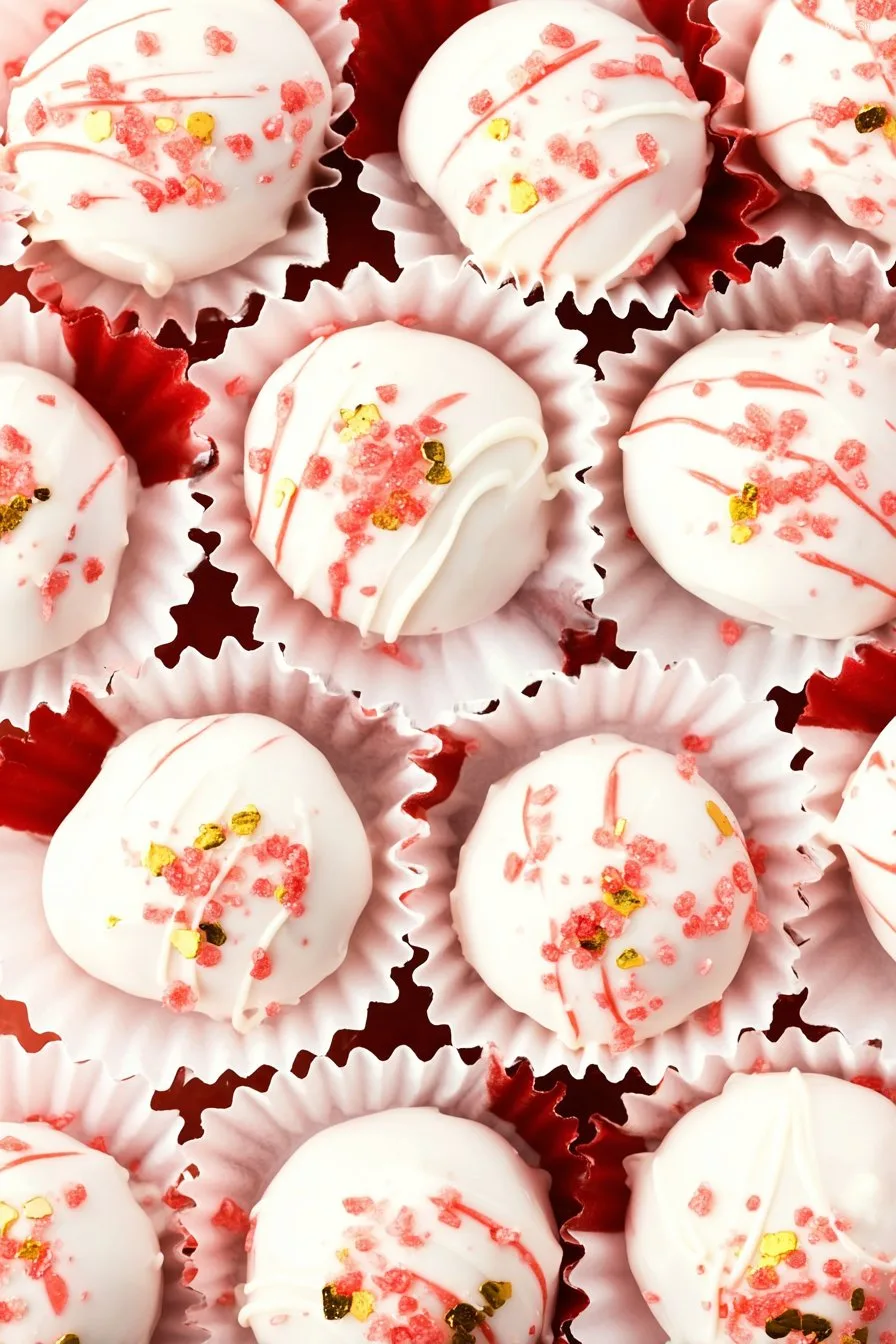
Let Me Tell You About These Truffles…
If you’ve ever found yourself standing in the kitchen at midnight, desperately searching for that one missing bag of chocolate chips, then you’ll probably understand why these Peppermint Truffles With Cream Cheese became a winter staple at my place. I think I first made these during a blizzard (classic Midwest, right?), fully expecting my kids to ignore them like last year’s fruitcake. But—I kid you not—they disappeared before the snowplow even made it down our street. I suppose that’s what you get when you combine cream cheese and chocolate with the pepperminty zing of the holidays. And, if I’m honest, I sometimes pop one in with my morning coffee, which yes, my mother would probably disapprove of but hey, it’s Christmas somewhere!
Oh, and a quick warning: your hands will end up covered in melted chocolate and stray sprinkles. I’ve just accepted this as part of the process and, honestly, it’s half the fun (the other half is licking the bowl, though my dog disagrees).
Why You’ll Love Making (and Eating) These
I make this for pretty much every family party in December, sometimes for no reason other than “I deserve a treat today”—which is totally valid. My family goes absolutely bonkers for them because they’re super creamy and taste kind of like a Christmas candy shop exploded in your mouth (in a good way, promise). If you have zero patience for desserts that require fancy equipment or fiddly steps, honestly, these are for you. The dough is forgiving, so you don’t need to stress if you briefly forget about it while hunting for the powdered sugar.
I’ll admit, I used to get annoyed with truffle recipes that needed tempering chocolate or a candy thermometer (my patience is not infinite). These? Nope. Also, no baking, which means you don’t need to worry about burning anything—unless you decide to heat up the cream cheese for some reason (and oof, I have done that before. Would not recommend).
What You’ll Need—A.k.a The Shopping List
- 1 package (about 8 ounces) cream cheese, softened (I use Philadelphia because it’s what my grandmother swore by; generic brands work fine, though maybe go full-fat for best results)
- 3 cups crushed chocolate sandwich cookies (like Oreo, with the filling—sometimes I’ll use the Trader Joe’s version if I can’t get real Oreos)
- 2 cups semisweet chocolate chips (I’ve subbed in dark chocolate chips when trying to be fancy. White chocolate works too, though it’s obviously sweeter)
- 1 teaspoon peppermint extract (the cheap stuff is fine, but if you need a Christmas splurge, Nielsen-Massey is gorgeous)
- 1/2 cup crushed peppermint candies or candy canes (my little ones think smashing them in a zip bag is the best part; a food processor is quicker, but less fun)
- Sprinkles, more melted chocolate, or extra crushed candy canes for topping (not strictly necessary, but so festive)
- Optional: A pinch of sea salt (sometimes I get wild and sprinkle some on top—just a little, though.)
Step-by-Step: How I Make ‘Em
- Crush the cookies: Throw the cookies (cream and all) into a big zip-top bag, and smash them up with a rolling pin or sturdy mug until finely crumbed. Food processor works, but I find there’s something therapeutic about bashing cookies by hand (just don’t do it at midnight unless you want angry neighbors).
- Mix with cream cheese: Plop the softened cream cheese in a large bowl, add the cookie crumbs, and peppermint extract. Use a spatula (or clean hands, let’s be real) to mash everything together. If it feels too sticky, add a spoonful or two of extra cookie crumbs. This is the point where I usually sneak a taste—quality control, right?
- Shape into balls: Scoop out heaping teaspoons of dough and roll into about 1-inch balls. Throw them on a parchment-lined tray. If the mix is too soft, chill for 20 minutes before shaping. Don’t worry if they’re a bit lumpy; trust me, nobody complains.
- Chill ‘em: Freeze the tray for at least 30 minutes. (I once skipped this and they kind of dissolved into the chocolate, so patience pays here. Or go do the dishes while you wait, that’s what I try to tell myself.)
- Melt the chocolate: Toss chocolate chips in a microwave-safe bowl and nuke in 30-second bursts, stirring till smooth. If you’re a double boiler person, have at it. (Sometimes I get lazy and just use the microwave, which honestly rarely lets me down—except once when I got distracted and scorched the batch. Oops!)
- Coat the truffles: Dunk each chilled ball in melted chocolate; use a fork to lift out and let excess drip off. Set back on the tray, sprinkle with crushed peppermint or sea salt or whatever makes you happy. Expect some to look a little less beautiful than others—but as my aunt says, that’s how you know they’re homemade.
- Chill again: Let the truffles set in the fridge for at least 20 minutes. And then? Dig in. Or, if you’re planning ahead, stow them away for gifting (but good luck with that—at my house, they disappear before I can find a tin).
Some Notes—Aka Learn From My Mess-Ups
- I used to skip the chilling step between rolling and dipping, but honestly they always melted into sad blobs. Definitely don’t rush it.
- The dough is sticky. Wearing latex gloves helps with rolling, but honestly, I often just accept messy hands.
- If your chocolate goes lumpy, add a tiny bit of coconut oil and stir. Saved me from tossing whole batches (more than once now).
- Crushing peppermints by hand is excellent for venting. Would recommend.
Variations I’ve Played Around With
- Swapped in crushed graham crackers instead of Oreos—tasted like peppermint cheesecake bites! Really good, but a little drier; needed more cream cheese.
- Once, I tried rolling them in cocoa powder instead of dipping in chocolate. Eh. They sort of looked like, well, never mind. Didn’t love those.
- Used almond extract instead of peppermint once, on a whim. Oddly, it worked! Not Christmassy, but tasty enough.
- You could use white chocolate for coating, and then sprinkle with freeze-dried raspberries (I saw this once on Sally’s Baking Addiction—love her style!)
Do You Really Need Special Tools?
Technically, nope. I’ve used everything form a fork to a skewer to dip these (those fancy truffle dipping tools are nice, but so not essential). Parchment paper helps a lot, but I’ve made do with foil in a pinch (just lift carefully or it sticks—ask my first batch about that).
Oh, fun fact: if you’ve only got one mixing bowl, just line it with plastic wrap before combining the ingredients, then a quick swap and you’ve got a clean bowl for melting chocolate. I saw that tip on King Arthur Baking and it actually works like magic.

How Long Do They Last In The Real World?
Technically, up to a week in a covered container in the fridge. (But if you manage to have any left after a day, I strongly respect your willpower!) Also, they freeze well, though sometimes the chocolate cracks a touch after thawing—doesn’t bother me, but you’ve been warned.
How We Serve ‘Em—And What I’d Suggest
I love piling these on a vintage cake stand, which makes them look way fancier than they are. At Christmas, we set a plate of these out by the tree for Santa; my youngest still insists “Santa likes the peppermint ones best,” and honestly, as Santa, I don’t disagree. I’ve also hidden a few at the back of the fridge for myself—self-care in truffle form!
Things I’ve Learned (The Hard Way)
- I once thought I could microwave the cream cheese to soften faster. Nope. Just turns into soup. Give it time to soften the old-fashioned way—it’s worth it.
- Don’t skip the chilling step before dipping. The mess isn’t worth the five minutes you’ll save, trust me.
- If you try to coat more than two or three at a time, the chocolate cools and you’re left with chunky, uneven truffles. I tend to work slowly; there’s no harm in a bit of chaos, though.
Your Questions, Answered (Or At Least, Attempted)
- Can I make these ahead?
Yeah, totally. They keep a few days in the fridge, but actually, I think they taste better the next day, after the flavors have mingled a bit. - My mix is too sticky—help?
Honestly, just add a few extra cookie crumbs, give it a little chill, and try again. Sometimes humidity messes with the texture; I blame the weather for lots of kitchen drama. - Can kids help?
Absolutely! My two love crushing the peppermints and rolling the balls. Dipping the truffles in chocolate gets a bit messy, though—maybe lay down some newspaper first. - I don’t have peppermint extract. Will it work?
Sure, just crush more peppermint candies, or—if it’s not for the holidays—use vanilla. Won’t be the same, but still pretty darn tasty. - Do I need a food processor?
Nope. A good old zip bag and rolling pin works fine. (On second thought… if you hate mess, maybe the processor is worth it.)
So that’s my little slice of holiday chaos in truffle form. If you’ve had a go at these, let me know how they turned out—unless you ate the evidence, which is totally valid. Stay cozy!
Ingredients
- 8 oz (225g) cream cheese, softened
- 3 cups chocolate sandwich cookies, finely crushed
- 1 tsp peppermint extract
- 2 cups semi-sweet chocolate chips
- 1 tbsp coconut oil (optional, for melting chocolate)
- 1/4 cup crushed peppermint candies, for garnish
- 1/4 cup white chocolate chips (optional, for drizzling)
Instructions
-
1In a large bowl, combine the softened cream cheese, crushed chocolate sandwich cookies, and peppermint extract. Mix until fully blended.
-
2Roll the mixture into 1-inch balls and place them on a parchment-lined baking tray. Freeze for 15 minutes until firm.
-
3Melt the semi-sweet chocolate chips with coconut oil in a microwave-safe bowl, stirring every 30 seconds until smooth.
-
4Dip each truffle ball into the melted chocolate, coating completely. Place back on the tray.
-
5Sprinkle crushed peppermint candies on top while the chocolate is still wet. Optionally, drizzle with melted white chocolate.
-
6Chill the truffles until set, about 10 minutes. Store in the refrigerator until ready to serve.
Approximate Information for One Serving
Nutrition Disclaimers
Number of total servings shown is approximate. Actual number of servings will depend on your preferred portion sizes.
Nutritional values shown are general guidelines and reflect information for 1 serving using the ingredients listed, not including any optional ingredients. Actual macros may vary slightly depending on specific brands and types of ingredients used.
To determine the weight of one serving, prepare the recipe as instructed. Weigh the finished recipe, then divide the weight of the finished recipe (not including the weight of the container the food is in) by the desired number of servings. Result will be the weight of one serving.
Did you make this recipe?
Please consider Pinning it!!

