Let Me Tell You About My Air Fryer Chicken Thighs Fixation
Okay, I’ll admit it: my relationship with chicken thighs has been described (by me) as a bit of a love affair. There’s something about slapping them in the air fryer after a chaotic day—especially when I forgot to plan dinner (happens more often than you’d think)—that just feels like a tiny act of magic. The first time I made these, I accidentally set off the smoke alarm; now I just crack a window and go for it. And let’s be real, no one in my house complains when I claim, “Dinner’s ready!”
Why You’ll Love This (I Mean, I Do!)
I make this when it’s 6 pm and I’ve only just remembered we need to eat. My family goes absolutely bonkers for the crispy skin, even though my youngest tries to eat just that and leave the rest (I see you, kid). It’s honestly saved my bacon (or chicken?) more than once. It always comes out juicy—even if I wander off to fold laundry and forget for a few minutes—and cleanup doesn’t involve an oil splatter battle. Oh, and I used to hate soggy chicken (ugh), so I nearly wept the first time these turned out so crispy with basically zero oil. By the way, if I ever say a recipe is foolproof, it means I’ve definitely messed it up and survived, so you’re in good company.
Here’s What You’ll Need (and a Few Swaps I’ve Tried)
- 4-6 bone-in, skin-on chicken thighs (I sometimes just use boneless if that’s what’s in the fridge—less dramatic but still tasty)
- 1 tablespoon olive oil (but, when I can’t find it, canola works. My grandmother swore by Crisco. Dare I say, use what you’ve got?)
- 1 teaspoon garlic powder
- 1 teaspoon smoked paprika (if you only have regular, throw in a pinch of chili powder or BBQ rub. It’s not rocket science.)
- 1/2 teaspoon salt (sea salt is great but sometimes I just shake in table salt and call it a day)
- 1/4 teaspoon black pepper
- Optional: a good shake of dried herbs (rosemary or thyme, both work great, or skip it if you’re not feeling it)
How I Actually Cook These (Messy, But Worth It)
- Pat your chicken thighs dry. Really give ’em a good once-over—the drier they are, the crispier the skin. This is that rare time when dry humor and dry chicken are both good.
- Toss them in a big bowl. Throw in the oil and all those spices. I usually end up using my hands, which feels weirdly satisfying—just wash up real good after. If the spice mix looks like it’s not enough, add a dash more. Nobody ever complained about extra flavor.
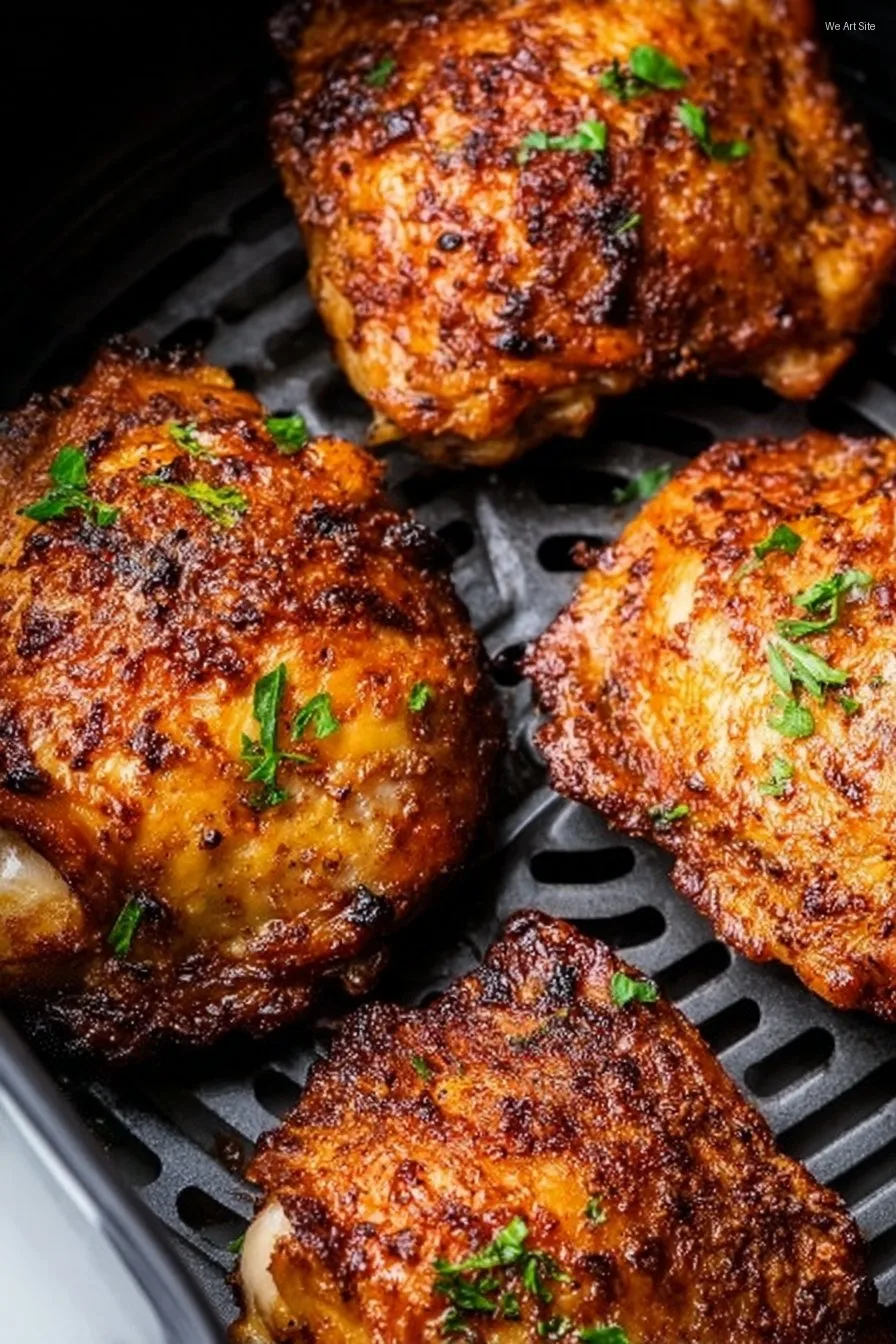
- Preheat your air fryer to 380°F. Honestly, sometimes I forget to preheat and it still comes out fine, but if you remember, it’s better.
- Arrange the thighs skin side up in a single layer. Don’t cram ‘em in like sardines. If needed, cook in two batches. This is where I start nibbling at stray bits of seasoning if no one’s looking.
- Cook for about 12 minutes. Flip them (I use tongs because fork marks in the skin send my family into an uproar for some reason). Cook for another 10-12 minutes until the skin’s basically singing to you—golden, crispy, tempting. Juices should run clear when you poke with a knife. If unsure, check out this guide on chicken safety, but, yes, I’ll admit I just peek inside one thigh to check.
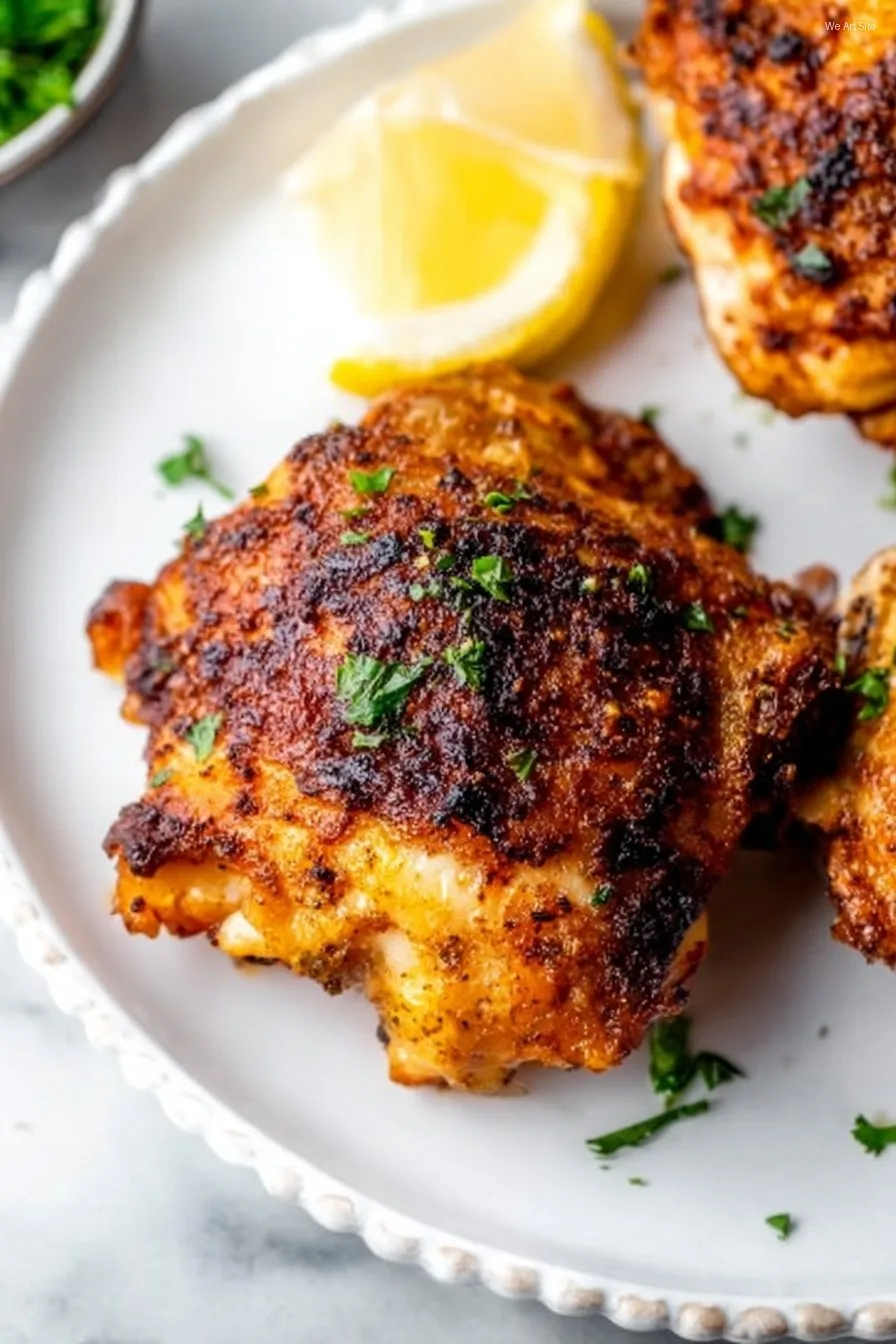
- Let rest for a few minutes before serving. This is when I tell the kids dinner’s almost ready and then they all show up in the kitchen anyway.
Stuff I Learned the Hard Way (and Laugh About Now)
- Once I accidentally used too much oil. Big mistake—the texture didn’t work, chicken was a bit floppy. Less is more, trust me.
- Don’t stack the thighs in the basket. They will stick together or steam, and then, well, just don’t.
- I forgot salt once. Still good! Just, y’know, needs a bit of a shake at the end.
You Could Switch It Up (Here’s What Actually Works…or Doesn’t)
- Swap oil for melted butter. Really rich, but maybe a bit much for lunch (not that it stopped me).
- Try lemon pepper instead of paprika for a zingier version. I think it’s lovely with a salad.
- One time I covered them in honey before cooking—major regret. Burned and stuck everywhere. Maybe wait to drizzle till the end, yeah?
Do You Really Need Special Gear?
You’ll want an air fryer, obviously. I use a basket style, but a toaster oven with an air fry setting worked for me once when I was visiting family and it wasn’t too different; just watched closely for timing. No tongs? Turn them with a fork—or just shake the basket, not ideal but honestly, it works in a pinch.
Storing Leftovers (If By Some Miracle There Are Any)
Stick ’em in a container in the fridge—they’ll keep for about three days. I think they taste even better cold, but my partner likes to zap them for a spell in the microwave. Or, throw them back in the air fryer for a minute to re-crisp. Though honestly, in my house it never lasts more than a day!
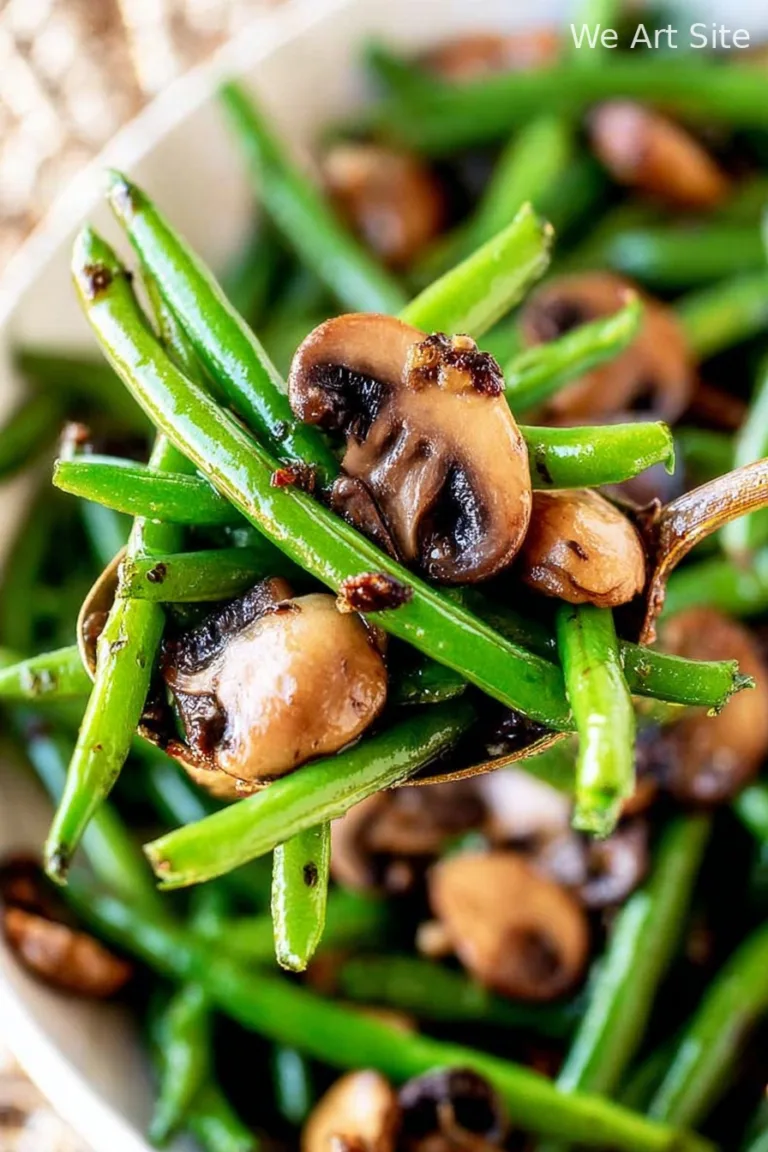
How I Like to Serve Mine
There’s something about these thighs heaped over garlic mashed potatoes that just feels right. Or, if it’s properly hot outside, I’ll do a lazy salad, maybe with some Asian chopped salad on the side. (Try dipping the chicken in ranch…or don’t, but I’m warning you, it’s addictive.) Sometimes we go full retro and I make coleslaw—my mum’s recipe, which I still can’t quite get tasting the same.
The “Pro Tips” I Only Learned After Messing Up
- Letting the chicken come up to room temp (for like, 10 minutes—not hours) helps it cook more evenly. I once tried tossing them in straight from the fridge, and, yeah, uneven results. Oops.
- Don’t try to rush the resting time. I did that once (hangry kids, what can I say?) and the juices ran everywhere—much better to wait five minutes and pretend you’re being fancy.
Your (Frequently Unfiltered) Questions: Answered
- Do I have to use bone-in thighs? Nope! Boneless work fine, just check them at 18 minutes since they’re thinner and cook faster. They won’t be quite as juicy but still good.
- Can I double the recipe? Honestly, only if your air fryer is huge. Better to work in batches for proper crispness. Otherwise, you might end up with a pile of sorta-steamed chicken. Not the dream.
- Is skinless okay? Sure, but you’ll miss that golden crackle factor. (And the skin is the best bit, but maybe that’s just me?)
- What if I don’t have all these spices? Use a pre-made seasoning blend or even just salt, pepper, and garlic powder. The world won’t end, promise.
- Why does my chicken sometimes stick? Make sure the skin is dry and don’t overcrowd the basket. Also, a quick spritz of cooking spray helps. Or just own the little stuck bits—they taste like chicken chips.
- How do I know when it’s done? If in doubt, a thermometer hits 165°F. If you’re a rebel, just peek inside the thickest one—clear juices = done. Chicken’s one area I keep it cautious, to be honest.
That’s more or less all. If you want more air fryer ideas, I sometimes scroll through Serious Eats’ air fryer guide—their tips are solid. Anyway—have at it, and if you end up loving yours as much as I do, let me know. Just don’t be surprised if these air fryer chicken thighs vanish before you can blink!
Ingredients
- 4 bone-in, skin-on chicken thighs
- 1 tablespoon olive oil
- 1 teaspoon garlic powder
- 1 teaspoon smoked paprika
- 1/2 teaspoon onion powder
- 1/2 teaspoon dried thyme
- 1/2 teaspoon salt
- 1/4 teaspoon black pepper
Instructions
-
1Preheat the air fryer to 400°F (200°C) for 3 minutes.
-
2Pat chicken thighs dry with paper towels and place in a large bowl.
-
3Drizzle olive oil over the chicken thighs and toss to coat evenly.
-
4In a small bowl, mix garlic powder, smoked paprika, onion powder, dried thyme, salt, and black pepper. Sprinkle spice mixture over the chicken and rub it in to coat all sides.
-
5Arrange the chicken thighs skin side down in the air fryer basket without overlapping.
-
6Cook for 10 minutes, then flip thighs and cook for 8–10 more minutes until the skin is crispy and the internal temperature reaches 165°F (74°C). Serve hot.
CLICK FOR NUTRITION INFO
↑
Approximate Information for One Serving
Serving Size:
1 serving
Calories:
320cal
Protein:
30 gg
Fat:
21 gg
Saturated Fat:
0g
Trans Fat:
0g
Cholesterol:
0mg
Sodium:
0mg
Potassium:
0mg
Total Carbs:
2 gg
Fiber:
0g
Sugar:
0g
Net Carbs:
0g
Vitamin A:
0
Vitamin C:
0mg
Calcium:
0mg
Iron:
0mg
Nutrition Disclaimers
Number of total servings shown is approximate. Actual number of servings will depend on your preferred portion sizes.
Nutritional values shown are general guidelines and reflect information for 1 serving using the ingredients listed, not including any optional ingredients. Actual macros may vary slightly depending on specific brands and types of ingredients used.
To determine the weight of one serving, prepare the recipe as instructed. Weigh the finished recipe, then divide the weight of the finished recipe (not including the weight of the container the food is in) by the desired number of servings. Result will be the weight of one serving.
Did you make this recipe?
Please consider Pinning it!!