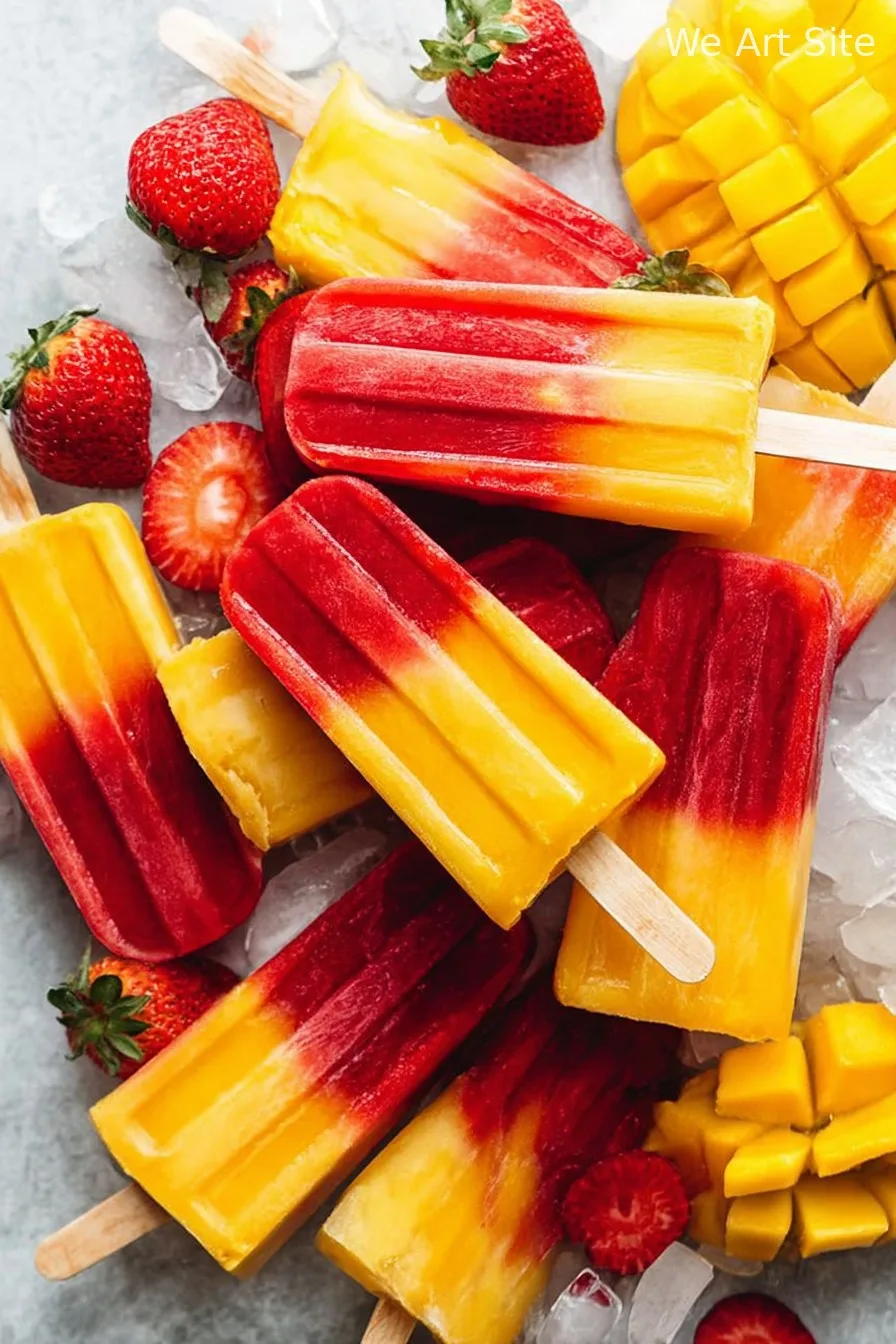
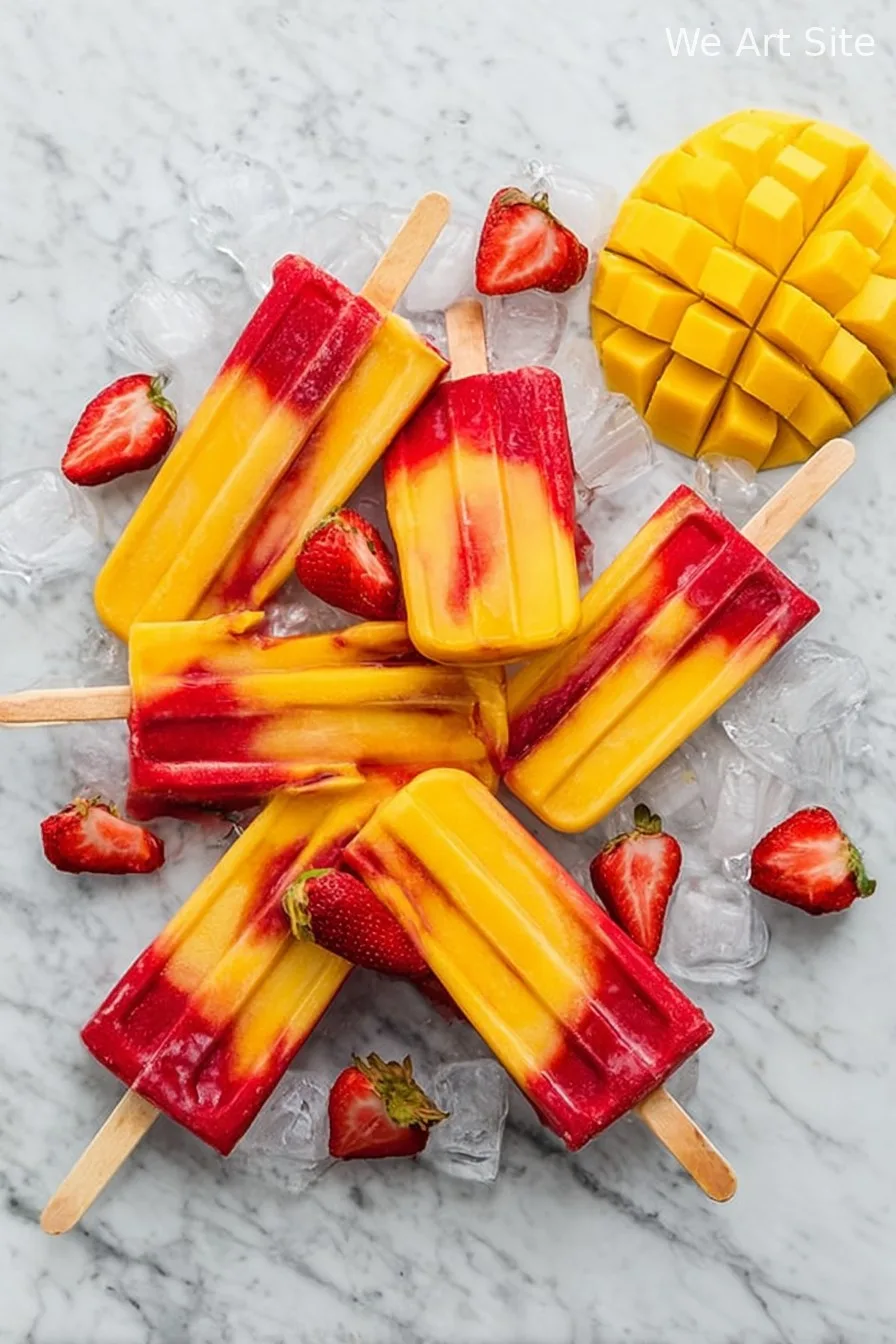
Hey y’all! Looking for the ultimate treat to beat the summer heat? These homemade Strawberry Mango Popsicles are bursting with juicy fruit flavor, vibrant color, and a touch of natural sweetness. They come together with just a handful of wholesome ingredients and are a total crowd-pleaser, whether you’re serving them at a backyard BBQ or enjoying a sunny afternoon snack. Let’s get cooking and turn your kitchen into a tropical paradise!
Why You’ll Love This
- Refreshing and healthy, perfect for kids and adults alike.
- Uses real fruit—no artificial flavors or colors.
- Easy to make ahead for parties or meal prep.
- Dairy-free, gluten-free, and naturally sweetened for guilt-free indulgence.
- Customizable with endless flavor twist options!
Ingredients
- 3 cups strawberries
- 1 tbsp lime juice
- 1 tbsp maple syrup
- 3 cups cubed mango
- 1/3 cup orange juice
How to Make strawberry Mango Popsicles
Step 1: Soften and Sweeten the Strawberries
Place your strawberries, maple syrup, and lime juice in a small saucepan set over medium heat. Let the mixture cook for about 5–10 minutes, stirring occasionally, until the strawberries soften and start to release their juices. This step is optional, but it really deepens the strawberry flavor and gives your popsicles an extra fruity punch.
Step 2: Puree the Strawberry Mixture
Transfer the softened strawberry mixture into a blender. Blend on high until it turns completely smooth and velvety. Taste and adjust sweetness if desired.
Step 3: Fill the Popsicle Molds (Strawberry Layer)
Evenly pour the blended strawberry mixture into the bottom section of your popsicle molds, filling each one about halfway or as desired for layering.
Step 4: Blend the Mango Mixture
Rinse out your blender, then add the cubed mango and orange juice. Blend until no chunks remain, creating a thick, smooth mango puree.
Step 5: Add the Mango Layer
Carefully pour the mango puree over the strawberry base in each mold. You can fill them to the top or alternate amounts for a more dynamic look.
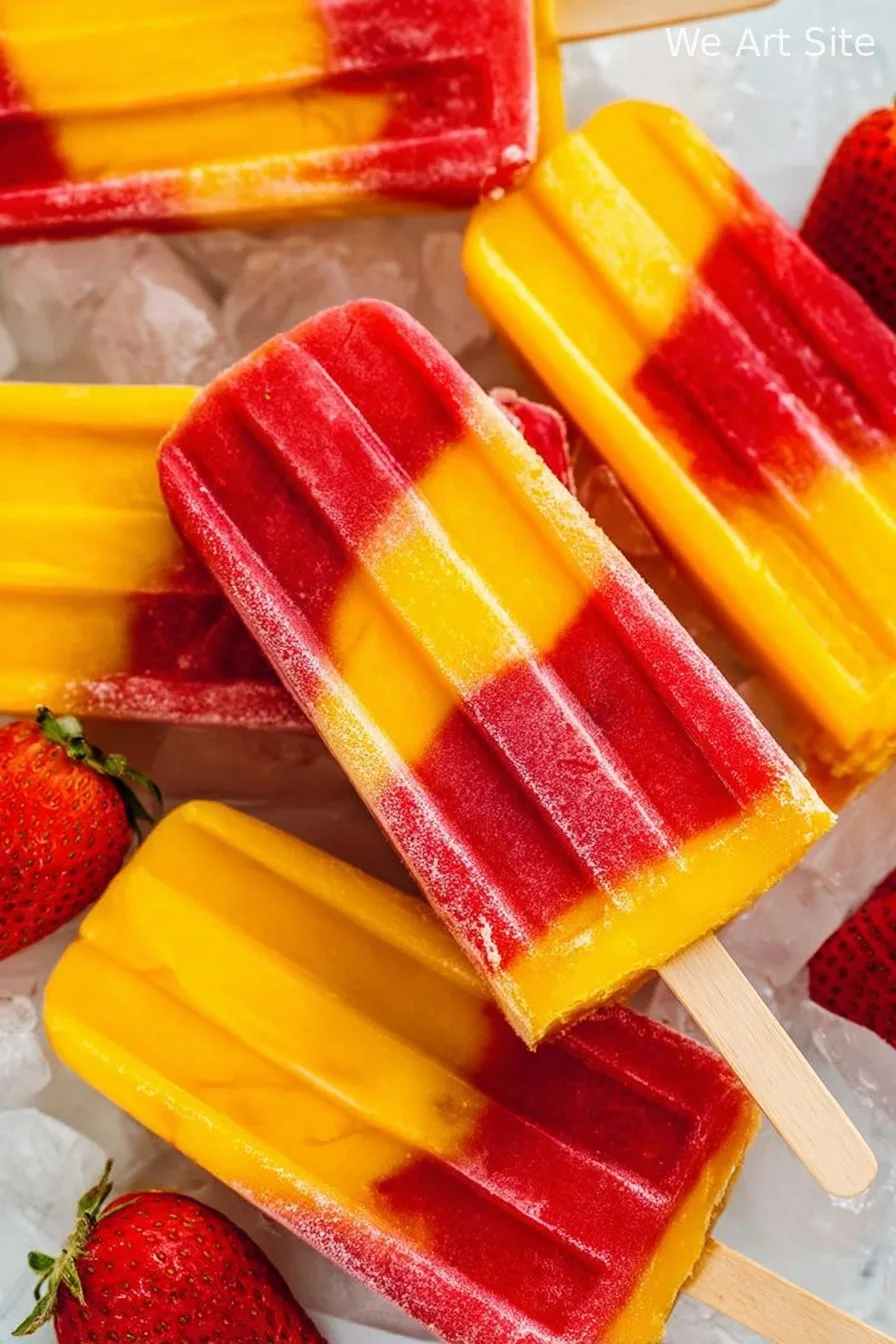
Step 6: Swirl for a Marble Effect (Optional)
For a beautiful marbled design, use a thin-bladed knife or a chopstick to gently swirl both layers together in the molds.
Step 7: Insert Sticks and Freeze
Secure the popsicle mold lids and insert the wooden sticks. Place the molds in your freezer for at least 8 hours, or ideally overnight, to ensure they’re fully set and icy-cold.
Step 8: Unmold and Enjoy!
When you’re ready to enjoy, run the outside of the molds under warm water for about 30 seconds. This helps release the popsicles. Gently pull the sticks to slide each treat out.
Notes
- For an intense strawberry flavor, don’t skip cooking them before blending.
- Always taste the purees before pouring to adjust sweetness as preferred.
- If you like chunkier pops, reserve a few pieces of diced strawberry or mango for added texture.
Variations
- Coconut Swirl: Add a half layer of coconut milk between the fruit layers.
- Berry Blast: Replace half the strawberries with raspberries or blueberries for a mixed berry twist.
- Spicy Mango: Stir a pinch of chili powder into the mango puree for a fun kick.
Required Equipment
- Small saucepan
- Blender
- Popsicle molds
- Popsicle sticks
- Knife or chopstick (for swirling/marbling)
Storage Instructions
Store finished popsicles in the mold or transfer them to a sealed freezer-safe bag or container. They last up to 2 months in the freezer, but are best enjoyed within the first few weeks for maximum flavor and texture.
Suggested Pairings & Serving Ideas
- Pair with fresh fruit salad for a cooling dessert platter.
- Serve with a sprinkle of toasted coconut for tropical flair.
- Perfect alongside sparkling water or iced herbal tea on a hot day.
Pro Tips for Perfect Pops
- Soak your popsicle sticks in warm water for 10 minutes before inserting – this helps prevent them from floating upward.
- Tap the molds gently on the counter after pouring in the mixtures to remove air bubbles for smoother popsicles.
- Label your popsicles and date them if you’re making big batches—so easy to rotate for the freshest treats!
FAQs
Can I make these popsicles without a blender?
You can mash the fruit by hand for a more rustic texture, but a blender produces the smoothest pops.
Can I use frozen fruit instead of fresh?
Absolutely! Thaw frozen fruit before using, and drain any excess liquid for best consistency.
How can I make these popsicles sweeter?
Simply add an extra drizzle of maple syrup or a touch of honey to either fruit blend to taste.
Prep & Cook Time
- Prep time: 15 minutes
- Total time (including freezing): 8+ hours
Ingredients
- 3 cups strawberries
- 1 tbsp lime juice
- 1 tbsp maple syrup
- 3 cups cubed mango
- 1/3 cup orange juice
Instructions
-
1Place the strawberries, maple syrup, and lime juice in a small saucepan over medium heat. Cook for 5–10 minutes, stirring occasionally, until the strawberries are soft and their juices are released. This step boosts the strawberry flavor but is optional.
-
2Transfer the cooked strawberry mixture to a blender and blitz until silky and completely smooth. Taste and adjust sweetness if desired.
-
3Pour the smooth strawberry puree evenly into your popsicle molds, filling each one about halfway or as you prefer for layering.
-
4Rinse out the blender, then add cubed mango and orange juice. Blend together until you get a smooth, thick mango puree.
-
5Carefully distribute the mango puree over the strawberry mixture in each mold, filling to the top or alternating for creative patterns.
-
6Use a thin knife or chopstick to gently swirl the mixtures together if you want a beautiful marbled effect.
-
7Cover the molds, insert popsicle sticks, and freeze for at least 8 hours or overnight to ensure solid, frosty popsicles.
-
8To unmold, hold the popsicle molds under warm running water for about 30 seconds, then gently wiggle and pull out each popsicle.
CLICK FOR NUTRITION INFO
↑
Approximate Information for One Serving
Serving Size:
1 serving
Calories:
70 caloriescal
Protein:
1 gg
Fat:
0.3 gg
Saturated Fat:
0g
Trans Fat:
0g
Cholesterol:
0mg
Sodium:
0mg
Potassium:
0mg
Total Carbs:
18 gg
Fiber:
0g
Sugar:
0g
Net Carbs:
0g
Vitamin A:
0
Vitamin C:
0mg
Calcium:
0mg
Iron:
0mg
Nutrition Disclaimers
Number of total servings shown is approximate. Actual number of servings will depend on your preferred portion sizes.
Nutritional values shown are general guidelines and reflect information for 1 serving using the ingredients listed, not including any optional ingredients. Actual macros may vary slightly depending on specific brands and types of ingredients used.
To determine the weight of one serving, prepare the recipe as instructed. Weigh the finished recipe, then divide the weight of the finished recipe (not including the weight of the container the food is in) by the desired number of servings. Result will be the weight of one serving.
Did you make this recipe?
Please consider Pinning it!