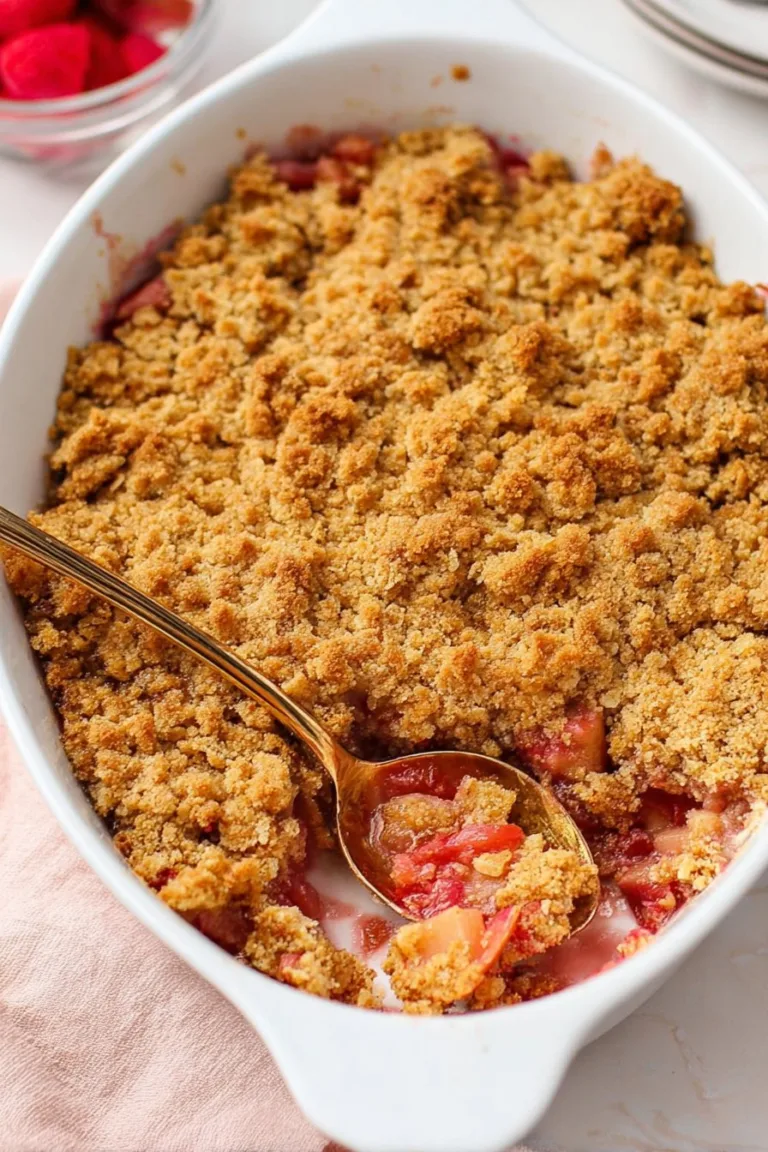
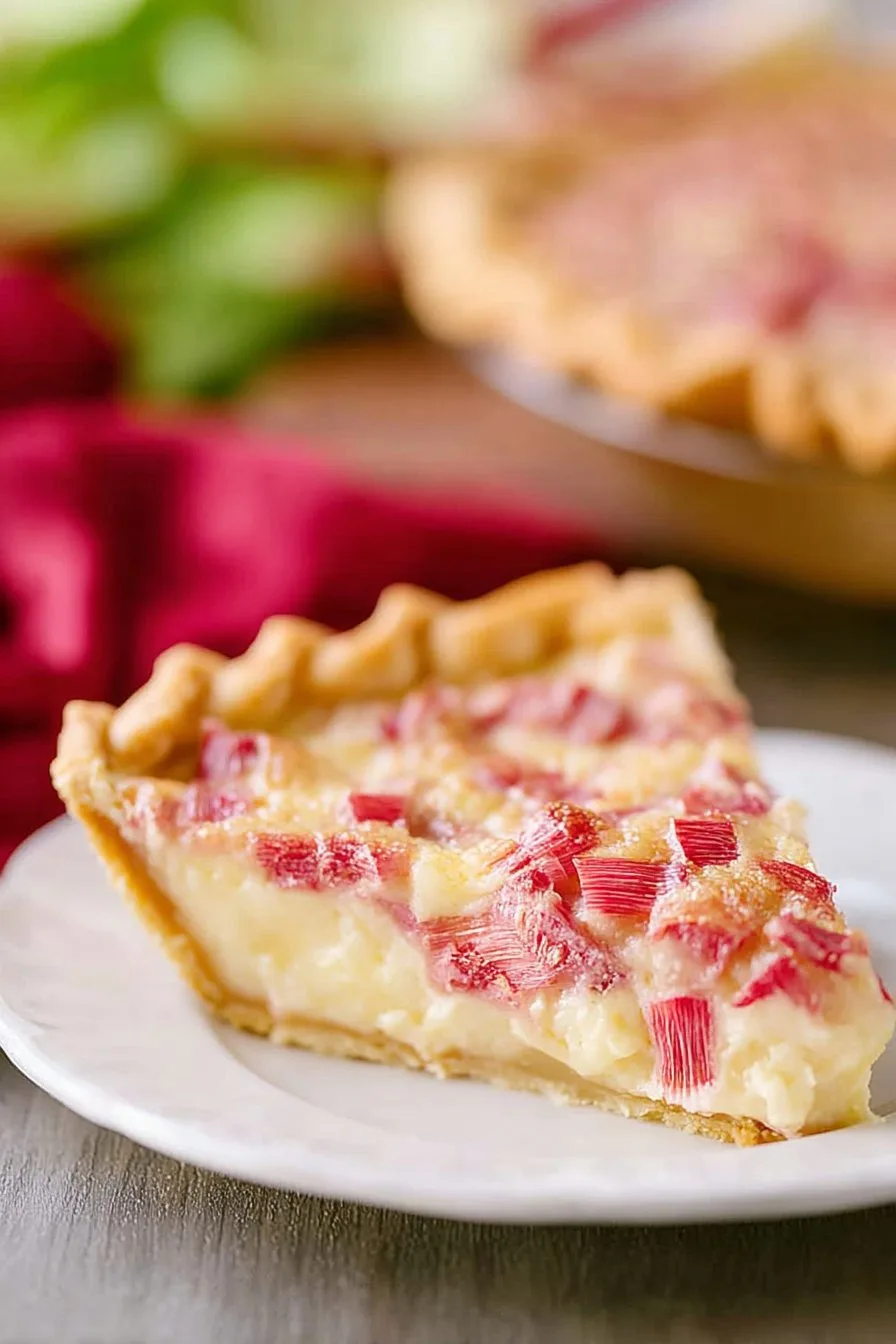
Let Me Tell You About My Rhubarb Custard Pie (And the Time I Dropped It)
Okay, so here’s the thing with rhubarb custard pie: it’s the sort of dessert that makes my whole kitchen smell like childhood and sunshine (also maybe a bit like my grandma’s flowery perfume, but that’s another story). First time I tried to bake this, I accidentally used salt instead of sugar in the custard—let’s just say the dog wouldn’t even go near it. But after a few attempts (and a mild pie-plate mishap involving the floor), I’ve pretty much settled on a way that works every time—well, almost every time. Anyway, if you love that sweet-tangy thing and a bit of nostalgia, this one’s for you.
Why You’ll Love This Pie (or At Least Not Hate It)
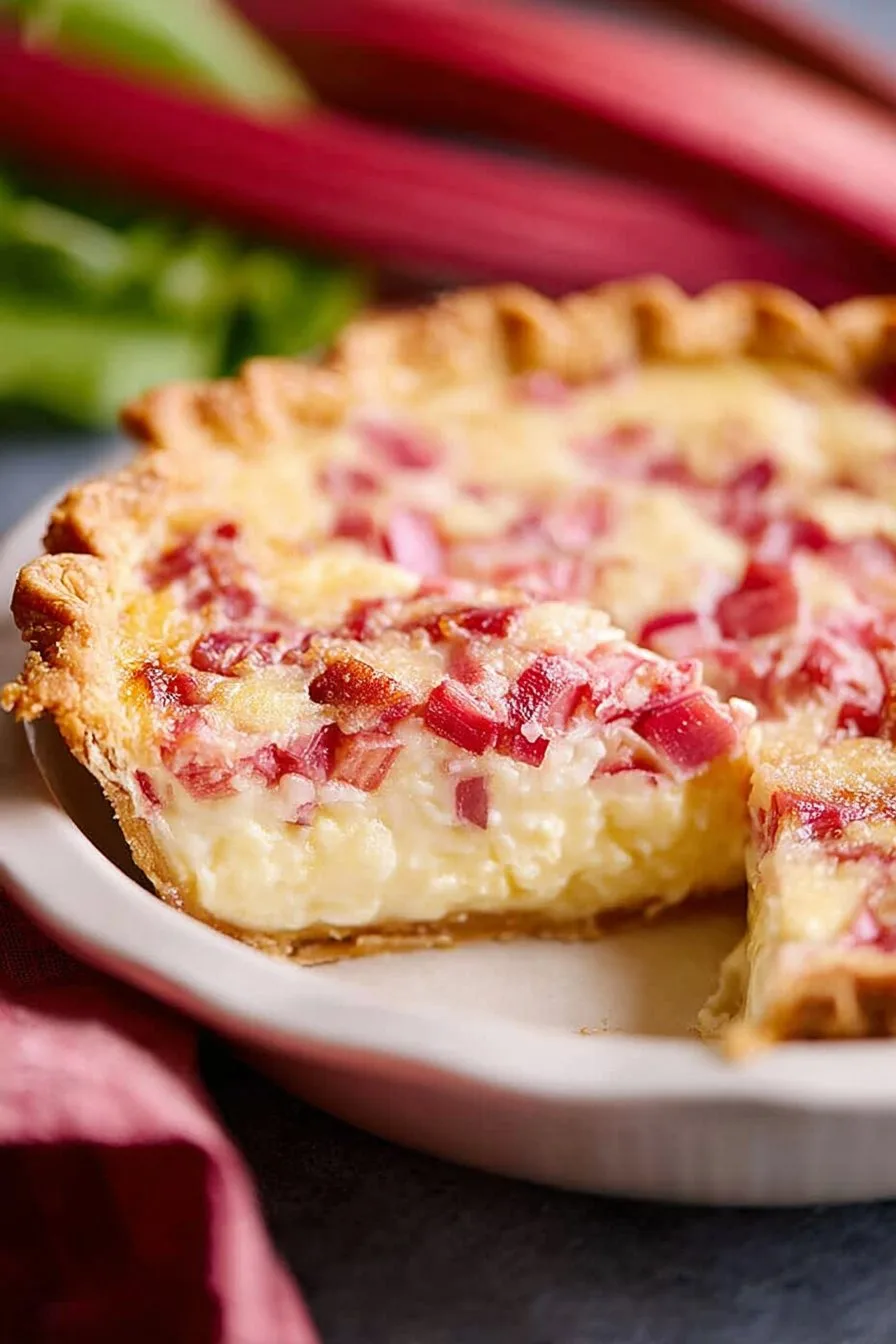
I make this when rhubarb is basically taking over my garden or turning up in those market stalls looking all pink and weirdly proud of itself. My family goes absolutely bonkers for it because it strikes that balance between tart and creamy—I mean, my dad once ate a third of the pie before anyone else got a slice (not cool, dad). Also, if you’re not into fancy desserts that require blowtorches or piping bags (me neither; who has time for that?), this is your new best friend. Sometimes it bubbles over and makes a mess, but honestly, that’s just more for the crust-lovers to scrape off the pan.
What You’ll Need (Substitutions Welcome)
- 2 cups chopped rhubarb (fresh is best, but I’ve used frozen when in a pinch—just thaw and drain it really well, trust me!)
- 3 large eggs
- 1 1/4 cups sugar (my grandmother always insisted on C&H, but I’ve used store-brand and it’s fine, just don’t skip the full amount or it’ll pucker your lips)
- 1/4 cup all-purpose flour (have swapped for cornstarch once—works in a pinch but it goes a little gummier)
- 1/2 teaspoon salt
- 1 teaspoon vanilla extract (I sometimes splash in a bit more, oops)
- 1 unbaked 9-inch pie crust (store-bought is fine—seriously, I can never make it look pretty so I just rely on the ready ones from King Arthur or the supermarket, whichever is cheaper that week)
- 2 tablespoons butter, cubed (optional, but it does add a nice richness)
How to Actually Make This Pie (With a Few Bumps in the Road)
- Preheat your oven to 400°F (200°C). Or 205°C if your oven dial is as finicky as mine.
- Get your pie crust ready. Plop it in the pie dish and poke a few holes in the bottom with a fork (I always feel like this step is more superstition than science, but I do it anyway).
- Spread the rhubarb evenly over the crust. Don’t stress if it looks like too much—rhubarb shrinks a lot while baking. This is usually when I sneak a raw bite, which is always a mistake.
- Mix the custard. Beat the eggs in a big bowl, add sugar, flour, salt, and vanilla. Whisk it well until it’s smooth-ish—if you see a few floury bits, don’t panic, they disappear later.
- Pour the custard over the rhubarb. Dot with cubes of butter if you’re feeling fancy (or just because you forgot to melt it first).
- Bake for 15 minutes at 400°F, then (here’s the tricky part) lower the temp to 350°F (175°C) and bake another 30-35 minutes until the custard is set but still has a bit of a wobble. If the edges look like they’re about to burn, just lay a bit of foil over them—don’t bother with those special pie shields, unless you’ve got one gathering dust somewhere.
- Let it cool. And I mean really let it cool—otherwise it’ll be more like rhubarb soup in a crust. I learned this the hard way; patience is not my virtue. Slice and serve when the middle isn’t jiggly anymore (unless you like it messy, which honestly, I kind of do sometimes).
Notes I Learned the Hard Way
- If you use frozen rhubarb, really squeeze that water out or your pie will be swimming. I once had to rescue mine by spooning out liquid—would not recommend.
- The pie will puff up while baking and then sink. Don’t worry, it always looks a bit tragic before it settles.
- Actually, I find it works better if you let it sit overnight in the fridge, but I’m not always that patient.

Things I’ve Tried (Some Good, Some Not So Much)
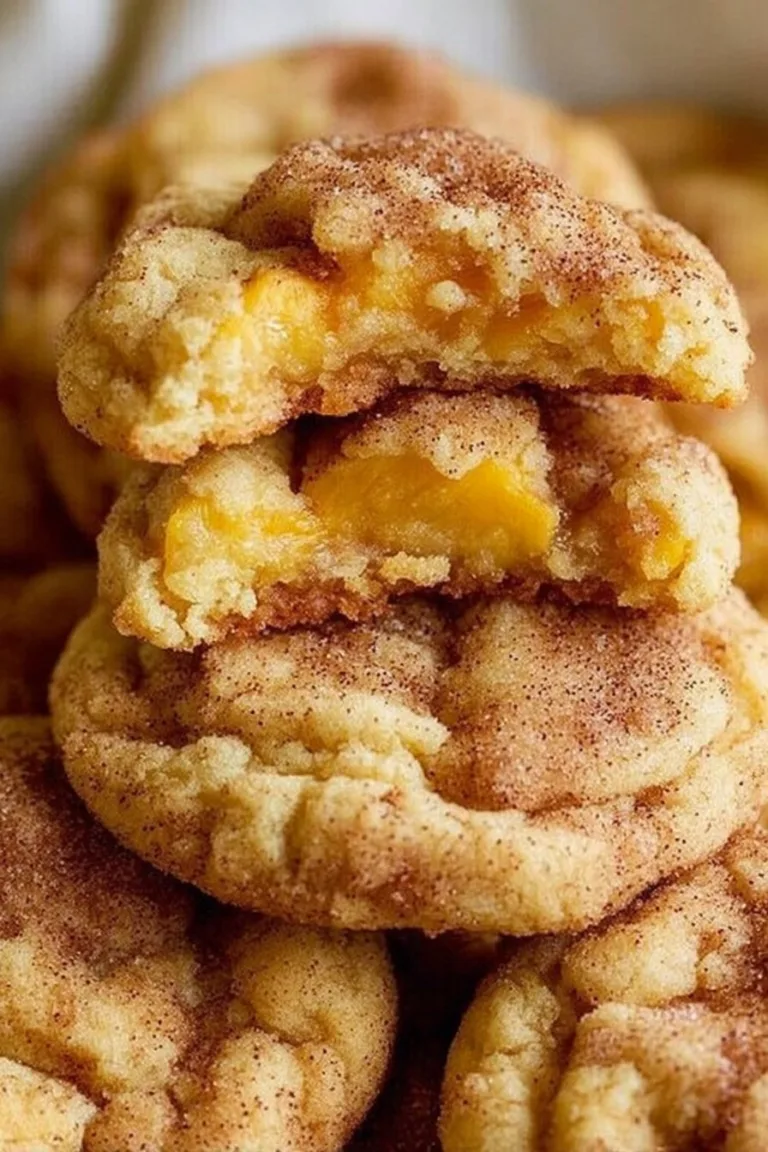
- Adding strawberries—delicious! Makes it sweeter and less tart. Just reduce the sugar a bit.
- Swapping in brown sugar for half the white sugar—gives a warmer flavor, but turns the custard a bit tan. Not a bad thing, just different.
- Tried making it dairy-free with almond milk—custard never set right. Maybe with coconut milk? Haven’t tried that yet.
What You Need (But Don’t Panic If You Don’t Have It)
- Pie plate (obviously; if you don’t have one, a deep-dish cake pan works too, though the slices come out a bit funny looking)
- Mixing bowl
- Whisk or big fork (I broke my whisk once and used a potato masher—works in a pinch, just don’t tell my mother-in-law)
How to Store (Assuming It Lasts That Long)
Technically, you should cover leftovers and keep them in the fridge for up to three days. But honestly, it never lasts more than a day at my place. If you want to freeze it (I tried once), wrap slices in parchment and foil, but the custard goes a little weird when thawed—still edible though!
Serving Suggestions (AKA How We Eat It)
I love a warm slice with a scoop of vanilla ice cream—my cousin insists on pouring cold heavy cream over the top, which actually is pretty tasty if you don’t mind things a bit old-fashioned. Sometimes we make it for breakfast (don’t judge) with coffee and call it a “fruit tart.” Nobody’s fooled, but it sounds healthier.
Lessons I’ve Learned (AKA What Not To Do)
- Don’t rush the cooling! I once tried slicing while it was hot—ended up with pie puddle. Tasty, but not exactly photogenic.
- If you forget the vanilla, it’s not the end of the world. But it’s so much better with it.
- Trying to make a lattice crust looks nice, but it’s a pain and the custard bubbles up anyway. Just skip it unless you really love fiddling with pastry strips.
People (Usually My Sister) Ask Me:
- Can I use a ready-made crust?
- Yep, and I usually do. Homemade crust is great but let’s be real, ready-made saves a heap of time and still tastes fab.
- Does it have to be pink rhubarb?
- Nope! The green stuff is a little more tart, but just use what you can get. Colour doesn’t change the flavor much.
- Can I double the recipe?
- Sure, but use two pie plates unless you’ve got a monster-sized one. Also, baking time might be a bit longer—just keep an eye on it.
- What if my custard is still runny?
- Sometimes it just needs more time. Or maybe the rhubarb was super juicy—try baking a bit longer, or let it cool completely before slicing. (Or just grab a spoon!)
- How do I make it gluten-free?
- I haven’t tried, but you could use a gluten-free crust and swap the flour for cornstarch. Would love to hear how it goes if you do!
- Any good rhubarb resources?
- Actually yes, Rhubarb Central has loads of info. I also like reading Smitten Kitchen’s version for inspiration.
Anyway, that’s my rhubarb custard pie guide. If you end up with more rhubarb than you know what to do with, maybe try making some compote for yogurt too—though to be honest, I always just make another pie. Let me know if you try it, or if you’ve got a secret tip for getting that perfect wobble in the custard. (There must be some magic, right?)
Ingredients
- 1 unbaked 9-inch pie crust
- 3 cups chopped fresh rhubarb
- 3 large eggs
- 1 1/2 cups granulated sugar
- 1/4 cup all-purpose flour
- 1/2 teaspoon vanilla extract
- 1/4 teaspoon salt
- 2 tablespoons unsalted butter, melted
Instructions
-
1Preheat the oven to 400°F (200°C). Place the unbaked pie crust into a 9-inch pie pan and set aside.
-
2Spread the chopped rhubarb evenly over the bottom of the pie crust.
-
3In a medium bowl, whisk together the eggs, granulated sugar, flour, vanilla extract, salt, and melted butter until smooth.
-
4Pour the custard mixture over the rhubarb in the pie crust, making sure the rhubarb is evenly covered.
-
5Bake for 10 minutes at 400°F (200°C), then reduce the oven temperature to 350°F (175°C) and bake for an additional 45 minutes, or until the custard is set and the top is lightly golden.
-
6Allow the pie to cool completely before slicing and serving. Enjoy!
CLICK FOR NUTRITION INFO
↑
Approximate Information for One Serving
Serving Size:
1 serving
Calories:
320 caloriescal
Protein:
5 gg
Fat:
12 gg
Saturated Fat:
0g
Trans Fat:
0g
Cholesterol:
0mg
Sodium:
0mg
Potassium:
0mg
Total Carbs:
50 gg
Fiber:
0g
Sugar:
0g
Net Carbs:
0g
Vitamin A:
0
Vitamin C:
0mg
Calcium:
0mg
Iron:
0mg
Nutrition Disclaimers
Number of total servings shown is approximate. Actual number of servings will depend on your preferred portion sizes.
Nutritional values shown are general guidelines and reflect information for 1 serving using the ingredients listed, not including any optional ingredients. Actual macros may vary slightly depending on specific brands and types of ingredients used.
To determine the weight of one serving, prepare the recipe as instructed. Weigh the finished recipe, then divide the weight of the finished recipe (not including the weight of the container the food is in) by the desired number of servings. Result will be the weight of one serving.
Did you make this recipe?
Please consider Pinning it!!