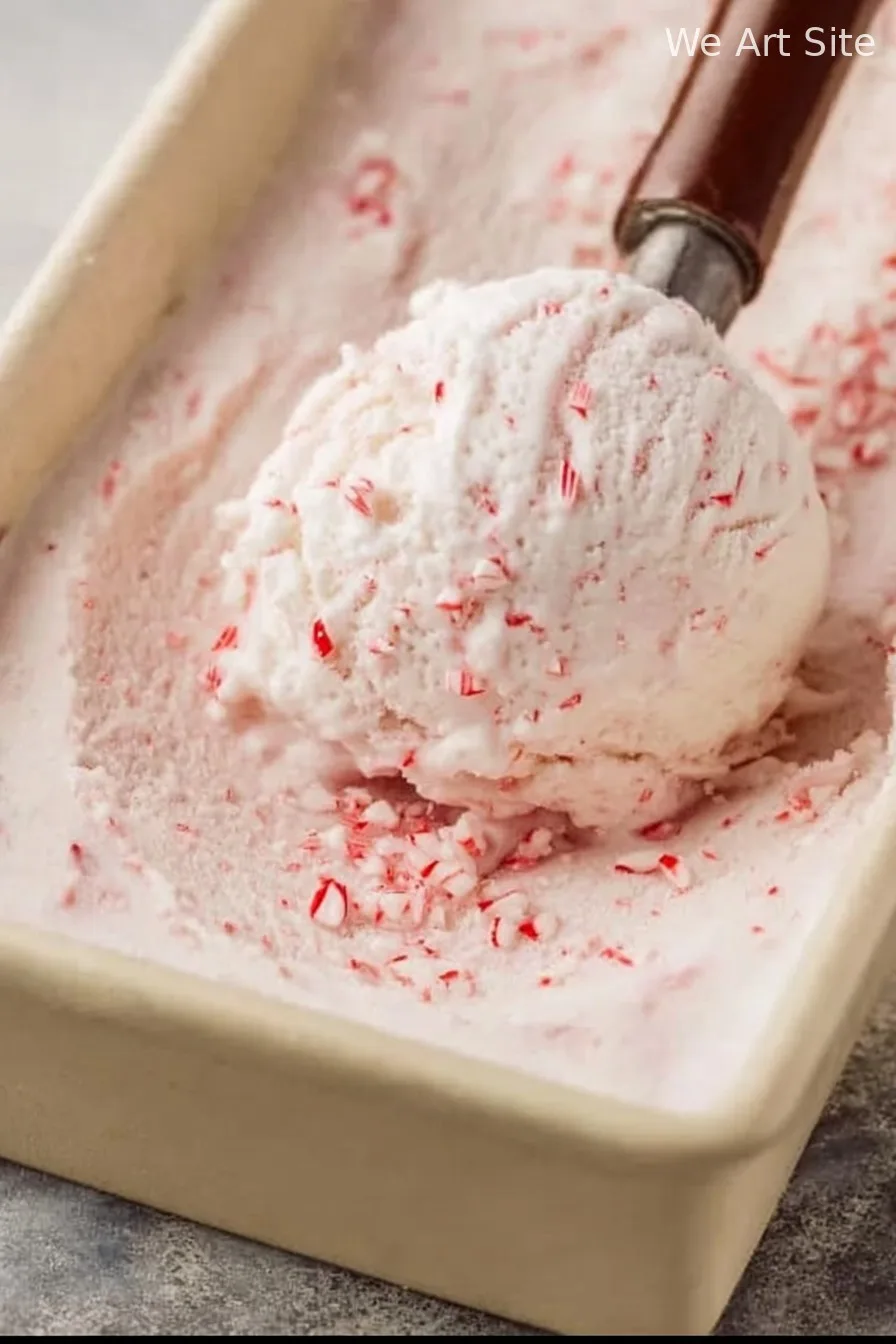
Hey y’all! Ready to churn up something fabulously refreshing? This Pink Peppermint Ice Cream is a dreamy blend of creamy sweetness, zippy mint, and playful pink color—making it the ultimate treat for birthday parties, holiday celebrations, or whenever you crave a cool and colorful dessert. Plus, it’s super easy to whip up right at home. Let’s get cooking!
Why You’ll Love This Pink Peppermint Ice Cream
- Beautifully pink and visually festive—ideal for holidays and parties.
- Balanced peppermint flavor that’s refreshing, never overpowering.
- Creamy, rich texture thanks to a traditional custard base.
- Customizable with your favorite toppings or mix-ins.
- Simple ingredients and easy step-by-step instructions—no fuss!
Ingredients for Pink Peppermint Ice Cream
- 2 cups heavy cream
- 1 cup whole milk
- 3/4 cup granulated sugar
- 5 large egg yolks
- 1 1/2 teaspoons pure peppermint extract
- 1/2 teaspoon vanilla extract
- 4-5 drops pink food coloring (or more for deeper color)
- 1/2 cup crushed peppermint candies (plus extra for topping, optional)
- Pinch of salt
How to Make Pink Peppermint Ice Cream
Step 1: Prepare the Custard Base
- In a medium saucepan, combine heavy cream and milk. Warm over medium heat until just steaming—do not boil.
- Meanwhile, whisk egg yolks, sugar, and salt in a separate bowl until thick and pale.
- Slowly pour half the hot milk mixture into the yolks, whisking constantly to temper, then pour back into the saucepan.
Step 2: Cook and Cool the Custard
- Return the pan to medium-low heat. Stir constantly with a wooden spoon until the custard thickens and coats the spoon (170-175°F), about 4-7 minutes.
- Remove from heat immediately and strain through a fine sieve into a large bowl.
- Stir in peppermint extract, vanilla extract, and pink food coloring. Let cool to room temperature, then cover and refrigerate at least 4 hours or overnight.
Step 3: Churn the Pink Peppermint Ice Cream
- Once the mixture is well chilled, pour into your ice cream maker and churn according to manufacturer’s instructions—usually 20-25 minutes.
- In the final 2 minutes of churning, add crushed peppermint candies.
Step 4: Freeze and Serve
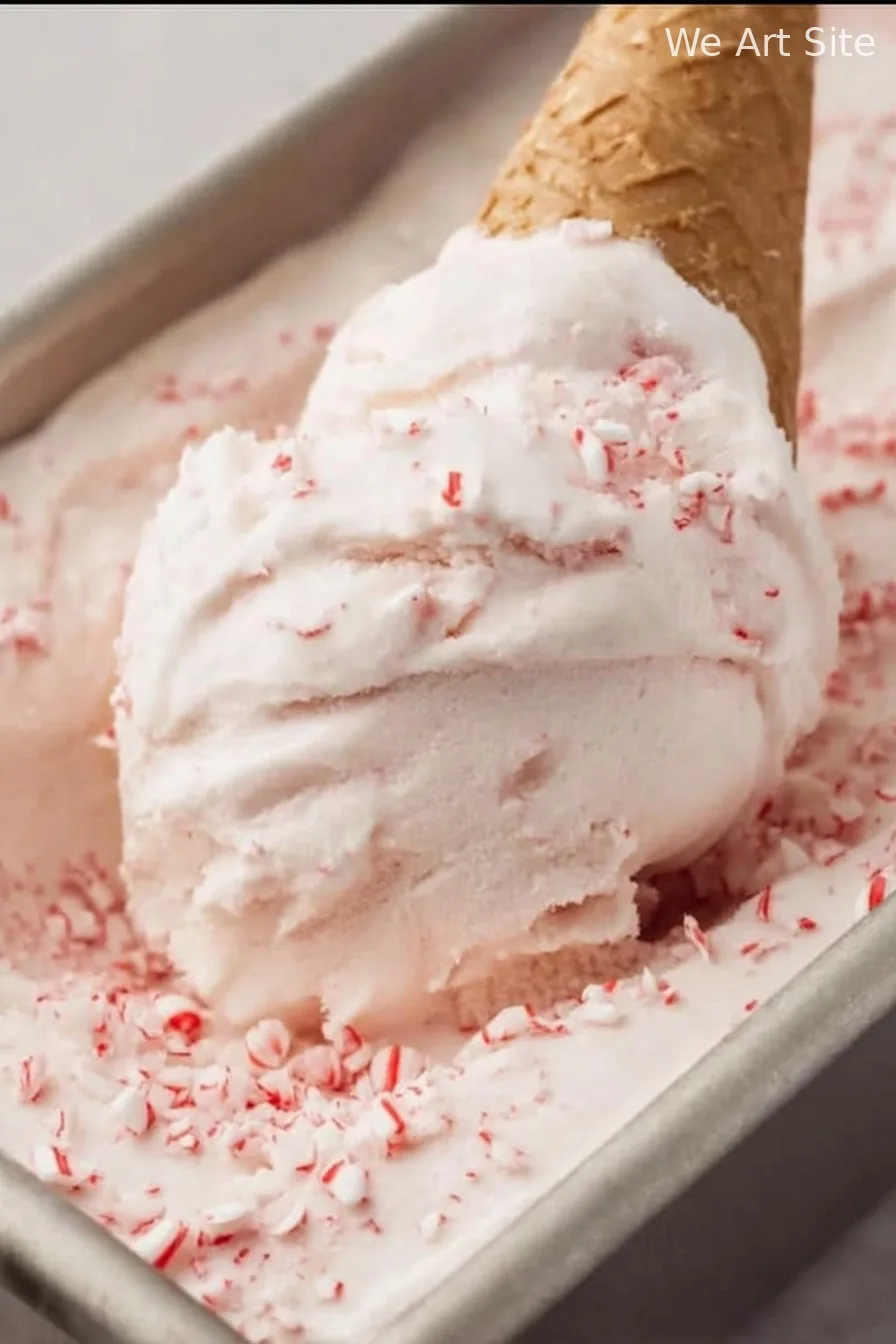
- Spoon the soft ice cream into a loaf pan or airtight container. Swirl in extra crushed peppermint if you like.
- Cover with plastic wrap and freeze for at least 4 hours until firm.
- Scoop, serve, and enjoy!
Notes for the Best Pink Peppermint Ice Cream
- If you don’t have an ice cream maker, here’s a guide on how to make ice cream without a machine.
- Chilling the custard thoroughly improves texture and churn time.
- For natural coloring, use a touch of beet juice instead of food dye.
Pink Peppermint Ice Cream Variations
- Chocolate Chip Peppermint: Stir in 1/2 cup mini chocolate chips in the last 2 minutes of churning.
- Vegan Pink Peppermint: Substitute coconut cream and plant-based milk, and use a vegan sweetener.
- Extra-Minty: Double the peppermint extract for a bolder flavor punch.
Required Equipment for Pink Peppermint Ice Cream
- Medium saucepan
- Mixing bowls
- Whisk
- Ice cream maker
- Fine-mesh sieve
- Loaf pan or airtight container
Storage Instructions for Pink Peppermint Ice Cream
Store Pink Peppermint Ice Cream in an airtight container in the freezer for up to 2 weeks for best flavor and texture. Press parchment paper directly onto the surface before sealing to prevent ice crystals from forming.
Serving Recommendations for Pink Peppermint Ice Cream
- Serve in waffle cones or bowls topped with extra crushed peppermint.
- Pair with fudgy brownies or chocolate sauce for a decadent dessert.
- Delicious alongside chocolate cake or sandwiched between soft sugar cookies.
Pro Tips for Perfect Pink Peppermint Ice Cream
- Don’t boil the custard; gentle heating creates a silky base. Learn more about making ice cream bases.
- Use pure peppermint extract for the cleanest, brightest flavor.
- Add the peppermint candies at the very end to keep them from dissolving and losing crunch (see why).
FAQs about Pink Peppermint Ice Cream
- Can I make Pink Peppermint Ice Cream without eggs?
- Yes! Try a Philadelphia-style base using just cream, milk, and sugar—skip the yolks for a lighter texture.
- Can I make this recipe without an ice cream maker?
- Absolutely—freeze the custard mixture in a shallow dish and stir vigorously every 30 minutes until creamy (about 3-4 hours).
- What’s the best way to crush peppermint candies?
- Place candies in a zip-top bag and crush with a rolling pin or pulse gently in a food processor.
Total Time: 35 minutes active, plus 8 hours chilling/freezing
Prep Time: 20 minutes
Churn Time: 25 minutes
Ingredients
- 2 cups heavy cream
- 1 cup whole milk
- 3/4 cup granulated sugar
- 1/4 teaspoon salt
- 4 large egg yolks
- 1 teaspoon peppermint extract
- 5 drops red food coloring
- 1/2 cup crushed candy canes
Instructions
-
1In a saucepan, combine heavy cream, milk, sugar, and salt. Heat over medium heat until the mixture is steaming but not boiling.
-
2In a separate bowl, whisk egg yolks. Slowly pour a small amount of the hot cream mixture into the yolks, whisking constantly to temper them.
-
3Pour the egg mixture back into the saucepan. Cook over low heat, stirring constantly, until the custard thickens and coats the back of a spoon, about 5–7 minutes.
-
4Remove from heat. Stir in peppermint extract and red food coloring. Let the mixture cool completely, then refrigerate for at least 2 hours.
-
5Churn the chilled mixture in an ice cream maker according to manufacturer’s instructions. In the last 2 minutes, add crushed candy canes.
-
6Transfer ice cream to a lidded container and freeze until firm, about 2 hours. Serve and enjoy!
CLICK FOR NUTRITION INFO
↑
Approximate Information for One Serving
Serving Size:
1 serving
Calories:
320 caloriescal
Protein:
5gg
Fat:
20gg
Saturated Fat:
0g
Trans Fat:
0g
Cholesterol:
0mg
Sodium:
0mg
Potassium:
0mg
Total Carbs:
33gg
Fiber:
0g
Sugar:
0g
Net Carbs:
0g
Vitamin A:
0
Vitamin C:
0mg
Calcium:
0mg
Iron:
0mg
Nutrition Disclaimers
Number of total servings shown is approximate. Actual number of servings will depend on your preferred portion sizes.
Nutritional values shown are general guidelines and reflect information for 1 serving using the ingredients listed, not including any optional ingredients. Actual macros may vary slightly depending on specific brands and types of ingredients used.
To determine the weight of one serving, prepare the recipe as instructed. Weigh the finished recipe, then divide the weight of the finished recipe (not including the weight of the container the food is in) by the desired number of servings. Result will be the weight of one serving.
Did you make this recipe?
Please consider Pinning it!!