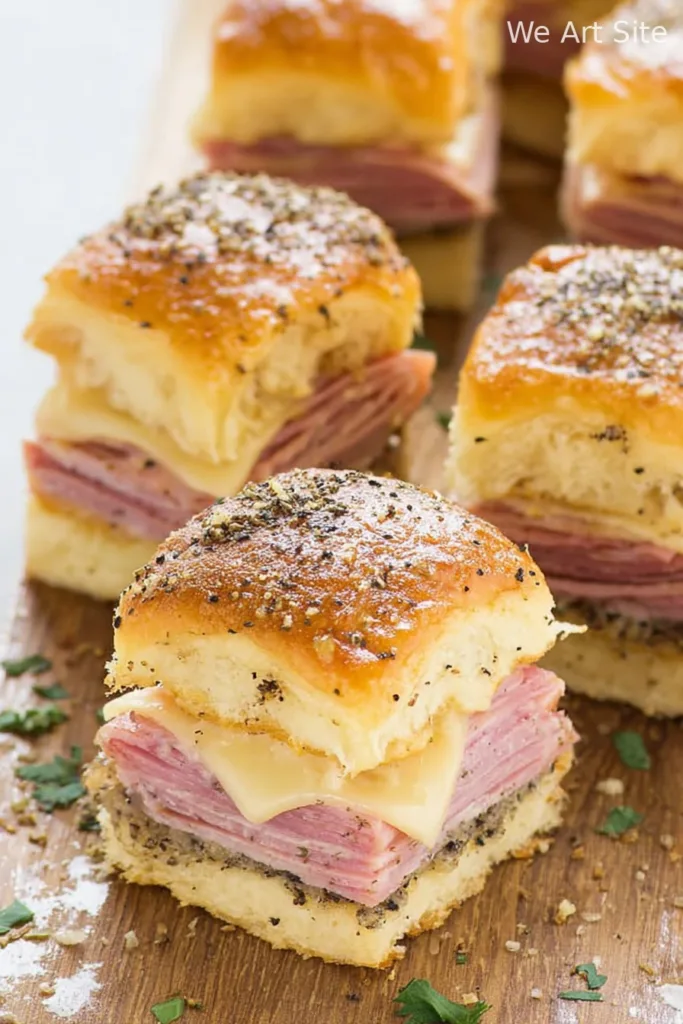
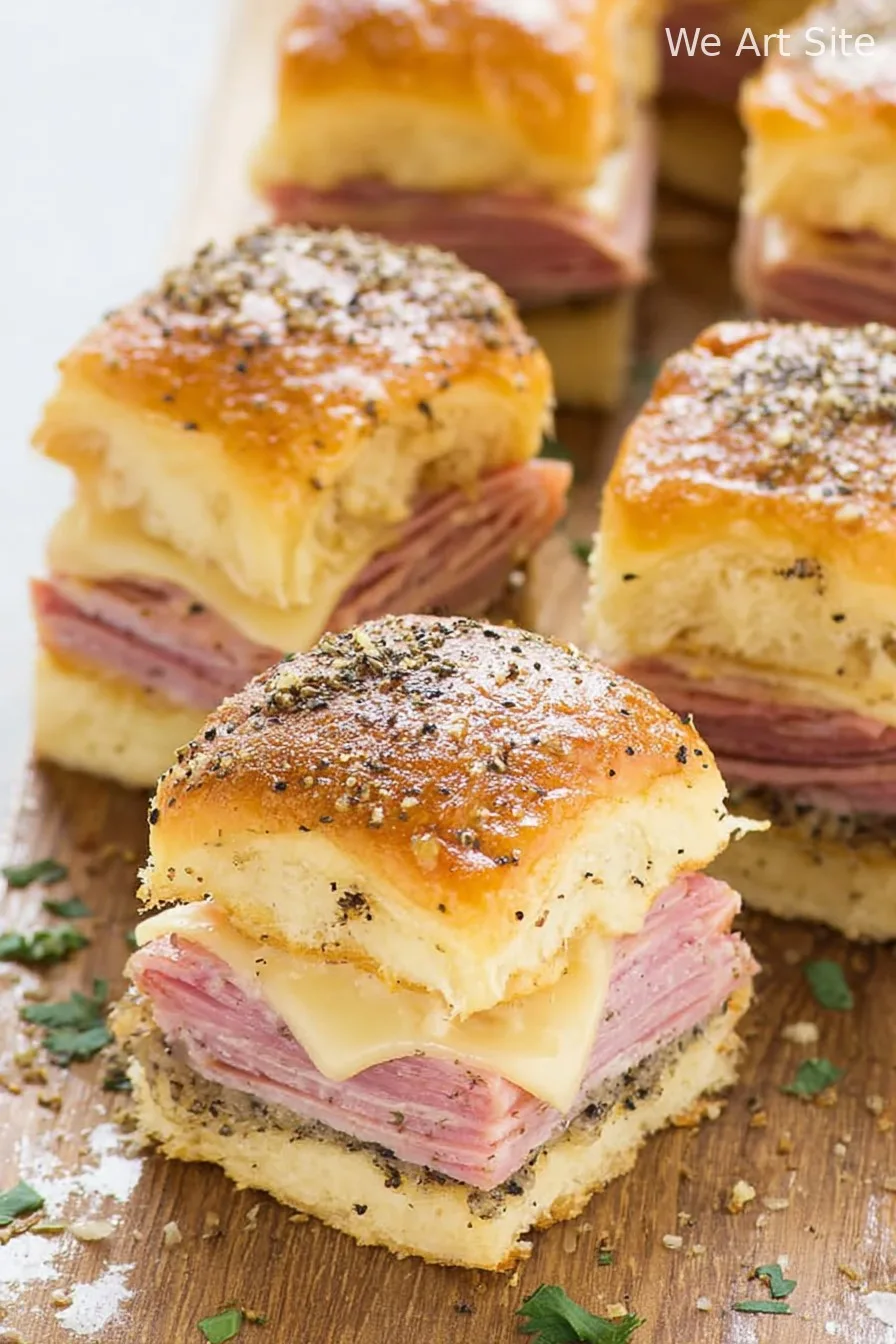
Hey You, Let’s Make Ham and Cheese Sliders on Hawaiian Rolls!
Okay, so I’m just going to come clean: these Ham and Cheese Sliders on Hawaiian Rolls have rescued me from more than one potluck-induced panic attack. (There was one backyard party where I totally forgot to preheat the oven and, let’s just say, the drinks carried us through those first 20 minutes). These little cheesy, savory, melt-in-your-mouth sandwiches are the ultimate crowd-pleaser—even for picky eaters or that one uncle who claims to ‘not like sweet bread’ yet goes back for seconds every time. Oh, and pro tip: if you’re making these with little ones around, prepare for some sticky fingers but big smiles.
Why You’ll Love This (Honestly, There’s No Downside)
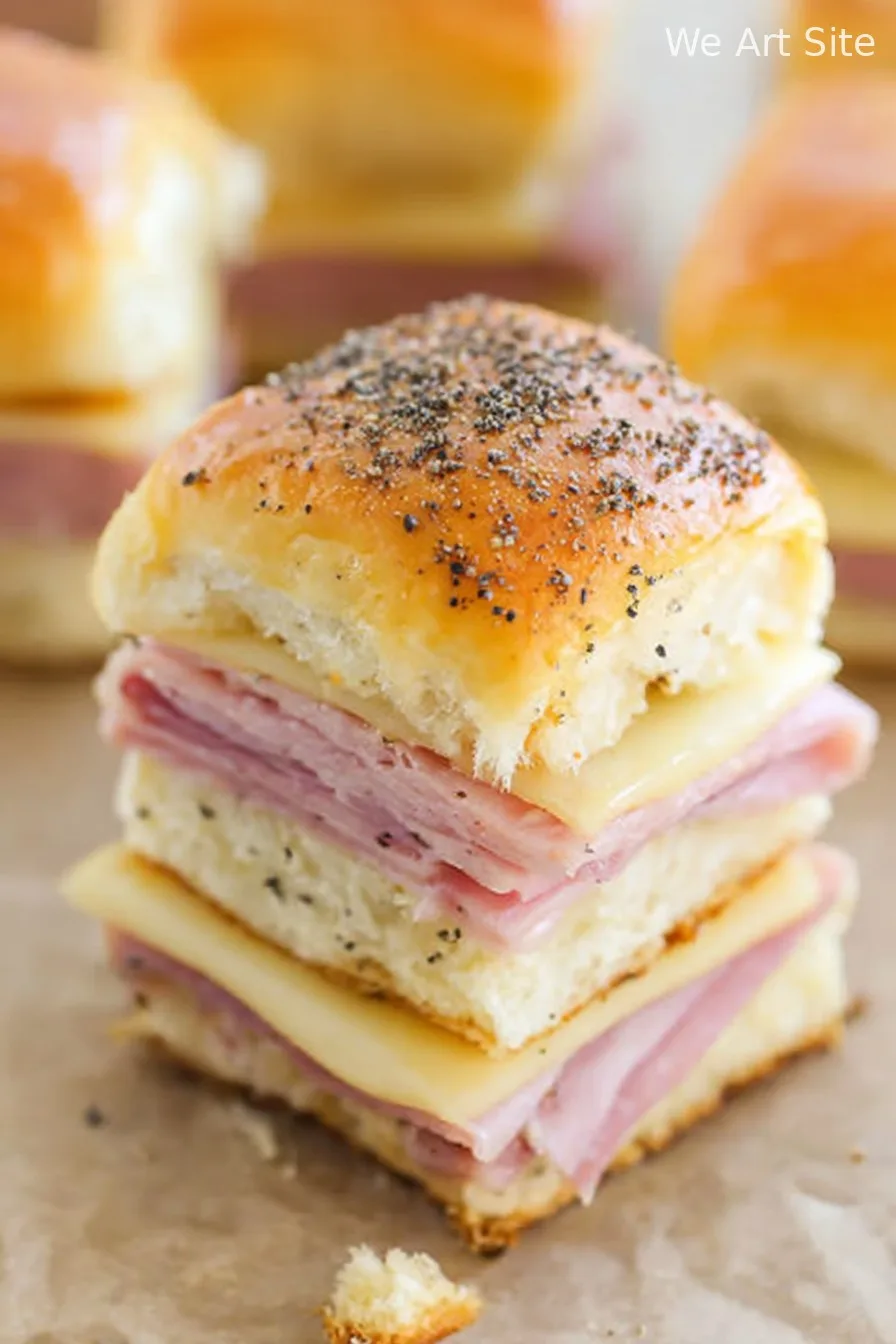
I make these when I want something people will devour before I even sit down (family movie night, anyone?). My spouse once tried to ‘save two for lunch tomorrow’ – spoiler: not a crumb left. The rolls are soft, the cheese is gooey, and the salty ham just works. It’s embarrassingly easy. Sometimes I grumble about having to slice all the rolls in one go, but really, that’s just me looking for an excuse to snack on the cheese (and yeah, I do that every time; try it and tell me you wouldn’t!). And nothing against fancy sliders, but these are the ones I trust when I know I just can’t deal with another kitchen drama.
The Ingredients List (With a Few Swaps)
- 1 pack (12 count) Hawaiian rolls – King’s is the classic, but the store brand is just fine if you ask me
- 1/2 pound deli ham – honey ham is my fave, though black forest works too (have used leftover holiday ham too, if I’m being honest)
- 8-10 slices Swiss cheese – cheddar in a pinch, or even mozzarella; my grandmother says ‘only Swiss!’ but, well…
- 1/4 cup butter, melted – I’ve gone a bit over that on cheat days; never regretted it
- 1 tablespoon yellow mustard (Dijon if you want to feel fancy)
- 1 teaspoon Worcestershire sauce – sometimes I just leave this out, can’t always find it in my cupboard
- 1 teaspoon dried minced onion – or sub with onion powder, or skip if that’s your mood
- Poppy seeds for sprinkling – optional, unless you’re aiming for that classic deli look
How I Put These Together (Don’t Stress It!)
- Prep Work: Preheat your oven to 350°F (that’s about 175°C). Grease a 9×13” baking dish if you want less cleanup later. I usually forget this step and scrape some goodness off the dish later—still good!
- Slice ‘Em: Without separating the rolls, slice the whole sheet horizontally with a serrated knife (like slicing a big bagel). It’s easier than it sounds. Don’t fuss if it’s not perfectly even—it’s all getting gooey anyway.
- Layering: Plop the bottom half into the pan. Spread a generous layer of ham (slightly overlapping), then the cheese. Sometimes I tuck in a second layer of ham if I’m feeling wild. Top it with the other half of the rolls. This is where I usually sneak a little corner of cheese.
- Mix & Pour: Stir together the melted butter, mustard, Worcestershire, and onion. A fork works better than a whisk for some reason. Pour (or brush, if you’re fancy) all over the tops. Sprinkle the poppy seeds if you remember—sometimes I forget and, honestly, no one complains.
- Rest: Cover with foil. Let them sit for 10 minutes so everything soaks up. I’ve skipped this when I’m in a rush, but they end up a bit messier.
- Bake: Slide the pan in, bake for 15–18 minutes. After that, ditch the foil and go another 2–4 minutes until the tops are golden brown and you start getting hungry just from the smell.
- Slice & Serve: Rest for 5 minutes (if you can stand it). Cut through with a bread knife and serve warm. Don’t worry if cheese oozes out or things look wonky, that just means you did it right.
Real-World Notes (a.k.a. From the School of Hard Knocks)
- If your cheese isn’t melting right, try letting them sit in the oven with the heat off for five minutes—worked for me when I got distracted folding laundry one time.
- I once left them uncovered the whole time. Crunchy on top, but the kids wouldn’t eat the edges (guess who did?).
- Double the melted butter if you want things wild, but, wow, it can get messy.
What Else I’ve Tried (Variations, Some Funny, Some Yummy)
- Sweet & Spicy: Added a thin layer of pepper jelly under the ham. Better than you’d think.
- Turkey/Cheddar: Yep, just swap out ham and cheese for turkey and cheddar—pretty solid, especially with a dab of honey mustard.
- Veggie Version: Tried it with roasted veggies and provolone; my kids weren’t fooled. Yours might be braver than mine, though.
- Jalapeño Popper Style: Chopped jalapeños and a little cream cheese with the ham—I loved it, but the rest of the family? Not so much (more for me, I suppose).
Equipment You (Probably) Need
- 13×9 inch baking dish—though if you’ve only got a round casserole dish, just squeeze ’em in, they squish up fine (the more the merrier).
- Good bread knife or something serrated for slicing rolls. I’ve used a steak knife in a pinch—bit of a mess but serviceable.
- Brush for butter mix, or just use the back of a spoon. Or your fingers, if you’re brave and it’s not too hot!
Keeping Leftovers (If There Are Any… Ha!)
Honestly, unless you’re making, like, triple batches, these probably won’t stick around. They’re best fresh, but if you have extras, wrap them in foil and stash in the fridge. Reheat in the oven at 325°F for about 10 minutes—microwave is fine but, things get a tad soggy. Not terrible, but not prime.
How We Serve These Up (Family Quirks Included)
We eat these straight out of the baking dish (classy, I know). But if company’s over, I’ll add a simple green salad or some kettle chips. My neighbor insists they’re best with coleslaw—couldn’t hurt, right? Oh, and don’t forget sweet tea or cold beer, depending on the crowd. Sometimes, if it’s cold out, a crockpot of chili on the side is absolutely spot on.
Pro Tips (Learned the Hard Way, Not Gonna Lie)
- Don’t rush the resting time after baking! I did once—total cheese explosion when cutting. (Tasted great, but messy as all get out.)
- Slicing rolls while they’re cold is easier than room temp, but honestly, I usually just do whatever’s quickest. As long as nobody loses a finger!
Wait, What If…? (FAQ—Because Friends Always Ask)
- Can I prep these ahead? Sure thing! Assemble everything, cover, and refrigerate up to 4 hours. Just give them an extra 5 minutes in the oven if coming cold form the fridge.
- Do I have to use Hawaiian rolls? Nope, but trust me—other rolls just aren’t the same. If you want to see why, read up here.
- What cheese melts best? Swiss is classic, but I’ve had good luck with Gruyere and provolone. If you like it stringy, mozzarella does the trick (though it’s a stretch – ha!).
- Where can I get more easy party food ideas? Try Delish’s appetizer guide—lots of fun stuff there, honest.
- Freezer friendly? Eh, not exactly. The rolls get a bit weird when thawed. Try it if you have to, but… I’m not promising magic.
P.S. If you actually want to get all nerdy about slider recipes, SeriousEats did a great deep dive here. But—personally—I just wing it most days and it always turns out just fine.
Ingredients
- 12 Hawaiian sweet rolls
- 12 slices deli ham
- 6 slices Swiss cheese, halved
- 1/4 cup unsalted butter, melted
- 1 tablespoon Dijon mustard
- 1 tablespoon poppy seeds
- 2 teaspoons Worcestershire sauce
- 1/2 teaspoon garlic powder
Instructions
-
1Preheat the oven to 350°F (175°C). Lightly grease a 9×13-inch baking dish.
-
2Slice the Hawaiian rolls horizontally without separating them. Place the bottom halves in the prepared baking dish.
-
3Layer the ham slices evenly over the rolls, then top with the Swiss cheese. Place the top halves of the rolls over the cheese.
-
4In a small bowl, mix together melted butter, Dijon mustard, poppy seeds, Worcestershire sauce, and garlic powder. Brush this mixture evenly over the tops of the rolls.
-
5Cover the baking dish with foil and bake for 15 minutes. Remove the foil and bake for an additional 5 minutes, or until the tops are golden and the cheese is melted.
-
6Let sliders cool slightly before cutting and serving. Enjoy warm.
Approximate Information for One Serving
Nutrition Disclaimers
Number of total servings shown is approximate. Actual number of servings will depend on your preferred portion sizes.
Nutritional values shown are general guidelines and reflect information for 1 serving using the ingredients listed, not including any optional ingredients. Actual macros may vary slightly depending on specific brands and types of ingredients used.
To determine the weight of one serving, prepare the recipe as instructed. Weigh the finished recipe, then divide the weight of the finished recipe (not including the weight of the container the food is in) by the desired number of servings. Result will be the weight of one serving.
Did you make this recipe?
Please consider Pinning it!!

