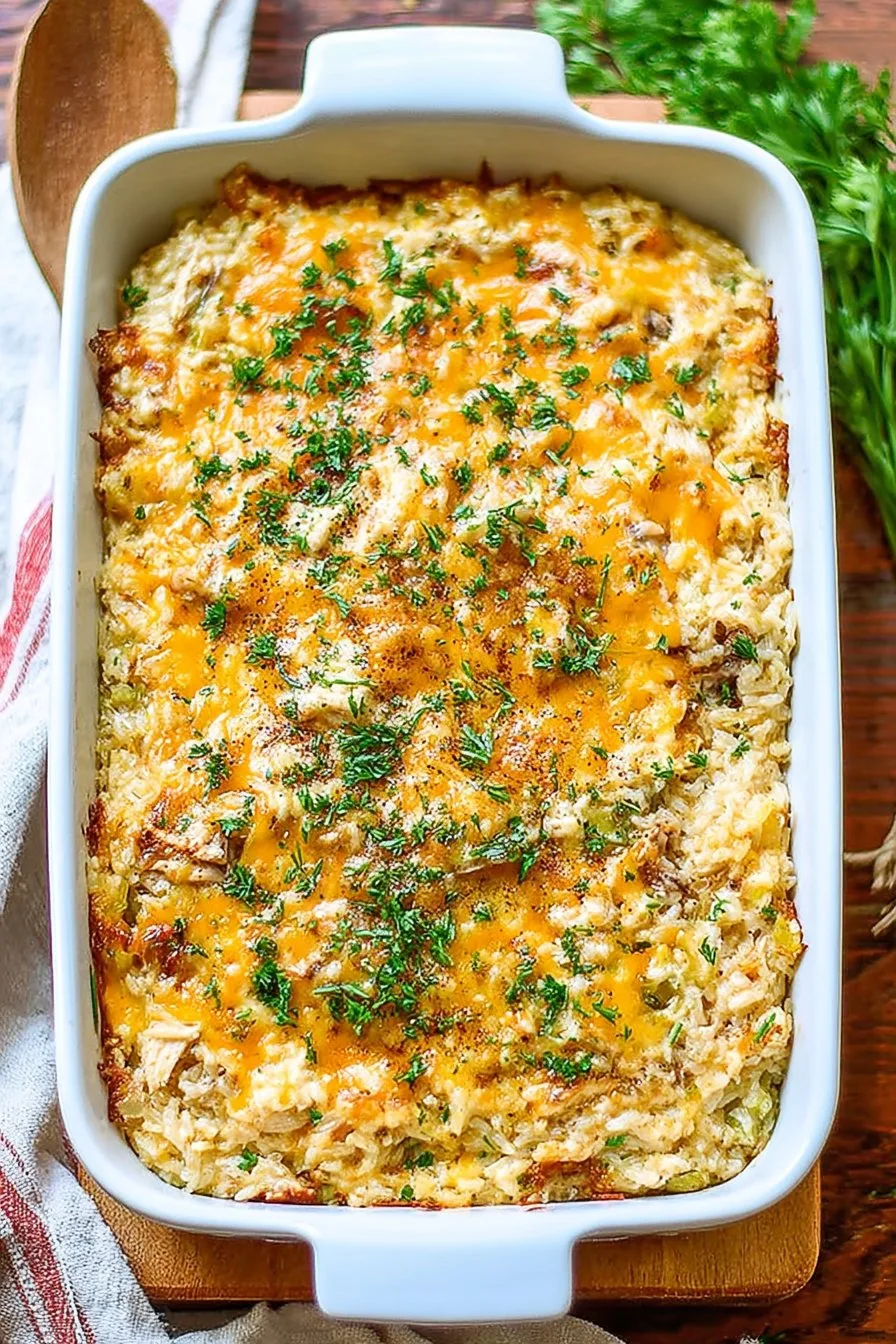
Let Me Tell You About My Cheesy Chicken and Rice Casserole
Alright, so, you know those days when you open the fridge and just sigh at the random bits staring back at you? That’s how I first stumbled onto this Cheesy Chicken and Rice Casserole recipe. My mom used to throw this together on busy nights—usually with half the ingredients swapped for whatever was on hand. I remember once she used canned tuna instead of chicken (which, uh, was not a fan favorite). But honestly, this casserole has saved my sanity more times than I can count, especially when the kids come stampeding in asking what’s for dinner and I’m juggling about fifty other things. Don’t judge me, but sometimes I even eat it cold from the fridge.
Why You’ll Love This (Or At Least, Why I Do)
I make this when I need dinner to basically cook itself. My family goes crazy for it because it’s, well, unapologetically cheesy and you can almost always find the ingredients floating around the pantry. It’s comforting in a way only something smothered in cheese can be. (Even my picky cousin who claims he ‘hates’ rice sneaks seconds.) Oh, and if I’m feeling really lazy? One pot, less dishes. Because who wants to do dishes after anything?
What You’ll Need (But Roll With Substitutions)
- 2 cups cooked chicken, shredded or chopped (Rotisserie is my secret weapon. Leftovers, deli chicken—honestly, anything goes. My grandma swore by boiling her own, but I’m not that patient most nights.)
- 1 cup uncooked white rice (Sometimes I use brown if I’m pretending to be healthy, but it takes a bit longer. Instant rice works in a pinch, just shave off some liquid.)
- 1 can (10.5 oz) cream of chicken soup (Cream of mushroom is great too. Or, if you’re feeling fancy, make a quick roux and skip the can altogether. I almost never do.)
- 1 cup chicken broth (Veggie broth or water with a bouillon cube does the trick. I’ve even used half milk, half water when I ran out.)
- 1 1/2 cups shredded cheddar cheese (Sharp cheddar, Colby-Jack, a handful of mozzarella—whatever’s in the fridge. My neighbor uses pepper jack and swears by it.)
- 1/2 cup frozen peas (Or, you know, carrots, broccoli florets, even corn—whatever you like or what’s lurking in the freezer.)
- 1/2 onion, diced (Totally optional. I skip it if I’m not in the mood. Or if I can’t be bothered.)
- 1 garlic clove, minced (Or more, if vampires are a concern.)
- Salt and pepper to taste
- Dash of paprika or cayenne (for a tiny kick, but most days I forget and it’s still good)
- Optional: 2 tbsp butter (for sautéing onion/garlic, but you can skip it)
How I Actually Make It (Plus Where I Mess Up)
- Preheat your oven to 375°F (190°C). Or a bit lower if your oven runs hot; mine seems to have moods.
- If you’re using onion and garlic, melt butter in a skillet and sauté them until soft. Otherwise, just toss them in raw—sometimes I do, and it’s fine. Maybe not amazing, but good enough.
- In a big mixing bowl, mix the soup, broth, uncooked rice, half the cheese, all the veggies, and your chicken. Stir it up. This is where I usually sneak a taste (I know, raw rice, but trust me, it’s mostly fine).
- Add the sautéed veggies (if you bothered), then season with salt, pepper, and whatever extra spice you’re brave enough for. Mix again. If it seems gloopy, don’t panic—it always looks weird before baking.
- Grease a 9×13-inch baking dish (a splash of oil and a paper towel, or just spray it—no need to get fancy). Dump everything in and spread it out.
- Cover tightly with foil and bake for 40 minutes. Take the foil off, sprinkle the rest of the cheese on top, and bake another 10-15 minutes until bubbly and golden (if you forget this step, it’ll still taste good, promise).
- Let it sit for at least 5 minutes before digging in. Or, if you’re me, try to serve it too soon and burn your tongue every time.
Notes I Wish I’d Known (and a Tangent)
- The rice will cook in the oven, promise. I used to pre-cook it and just ended up with mush.
- If it looks a bit wet when you take off the foil, it usually sets up as it cools.
- Once I tried adding cream cheese for extra richness. Actually, I find it works better if you keep it simple—too much dairy makes it heavy.
- Unrelated side note: don’t try to balance your phone and a bowl of this on the couch. Ask me how I know.
Fun Experiments (and a Fail or Two)
- I’ve swapped in cooked turkey after the holidays—no complaints.
- Broccoli instead of peas, sometimes both, sometimes neither. My kid insists on corn. Meh, he’s the boss.
- One time, I tried throwing in uncooked pasta instead of rice. Let’s just say it did not work. Pasta stayed crunchy. Would not recommend!
Equipment (Or What I Use When I Can’t Find My Casserole Dish)
- 9×13-inch baking dish (any deep-ish ovenproof pan works, even that giant Pyrex bowl you never use)
- Mixing bowl (otherwise, just mix it all in the baking dish. Less to wash!)
- Foil (in a pinch, I once used a cookie sheet as a lid. It worked. Sort of.)
How to Store This (If You Even Have Leftovers)
Stick it in the fridge, covered, and it’ll last 2-3 days. (Though honestly, in my house it never lasts more than a day!) If you want to freeze it, it does okay; the rice can get a little mushy, but it’s still tasty enough for a quick lunch. Reheat in the microwave or oven, and just add a splash of broth if it’s a bit dry.
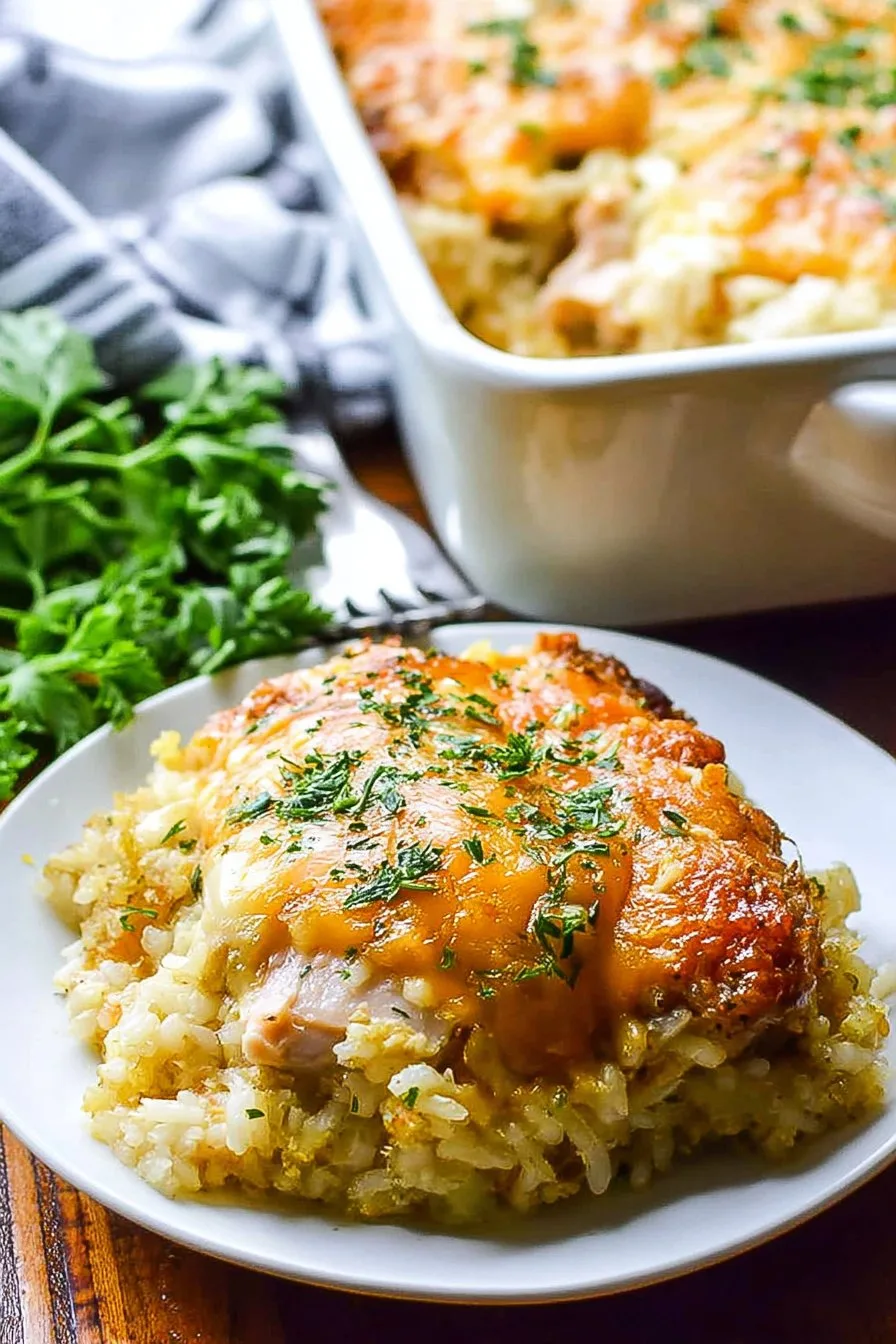
Serving It Up (The Real Way)
I like to sprinkle a bit of fresh parsley on top if I’m feeling extra. Or, serve it with a side salad if I’m pretending to be healthy. My family’s favorite is to have it with a slab of garlic bread—because carbs on carbs is a way of life. Oh, and if you’re feeling wild, a drizzle of hot sauce wakes things right up.
Stuff I Learned the Hard Way (Pro Tips?)
- Don’t skip the foil the first time you bake it. I once tried rushing this step and regretted it because the rice was crunchy. Not in a good way.
- Let it rest! It sets up and slices so much better. But if you can’t wait, just scoop and embrace the mess.
FAQ (Real Questions, Real Answers)
- Can I use raw chicken? Actually, I wouldn’t recommend it—the rice and chicken don’t cook at the same speed. Precooked is way easier.
- Is there a dairy-free version? Yeah, you can swap in a non-dairy cheese and use coconut cream or a vegan soup; my friend swears by the stuff from Minimalist Baker.
- Why is my rice crunchy? Probably needed a bit more liquid or baking time. Or maybe your oven’s as quirky as mine.
- Can I make it ahead? For sure! Sometimes I think it tastes better the next day. Just assemble, cover, and refrigerate—add about 10 minutes to the bake if it’s cold form the fridge (see, told you I can’t spell sometimes).
- Can I double this? Oh you bet. Just use a bigger pan or two, and maybe rotate them halfway if your oven’s uneven.
If you want to geek out over more casserole wisdom (or just need a laugh), check out this Food52 article on casserole mistakes. Trust me, I’ve made every single one.
Ingredients
- 2 cups cooked chicken, shredded
- 2 cups cooked white rice
- 1 can (10.5 oz) cream of chicken soup
- 1 cup sour cream
- 2 cups shredded cheddar cheese, divided
- 1 cup frozen peas and carrots, thawed
- 1/2 cup milk
- 1/2 teaspoon garlic powder
- 1/2 teaspoon salt
- 1/4 teaspoon black pepper
Instructions
-
1Preheat oven to 350°F (175°C). Grease a 9×13-inch baking dish.
-
2In a large bowl, combine cooked chicken, cooked rice, cream of chicken soup, sour cream, 1 1/2 cups cheddar cheese, peas and carrots, milk, garlic powder, salt, and black pepper. Mix until well combined.
-
3Spread the mixture evenly into the prepared baking dish.
-
4Sprinkle the remaining 1/2 cup cheddar cheese over the top.
-
5Bake for 35-40 minutes, or until the casserole is hot and bubbly and the cheese is melted.
-
6Let cool for 5 minutes before serving.
CLICK FOR NUTRITION INFO
↑
Approximate Information for One Serving
Serving Size:
1 serving
Calories:
420 caloriescal
Protein:
25gg
Fat:
22gg
Saturated Fat:
0g
Trans Fat:
0g
Cholesterol:
0mg
Sodium:
0mg
Potassium:
0mg
Total Carbs:
32gg
Fiber:
0g
Sugar:
0g
Net Carbs:
0g
Vitamin A:
0
Vitamin C:
0mg
Calcium:
0mg
Iron:
0mg
Nutrition Disclaimers
Number of total servings shown is approximate. Actual number of servings will depend on your preferred portion sizes.
Nutritional values shown are general guidelines and reflect information for 1 serving using the ingredients listed, not including any optional ingredients. Actual macros may vary slightly depending on specific brands and types of ingredients used.
To determine the weight of one serving, prepare the recipe as instructed. Weigh the finished recipe, then divide the weight of the finished recipe (not including the weight of the container the food is in) by the desired number of servings. Result will be the weight of one serving.
Did you make this recipe?
Please consider Pinning it!!