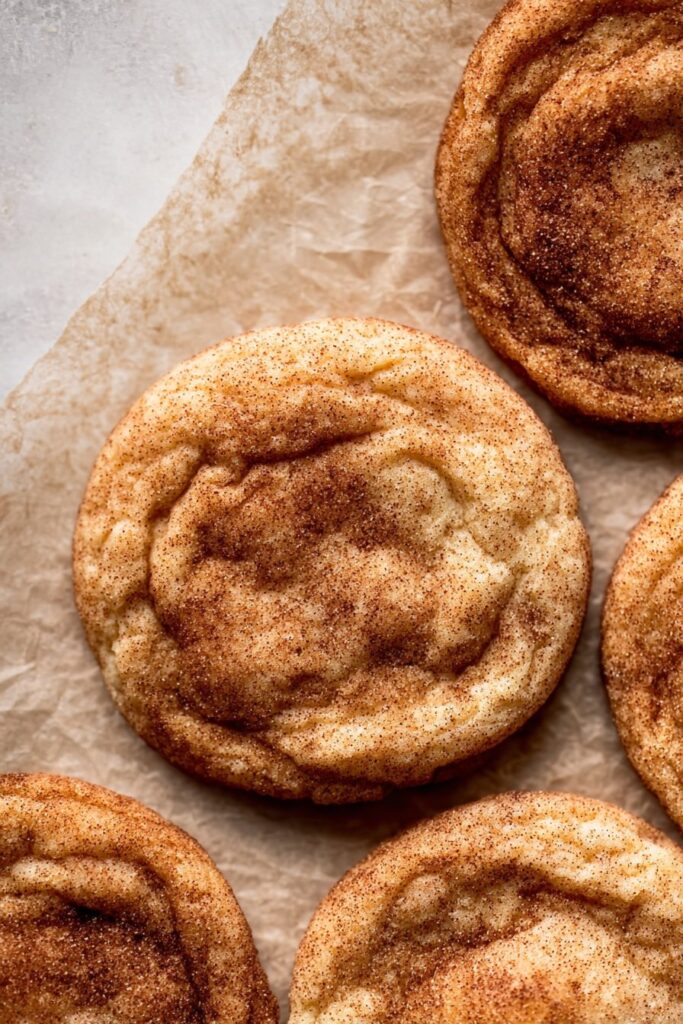
If you’ve ever felt like classic snickerdoodles needed, I don’t know, a touch more drama, you’re in good company. One rainy Saturday (I think it was two years ago?) I decided to brown some butter for my usual snickerdoodles, mostly because the regular butter was still rock solid in the fridge and I was too impatient to wait. The result? Let’s just say my nephews still ask for “the fancy ones with the nutty smell” every time they visit. True story – my kitchen smelled like a bakery in the best possible way, and I may have eaten three straight from the tray, burning my tongue a little. Worth it.
Why I Keep Coming Back to These
I make these Brown Butter Snickerdoodle Cookies when the regular ones just feel a little, well, basic. My family goes absolutely bonkers (in a good way) for them because the brown butter adds this toasty, almost caramelish flavor that’s way more interesting. Oh, and if you’ve ever been frustrated by cookies turning out flat as pancakes, I swear this recipe is more forgiving. Sometimes I even sneak a couple into my lunch for work—because why not?
What You’ll Need (Plus Some Substitutions)
- 225g (about 1 cup) unsalted butter (I’ve used salted in a pinch, just skip the added salt later. My friend swears by Kerrygold, but honestly, any half-decent butter is fine.)
- 375g (3 cups) all-purpose flour
- 2 tsp cream of tartar (don’t skip this! But if you must, a squeeze of lemon juice can work. Sort of.)
- 1 tsp baking soda
- 3/4 tsp salt
- 300g (1 1/2 cups) sugar, divided (one cup for dough, half for rolling—sometimes I use brown sugar if I run out)
- 2 large eggs
- 1 tbsp ground cinnamon (I, uh, actually use a heaping spoonful, but measure if you like things exact)
- 2 tsp vanilla extract (imitation works, but real’s better—though I’m not the vanilla police)
How I Actually Bake These (With a Few Sidetracks)
- Brown the Butter: Put your butter in a light-colored saucepan (makes it easier to see the color change), medium heat. It’ll foam and sizzle. Stir, keep an eye on it, and when it smells nutty and you see brown bits, take it off. Maybe don’t walk away for a phone call now. Pour it into a big mixing bowl and let it cool a bit (otherwise you’ll scramble the eggs later. Ask me how I know).
- Mix the Dry Stuff: In another bowl, combine flour, cream of tartar, baking soda, and salt. Just stir with a fork—no need for a sifter unless you love extra dishes.
- Sugar & Eggs Party: Into your cooled brown butter, add one cup of sugar and the vanilla. Mix until smooth. Crack in the eggs one at a time, beating after each. It’ll look kind of glossy and weird—don’t worry.
- Bring It Together: Add the dry mix to the wet. Stir until just combined. Overmixing? Big no-no. The dough will be a bit sticky. Pop the bowl in the fridge for 30 mins or longer (I once left it overnight by accident and the cookies were even chewier).
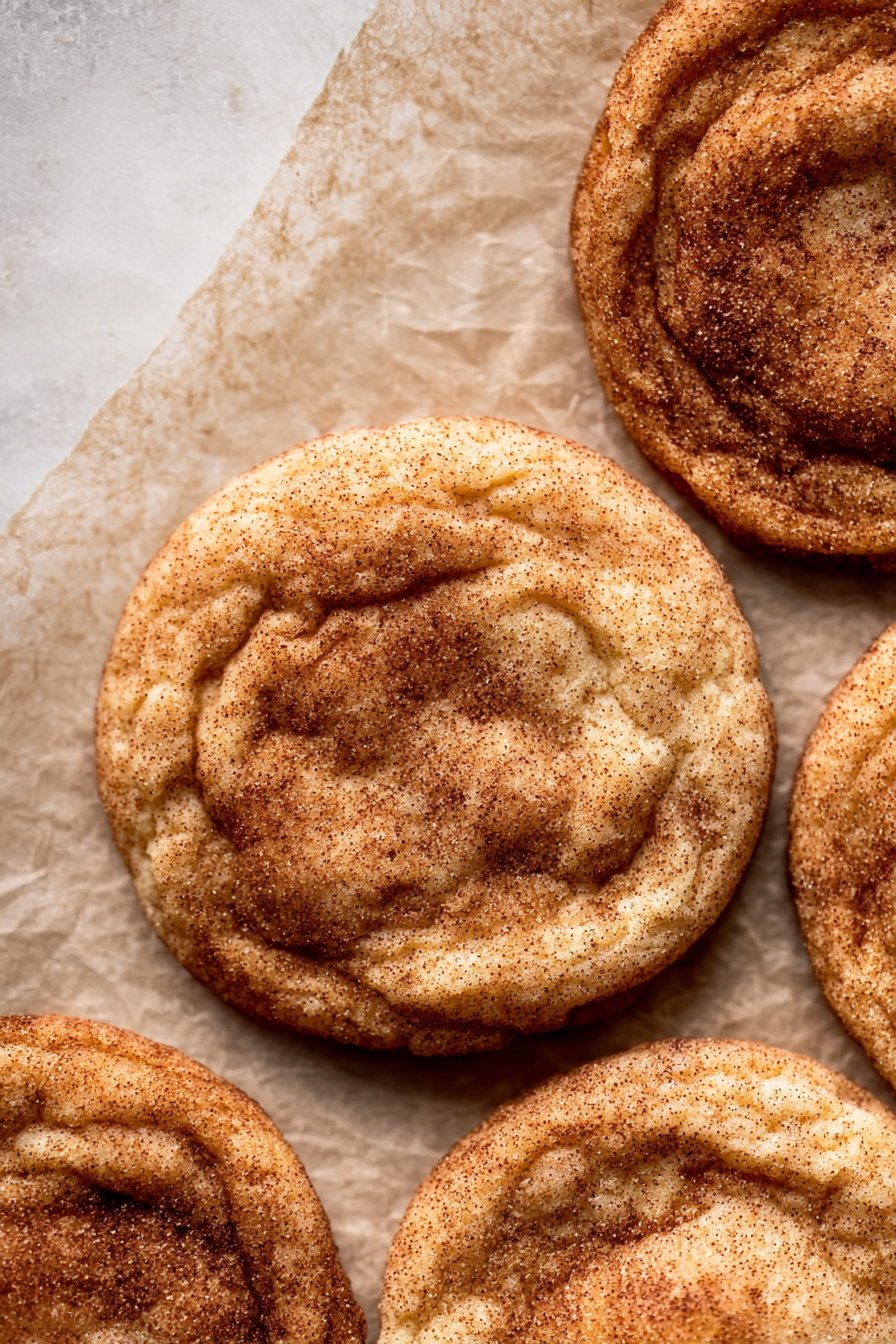
- Cinnamon Sugar Rolling: Combine the rest of your sugar with cinnamon in a shallow bowl. Scoop dough (about a golf-ball size; I use a spoon because my cookie scoop broke ages ago), roll it in the cinnamon sugar. Place on a baking tray lined with parchment, a few fingers apart.
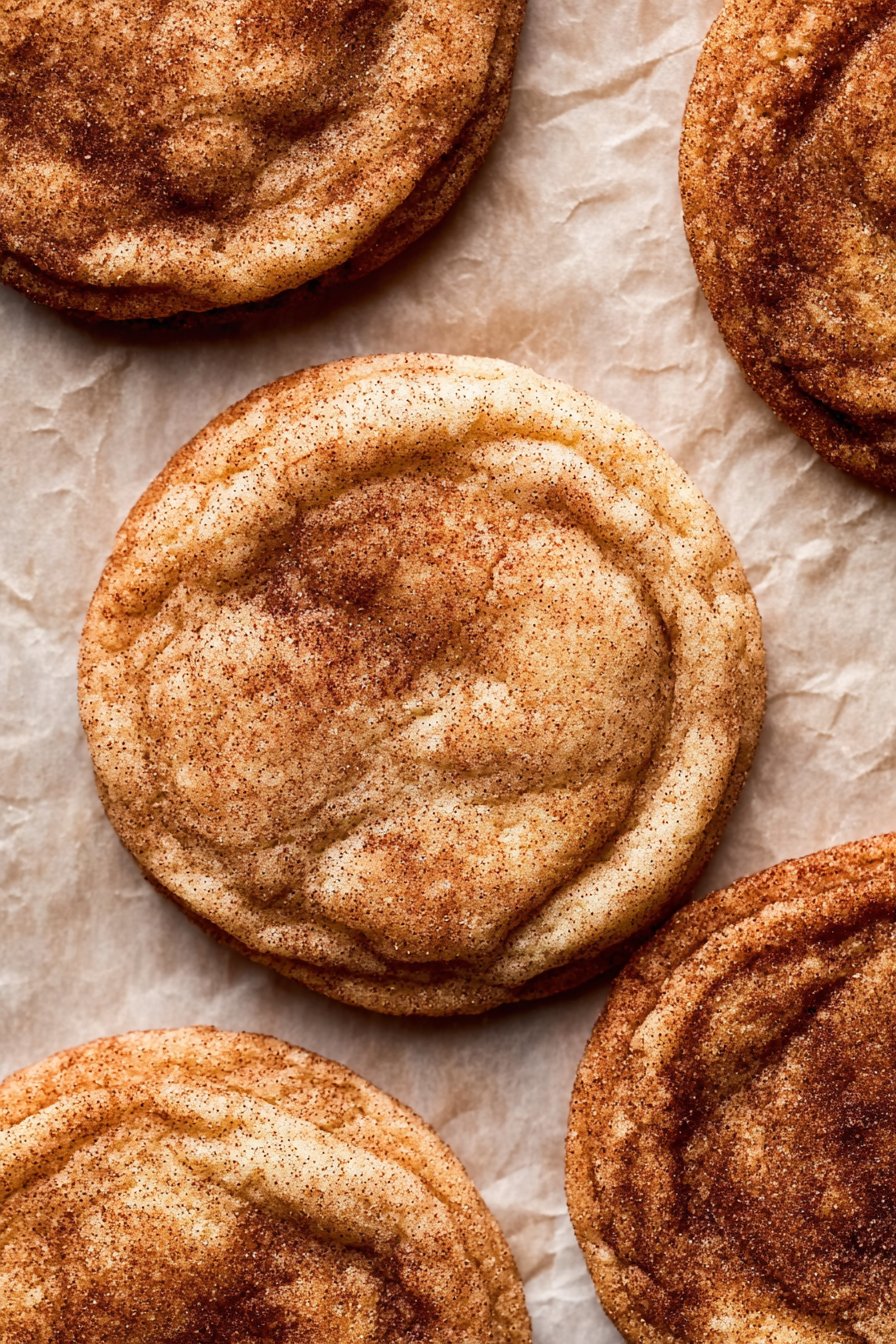
- Bake: Oven goes at 180°C (350°F), bake for 10–12 minutes until the edges are just golden. The centers always look a bit underdone but set as they cool. This is where I usually sneak a taste (careful, it’s lava).
Notes: Stuff I Learned the Hard Way
- If you use warm butter, the dough will be gloopy and your cookies will spread too much. I, um, learned this the messy way.
- Chilling longer makes the cookies thicker and chewier. But if you’re impatient, they’re still good with just 20 minutes in the fridge.
- Don’t forget the cream of tartar. It gives that signature tang—otherwise, they’re just cinnamon cookies. Not the end of the world, but not a snickerdoodle either.
Variations I’ve Tried (Some Good, One Not So Good…)
- Swap half the flour for whole wheat: A bit nuttier and firmer. Not bad.
- Add a handful of white chocolate chips: Sweet overload, but my niece loved them.
- Once tried using coconut oil instead of butter. Let’s just say, it was a regret. Don’t do it unless you want coconut flavored pancakes.
Equipment (and Some Quick Fixes)
- Mixing bowls – any will do. I’ve mixed in a big saucepan before, honestly.
- Light-colored saucepan for browning butter (you can use a regular pan, but keep your eye on it)
- Electric mixer is nice, but a whisk and strong arm work too (I’ve done it after an arm workout, probably not recommended).
- Baking tray and parchment – or just grease the tray if you’ve run out. Been there.
- A cookie scoop: lost mine, so regular spoons work fine. The cookies don’t seem to mind.
Storing (Not That They Last Long)
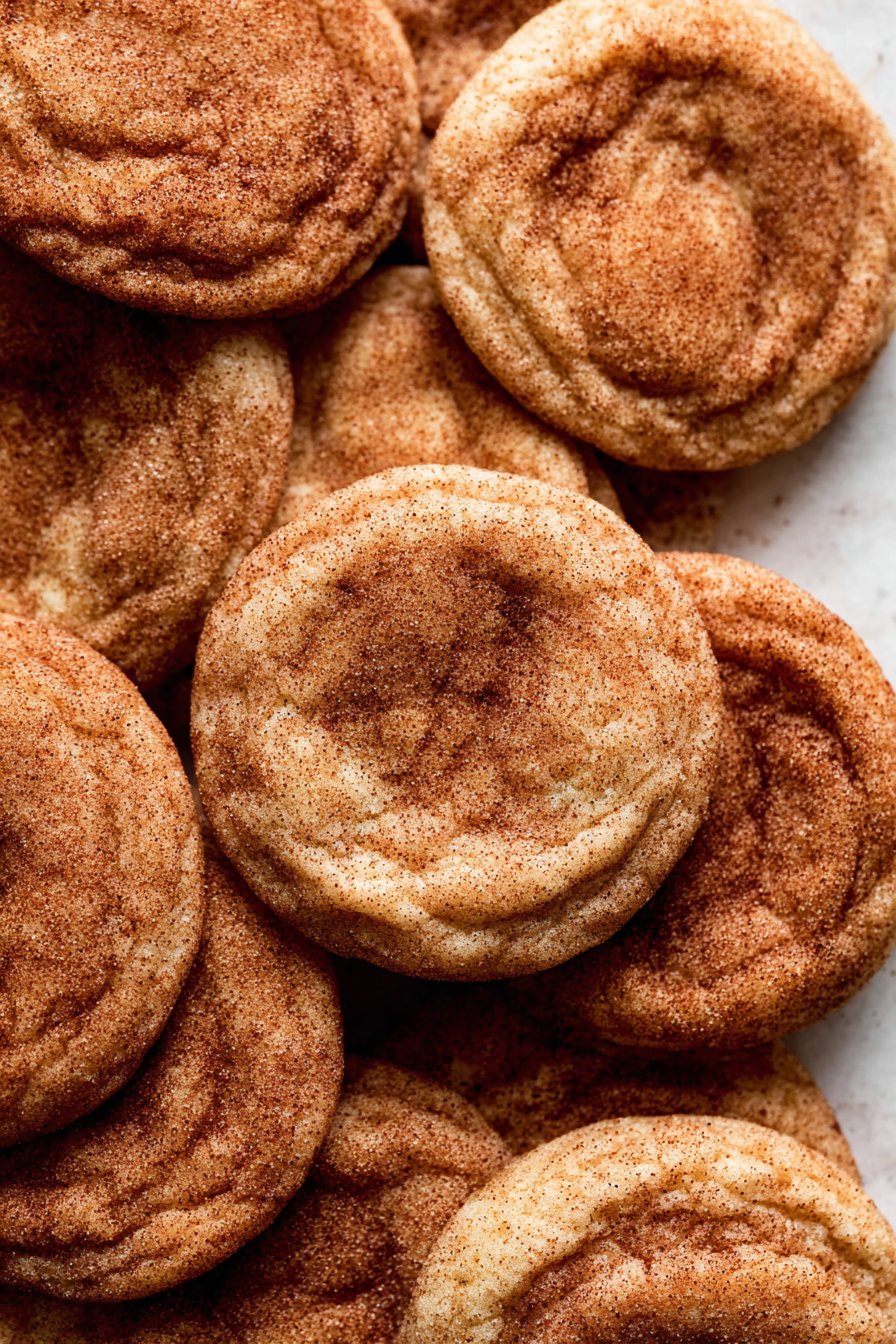
Keep the cookies in an airtight tin or even a zipper bag on the counter for about 3 days (though honestly, in my house it never lasts more than a day!). They freeze alright too—just thaw them at room temp or give them a quick zap in the microwave.
How We Serve Them at Home
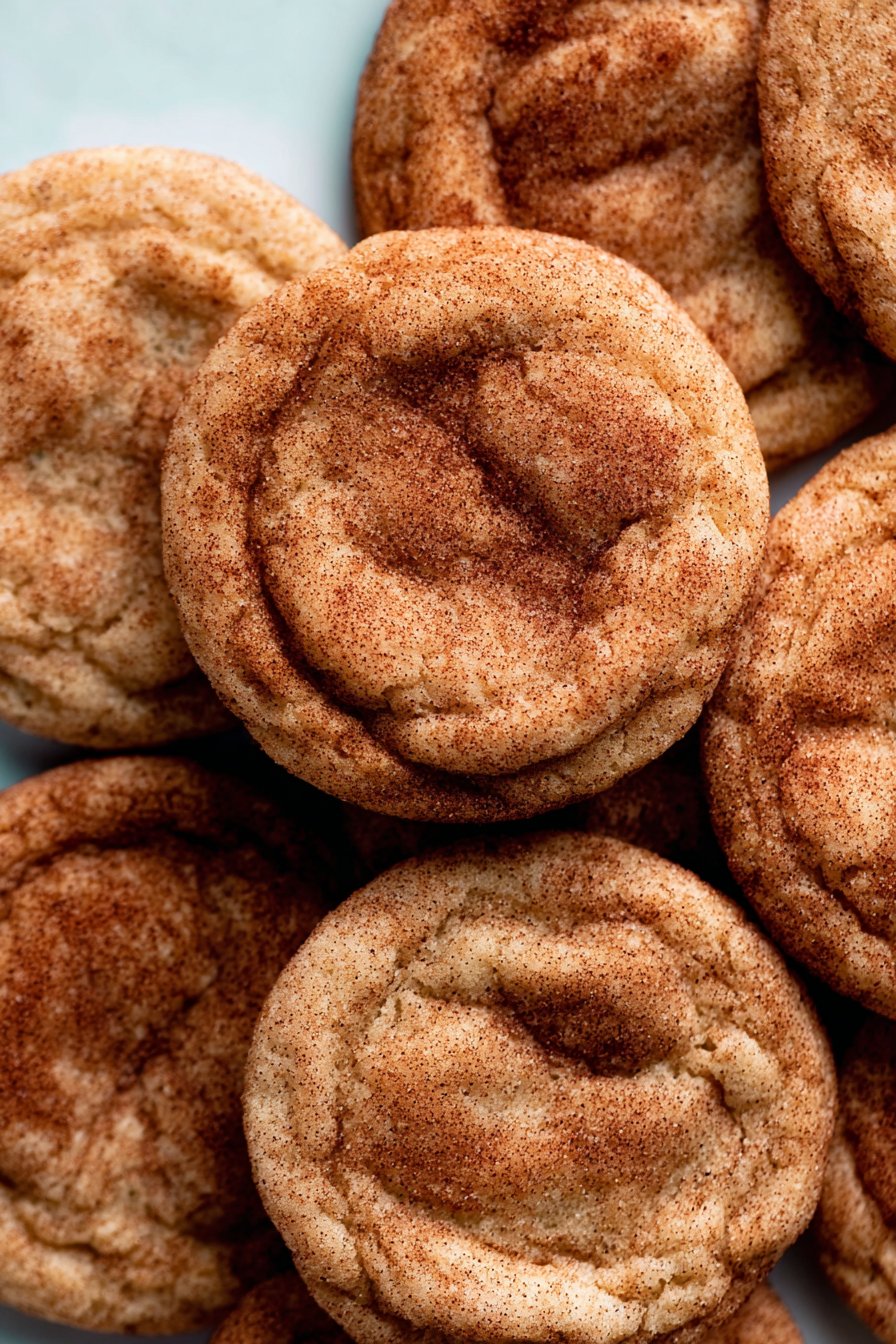
Honestly, I love dunking them in my morning coffee (controversial, I know). My little cousin insists on sandwiching two with vanilla ice cream in the middle. If you’re feeling fancy, a sprinkle of flaky salt on top before baking is surprisingly good.
Things I Wish I Knew Earlier (Pro Tips?)
- I once tried to rush the butter cooling step and ended up with weird, dense cookies. Actually, I find it works better if you give the butter at least 10 minutes to cool.
- Don’t overcrowd the tray—seriously, they spread more than you think (my first batch turned into one giant cookie. Delicious, but messy).
- And if you’re doubling the batch, mix the dough in two rounds. My mixer nearly gave up once—smelled like it was burning.
Questions I Get About These Cookies
- “Can I skip the cream of tartar?” – Technically, yes, but then it’s just a cinnamon sugar cookie. Still tasty, but not the same.
- “How do you brown butter without burning it?” – Low heat, keep swirling the pan, and don’t get distracted. (I use this Serious Eats guide sometimes when I’m feeling unsure.)
- “Is there a gluten-free swap?” – I haven’t tried it myself but a friend had good luck with Bob’s Red Mill 1-to-1 flour. Or just check out this gluten-free snickerdoodle recipe.
- “Can I freeze the dough?” – Absolutely, just scoop balls, freeze on a tray, then bag them. Bake straight from frozen, add a minute or two.
- “Why are my cookies flat?” – Could be your butter was too hot, or you didn’t chill the dough. Or maybe the baking soda is past its prime. Try a fresh can next time.
And, just as a random aside, did you know snickerdoodles probably got their kooky name from a German word? Or maybe it’s just one of those things folks made up to sound fun. Kinda like my cousin who calls these “snicker-poodles.”
Anyway, hope you enjoy baking these as much as I do. Give them a try, and if you have a disaster batch, just call it a cookie slab and serve it with ice cream. No one ever complains!
Ingredients
- 1 cup (227g) unsalted butter
- 1 1/2 cups (300g) granulated sugar
- 2 large eggs
- 2 3/4 cups (345g) all-purpose flour
- 2 teaspoons cream of tartar
- 1 teaspoon baking soda
- 1/2 teaspoon salt
- 2 teaspoons ground cinnamon, divided
Instructions
-
1Melt the butter in a saucepan over medium heat. Continue cooking, stirring frequently, until the butter foams and turns golden brown with a nutty aroma. Remove from heat and let cool for 10 minutes.
-
2In a large bowl, combine the browned butter and 1 1/2 cups sugar. Beat in the eggs one at a time until well combined.
-
3In a separate bowl, whisk together the flour, cream of tartar, baking soda, 1 teaspoon cinnamon, and salt. Gradually add the dry ingredients to the wet ingredients, mixing until just combined.
-
4In a small bowl, mix the remaining 1 teaspoon cinnamon with 2 tablespoons sugar. Scoop tablespoon-sized portions of dough and roll each into a ball, then coat in the cinnamon-sugar mixture.
-
5Place the dough balls on a parchment-lined baking sheet, spacing them about 2 inches apart. Bake at 350°F (175°C) for 10-12 minutes, or until the edges are set and the centers are soft.
-
6Allow cookies to cool on the baking sheet for 5 minutes before transferring to a wire rack to cool completely.
CLICK FOR NUTRITION INFO
↑
Approximate Information for One Serving
Serving Size:
1 serving
Calories:
140 caloriescal
Protein:
2gg
Fat:
7gg
Saturated Fat:
0g
Trans Fat:
0g
Cholesterol:
0mg
Sodium:
0mg
Potassium:
0mg
Total Carbs:
19gg
Fiber:
0g
Sugar:
0g
Net Carbs:
0g
Vitamin A:
0
Vitamin C:
0mg
Calcium:
0mg
Iron:
0mg
Nutrition Disclaimers
Number of total servings shown is approximate. Actual number of servings will depend on your preferred portion sizes.
Nutritional values shown are general guidelines and reflect information for 1 serving using the ingredients listed, not including any optional ingredients. Actual macros may vary slightly depending on specific brands and types of ingredients used.
To determine the weight of one serving, prepare the recipe as instructed. Weigh the finished recipe, then divide the weight of the finished recipe (not including the weight of the container the food is in) by the desired number of servings. Result will be the weight of one serving.
Did you make this recipe?
Please consider Pinning it!!