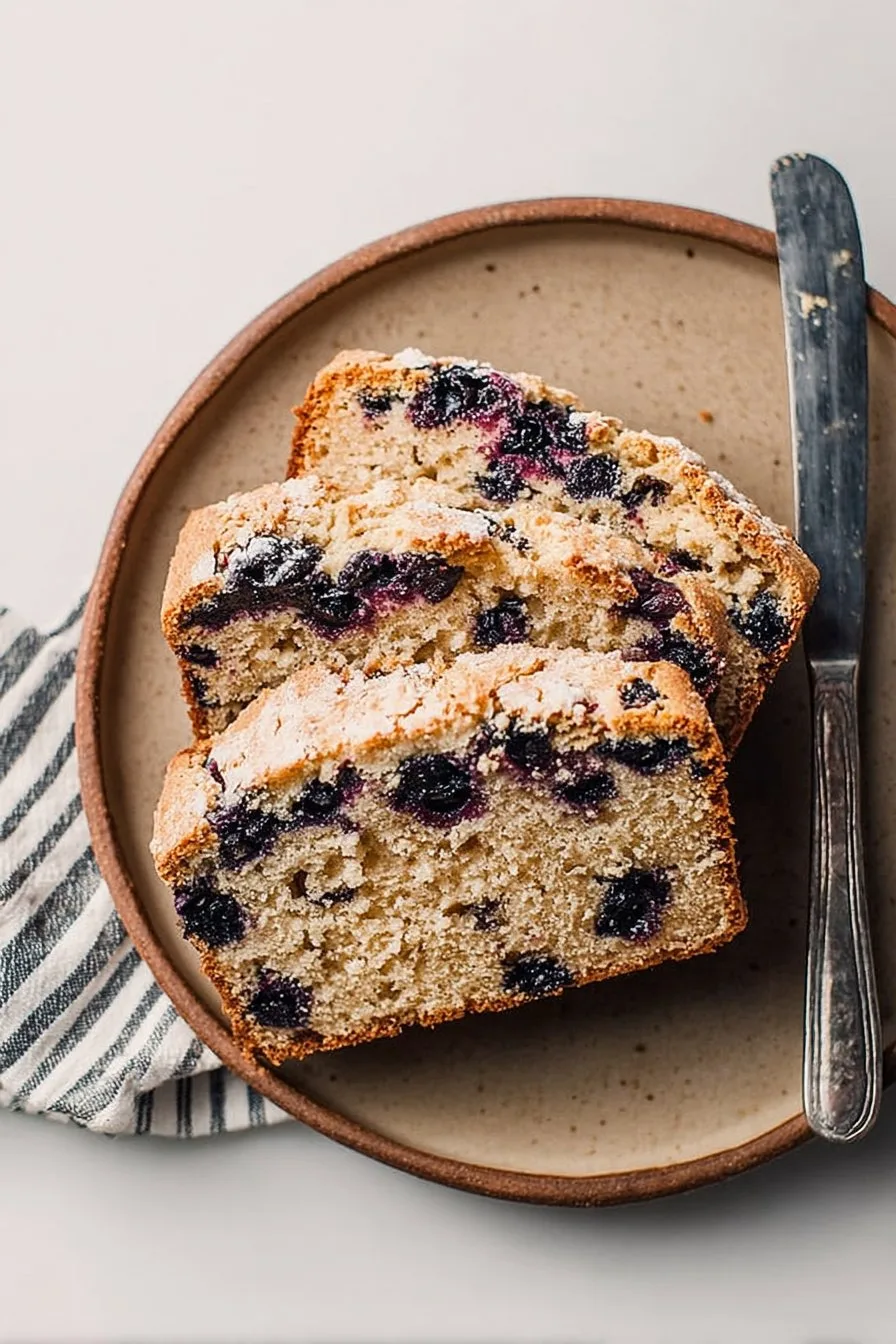
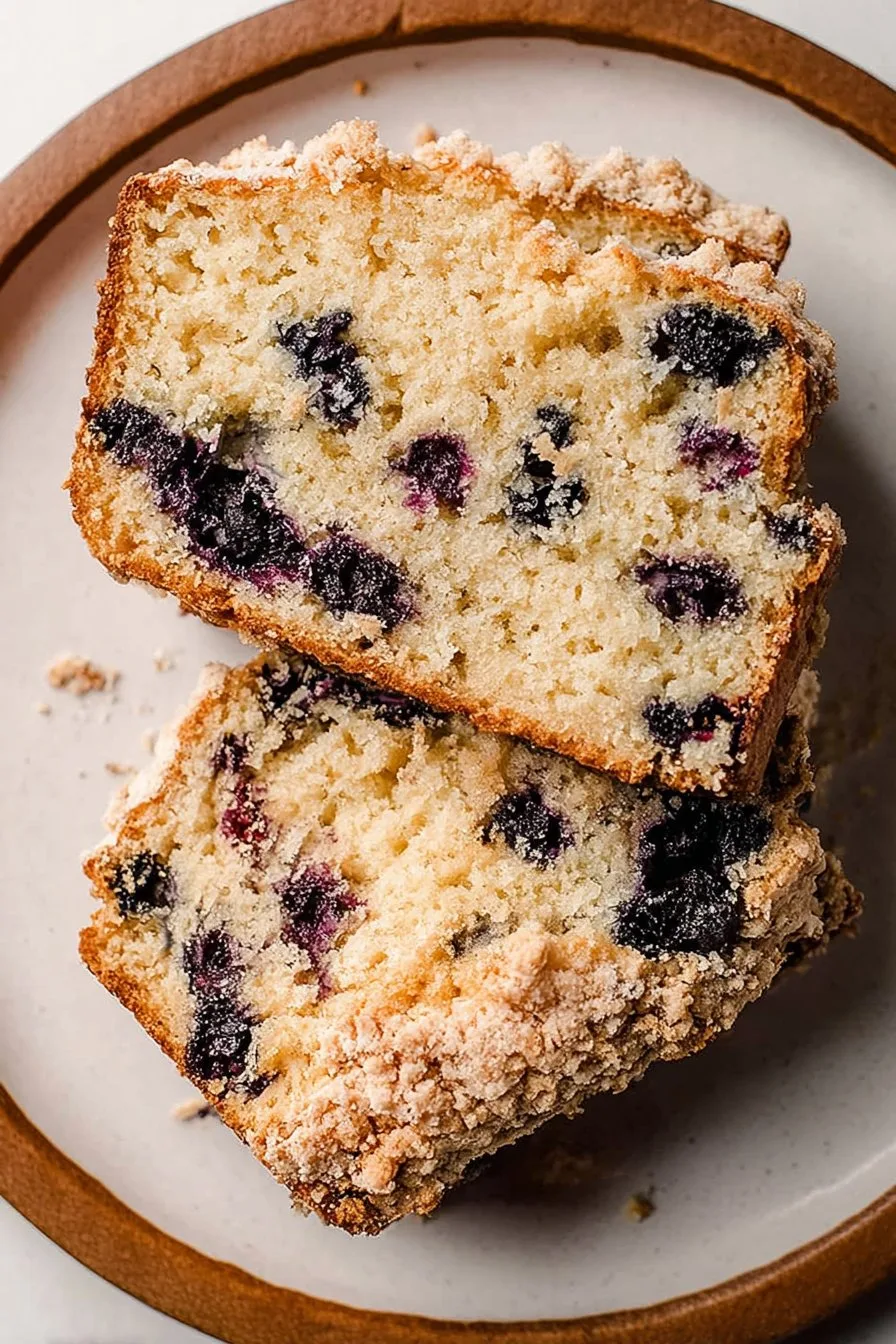
Let Me Tell You About Sourdough Blueberry Bread (And That One Time I Dropped It)
Alright, so, sourdough blueberry bread. Can I just say, every time I make this, my kitchen smells like a cozy bakery in the middle of July. I first tried making it after a friend dropped off a jar of her wild starter and a pint of blueberries from the market—no pressure, right?! (For the record, I once dropped half the loaf on the floor taking it out of the oven, but that’s another story—save your bread, folks.) Anyway, this recipe is what I reach for when I want something fuss-free, a little tangy, and just sweet enough. And if you’re anything like me, there’s a certain joy in watching the blueberries burst in the oven, even if you do end up with blue streaks all over your tea towel.
Why You’ll Love This (No, Seriously)
I make this when I’m craving something that’s not just another banana bread (much as I love it, you know?). My family goes a bit mad for this because it’s got that sourdough tang, which makes it feel sort of fancy, but then—bam—blueberry pockets everywhere. If I’m honest, I used to get annoyed when the blueberries sank to the bottom, but I’ve learned to just embrace it; now I tell people it’s “rustic.” (Ha.) And, one more thing: my kids actually help with this bread because it means they can sneak a few berries along the way, which I pretend not to notice.
What You’ll Need (and What I Actually Use)
- 1 cup (about 240g) active sourdough starter (fed and bubbly; sometimes I use it straight form the fridge if I forgot—works fine, just a bit less rise)
- 2 cups (250g) all-purpose flour (Grandma swore by King Arthur, but really, just don’t use self-rising… trust me)
- 3/4 cup sugar (white or, I sometimes sub in coconut sugar if I’m feeling fancy; brown sugar turns it a bit caramelly)
- 1/2 tsp salt (I just grab a pinch, honestly)
- 1 tsp baking soda
- 1/2 cup melted butter (or neutral oil; I’ve even used olive oil and it was… interesting)
- 2 large eggs
- 1 tsp vanilla extract (the real stuff if you have it—otherwise, whatever’s in your cupboard)
- 1 cup fresh blueberries (or frozen, just don’t thaw them first—otherwise, hello blue batter)
- Optional: zest of 1 lemon (I only bother if I have one rolling around in the fruit bowl)
How To Throw It All Together
- Preheat your oven to 350°F (180°C). Grease a loaf pan. Or, if you’re like me and forget, line it with parchment so you can just lift the bread out, which is way less stressful, honestly.
- In a big mixing bowl, whisk up the flour, sugar, salt, and baking soda. Sometimes I mix too enthusiastically and it puffs flour all over the counter—don’t worry, it’s part of the charm.
- In another bowl, stir your sourdough starter, eggs, cooled melted butter (or oil), and vanilla. If you’re feeling wild, throw in that lemon zest. Give it a good mix, but no need to go nuts.
- Pour the wet stuff into the dry. Fold everything together gently—don’t overmix, or you’ll end up with tough bread (learned that the hard way). It’s okay if it’s a bit lumpy.
- Toss your blueberries with a spoonful of flour (helps stop them sinking… although, honestly, they still sometimes do). Fold them into the batter.
- Scrape the whole lot into your pan. Here’s where I usually sneak a spoonful… for quality control, of course.
- Bake for 50–60 minutes, or until your kitchen smells like heaven and a toothpick poked in the middle comes out clean. If it’s getting too brown, I just cover it with foil for the last 10 minutes.
- Let it cool in the pan for 10 minutes (or as long as you can stand to wait), then turn out onto a rack. Try not to eat it scalding hot, but who am I kidding?
Notes from My Many Mistakes
- If your starter’s a bit sleepy, add an extra pinch of baking soda—it’ll help the loaf rise a touch more.
- Actually, I find it works better if I let it cool all the way before slicing; otherwise, it can get gummy (not that it stops me).
- Don’t stress if the bread cracks on top. That’s just the bread’s personality showing.
Things I’ve Tried (Some Good, Some… Not)
- Swap in raspberries or blackberries—delicious, but super juicy, so maybe add a minute or two to the baking time.
- Once tried white chocolate chips. Too sweet for me, but my neighbor’s daughter loved it. Go figure.
- I once put in dried blueberries instead of fresh… wouldn’t recommend, a bit chewy and not as juicy.
What If You Don’t Have All the Fancy Gear?
Technically, a stand mixer makes it easier, but honestly, I just use a big bowl and a wooden spoon. Don’t have a loaf pan? A cake tin works in a pinch (it’ll just be a bit squatter). Once, I even used a muffin tray — worked great, but they baked in about 25 minutes, so keep an eye out.
How To Store It (If It Even Lasts That Long)
So, I keep mine on the counter wrapped in a tea towel or in an old bread tin for up to two days. In the fridge, it’ll last a bit longer, but it does get a tad dry. Oh, and you can freeze slices—just wrap them up tight. Though honestly, in my house it never lasts more than a day!
Serving It Up (My Way, Anyway)
We usually slice it thick, toast it, and slather with salted butter (or clotted cream if I’m feeling posh). My aunt likes hers with a dollop of Greek yogurt and a drizzle of honey—might sound odd, but it’s amazing. Actually, I think this tastes even better the next day, especially if you let the flavors mingle overnight.
Lessons I’ve Learned the Hard Way
- I once tried to rush the cooling and ended up with a gummy mess. Patience, grasshopper.
- Don’t skip tossing the blueberries in flour. It doesn’t work miracles, but it helps.
- Letting the starter get too old makes the loaf taste a little too sour for my liking, but hey, maybe that’s your thing?
FAQ – Real Questions I’ve Actually Been Asked
- Can I make this with discard? Yeah, but your bread’ll be less fluffy. I’ve done it when I’m desperate to use up extra starter—still tasty.
- Is frozen fruit okay? Absolutely! Just don’t thaw it first or you’ll end up with blue streaks everywhere (been there, done that).
- What if I don’t have a sourdough starter? You could try a mix of yogurt and a splash of lemon for tang, but it won’t be quite the same. Or, check out this sourdough starter guide from King Arthur Baking to make your own (warning: it might take over your kitchen).
- Why did my loaf sink? Probably overmixed or your starter was sluggish. Or maybe, like me, you opened the oven door way too soon.
- Can I make it vegan? Sure, skip the eggs (try flax eggs) and use oil/plant butter. Haven’t tested it with JUST aquafaba though—if you do, let me know how it goes!
- Is it supposed to be so tangy? Yep, that’s the charm! If you want it sweeter, add another handful of sugar. Or try this guide on sourdough adjustments.
P.S. This bread makes a smashing midnight snack, too. And if you get bored, go watch this video—not at all related, but it’ll make you smile. Or groan. Maybe both.
Ingredients
- 2 cups all-purpose flour
- 1 cup active sourdough starter
- 1 cup fresh blueberries
- 1/2 cup granulated sugar
- 1/2 cup milk
- 1/4 cup unsalted butter, melted
- 1 large egg
- 1 tsp vanilla extract
- 1/2 tsp salt
- 1 tsp baking powder
Instructions
-
1Preheat the oven to 350°F (175°C) and grease a 9×5-inch loaf pan.
-
2In a large bowl, whisk together the flour, sugar, salt, and baking powder.
-
3In a separate bowl, mix the sourdough starter, milk, melted butter, egg, and vanilla extract until well combined.
-
4Add the wet ingredients to the dry ingredients and stir until just combined. Gently fold in the blueberries.
-
5Pour the batter into the prepared loaf pan and smooth the top.
-
6Bake for 50 minutes, or until a toothpick inserted into the center comes out clean. Let cool before slicing and serving.
CLICK FOR NUTRITION INFO
↑
Approximate Information for One Serving
Serving Size:
1 serving
Calories:
210 caloriescal
Protein:
5gg
Fat:
5gg
Saturated Fat:
0g
Trans Fat:
0g
Cholesterol:
0mg
Sodium:
0mg
Potassium:
0mg
Total Carbs:
38gg
Fiber:
0g
Sugar:
0g
Net Carbs:
0g
Vitamin A:
0
Vitamin C:
0mg
Calcium:
0mg
Iron:
0mg
Nutrition Disclaimers
Number of total servings shown is approximate. Actual number of servings will depend on your preferred portion sizes.
Nutritional values shown are general guidelines and reflect information for 1 serving using the ingredients listed, not including any optional ingredients. Actual macros may vary slightly depending on specific brands and types of ingredients used.
To determine the weight of one serving, prepare the recipe as instructed. Weigh the finished recipe, then divide the weight of the finished recipe (not including the weight of the container the food is in) by the desired number of servings. Result will be the weight of one serving.
Did you make this recipe?
Please consider Pinning it!!