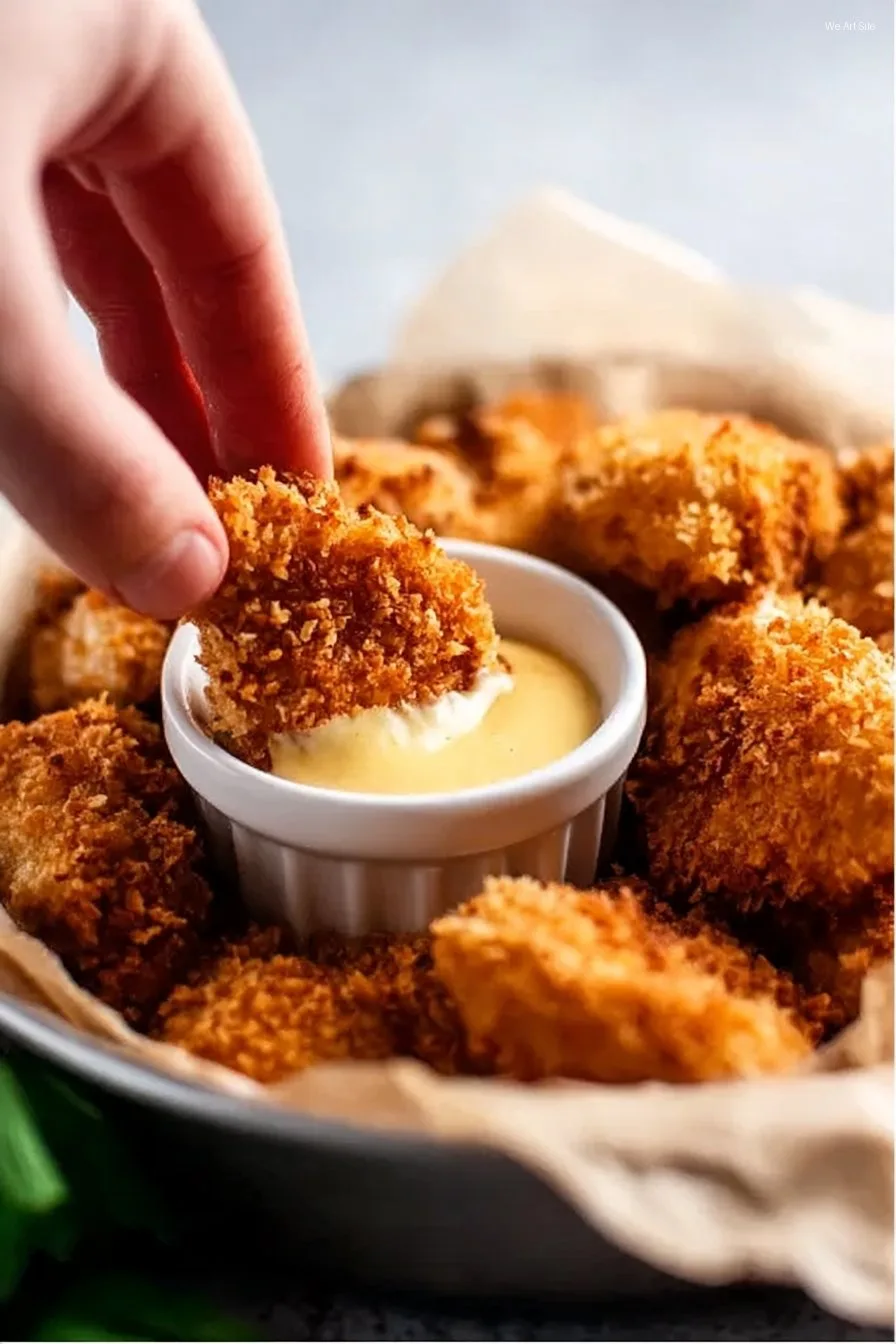
Tastes Like Childhood: Let’s Make These Crispy Nuggets
Alright, so I’ll let you in on a secret: I never quite grew out of my chicken nugget phase. I mean, who actually does? Whether you’re nine or ninety, sometimes you just want to crunch your teeth into a golden, crispy, tender little nugget (and dunk it in way more ketchup than’s strictly necessary). I started making these “grown-up” nuggets back in college, mostly because the store-bought frozen kind were doing nothing for me (and, uh, it was cheaper per nugget—a big deal!). My brother and I used to have contests to see who could make the crunchiest breading, which led to some truly insane experiments with potato chips and—once—crushed up pretzels. Don’t ask.
Anyway, I’m sharing The Best Crispy Baked Chicken Nuggets recipe here, and you honestly won’t believe how easy it is. If I can do it after a long workday while half-watching Bake Off reruns, so can you! And really, sometimes I just crave these even more than real fried chicken. No shame in my game.
Why You’ll Love These (okay, obsess over these nuggets):
- I make this when I’m too lazy or broke for takeout but still want that hot, crispy, homey magic (plus no weird mystery meat, you know?).
- These have legit crunch. My family goes crazy for this because the coating is super crisp but the chicken stays tender (even Dad actually eats more than five now, so that’s saying something!).
- They’re baked, not fried! At least 37 percent less mess in my kitchen. Washing the pans, though… that’s another story.
- I’ve tried probably ten versions—some too soggy, some too plain, some weirdly orange from too much paprika. But this is the one you want.
- Freezer-friendly, but honestly, I’ve never managed to keep them around long enough for leftovers…
Here’s What You Need (and please, swap where it suits ya):
- Chicken breast (roughly 500g or just over a pound). You can use thighs too if that’s your vibe; they’re juicier but messier to cube.
- Breadcrumbs—I love panko for extra crunch, but my friend swears by homemade crumbs. If you’re stuck, even crushed cornflakes will do (seriously, totally works in a pinch).
- Parmesan cheese, about a handful grated (maybe 1/3 cup—you do you). My grandmother always insisted on the green can stuff but honestly, any version works fine. Skip it if you’re dairy-free.
- Paprika—I use sweet; smoked is fancy, and hot is wild. A teaspoonish.
- Salt & pepper—Sprinkle generously. Taste, then add a little more.
- Egg, 1 large, beaten up with a fork (sometimes I just use mayo if out of eggs, which, weird but honestly tastes good!)
- Flour—A small bowl, call it half a cup or a bit less. All-purpose is fine, or gluten-free works fine too.
- Olive oil spray or a drizzle of regular olive oil. Spray is easier (try this 100% olive oil spray I use: Chosen Foods Spray), but sometimes I just brush it on.
How I Do It (step by slightly messy step):
- Cut your chicken into small, nugget-ish shapes—roughly bite sized. Not too fussy, but try for consistency or some’ll be dry before the rest. This is where an actual sharp knife helps (though once I just yanked it with my hands—wasn’t pretty, but tasted the same!).
- Set up your breading station: Get three shallow bowls—one for flour (seasoned with salt/pepper), one for beaten egg, and one with a mix of breadcrumbs, parmesan, and that paprika. Line ‘em up like a little nugget assembly line.
(Quick tip: Sometimes I add a tiny hit of garlic powder or dried oregano to the breading if I’m feeling extra.) - Dip each piece in flour, shake off the extra (it’s messy, no way around it).
- Dunk in egg. Get it well coated. I use one hand for dry, one for wet—still get gunky fingers, so don’t worry.
- Roll in the breadcrumb/parmesan mix until it looks all covered and cozy. Press gently so it sticks. This is where I usually sneak a taste of the cheesy breading… probably not recommended but hey, live a little.
- Lay nuggets on a baking rack set over a tray, or straight onto a parchment-lined tray if that’s what you’ve got. Spray or drizzle with oil.
(Real talk: a wire rack really does make the bottom crispier, but if you don’t have one, just flip halfway when baking.) - Bake at 220°C/425°F for about 15-18 minutes. I check at 12 and give ‘em a flip if using a tray. Don’t worry if they look a bit pale at first—they crisp up a lot in the last five minutes.
- If you’re feeling wild, broil for 1-2 more minutes at the end for max crispiness (just don’t walk away—charred nuggets are a sad, sad thing).
- Serve hot, obviously. Taste one (quality control!) before you call folks to eat.
Notes (just stuff I learned the hard way):
- Letting the nuggets sit for 5 minutes after baking makes the outsides crispier (I don’t know why, but it works—maybe magic?).
- If you want to freeze, freeze them before baking—then cook straight form frozen, adding a few min. They’re way better than defrosted cooked nuggets, trust me on that.
- Parmesan isn’t strictly needed but really does boost that crust. I tried skipping it once and everyone noticed.
- For gluten-free, just swap in your fave GF flour and crispy-type crackers for breading. Mary’s Gone Crackers actually makes a fantastic coating (link in case you wanna peek).
Variations I’ve Tried (and at least one flop):
- With cornflakes—super crunchy, oddly sweet. Kids loved it but I found them a bit too corn-tasting (try it once!).
- Spicy version—add a generous teaspoon of cayenne or chipotle powder to the breading. People who like things mild, don’t try this at midnight.
- Herby version—toss in rosemary, thyme, or dill to the breading. I actually prefer rosemary, to be honest, but dry thyme works when you’re out (happens often in my kitchen!).
- Failed experiment: battered instead of breaded. Came out gluey and, well, kind of tragic. Learn form my mistakes!
Gear You Might Want (but let’s not overcomplicate things):
- Baking tray and parchment. I suppose a silicone mat is fancy but parchment works just as well (and is easier to clean up—trust me, no one likes scrubbing burnt cheese).
- Wire rack—the secret to consistent crispiness, but in a pinch, flipping halfway through kind of gets you there. I used to say this was “essential,” but after a couple lazy nights, now I say: nice to have, not a must.
- Sharp chef’s knife. Dull knives make the cubes look weird, but everything tastes fine in the end. Actually, sometimes I just use kitchen scissors.
Storing These (if, against all odds, you’ve got leftovers):
Cool them completely, tuck them into an airtight container, and stash in the fridge. They stay crunchy-ish for about 2 days, but reheat best in the oven or air fryer. I think they taste even better the day after (but, honestly, in my house it never lasts more than a day! Especially when my cousin Dave is around—nugget monster.)
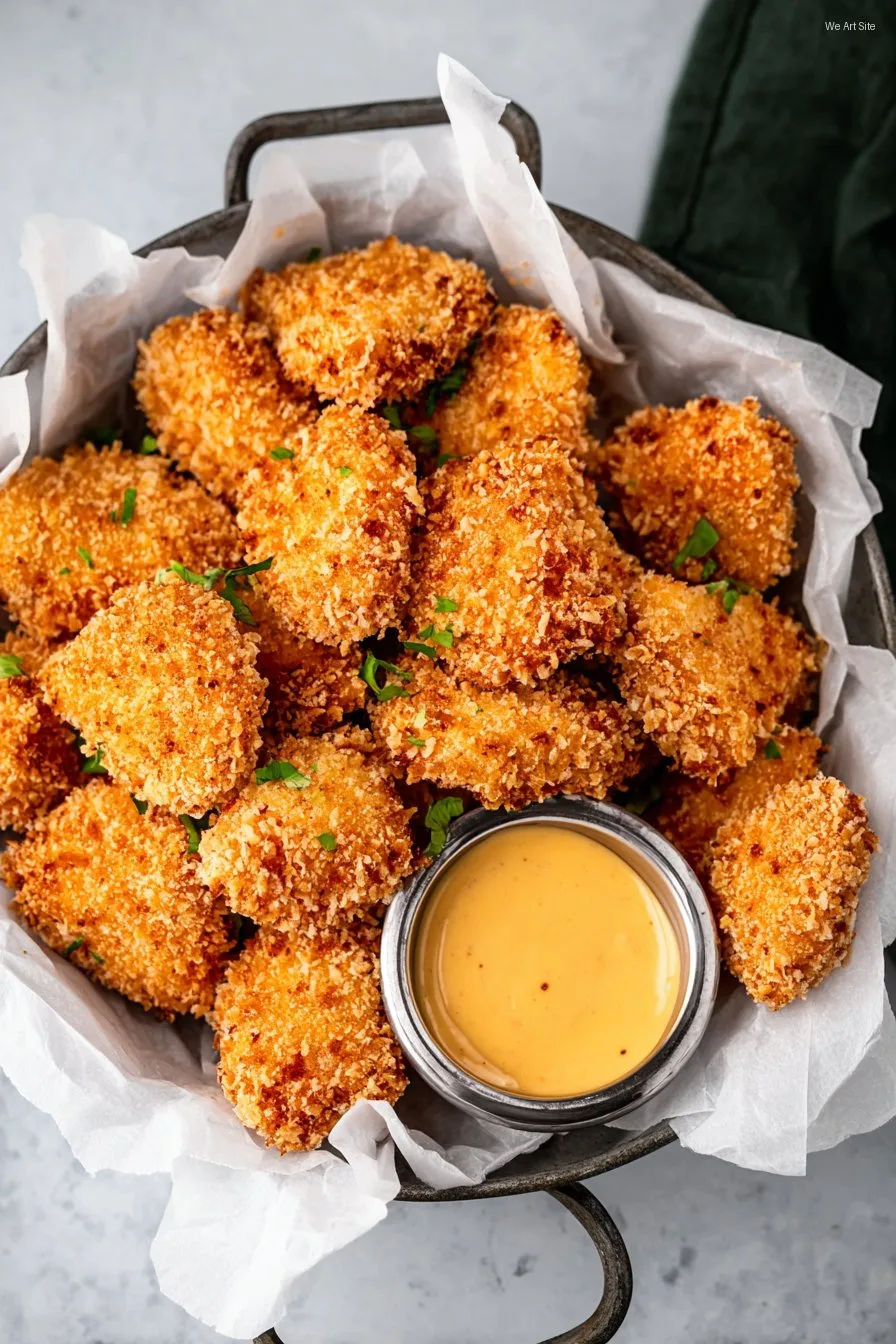
How I Serve Them (dips and sides for the win):
So, our house tradition is serving these with honey mustard dip and a pile of oven fries (and maybe a green thing, like broccoli, for show). Sometimes we go all in with sriracha-mayo for adults, or just ketchup and raw carrot sticks for the little ones. Leftover nuggets are pretty good tossed on a salad the next day (if you’re into that sort of thing; sometimes I just eat ‘em cold standing over the sink).
Lessons Learned (“Pro Tips” I wish I’d known earlier):
- Don’t use wet chicken—it messes up the breading. I once tried skipping the pat-dry step and the coating just fell off. Rookie mistake.
- Space stuff out on the tray; don’t crowd them or they steam, not crisp. I got greedy and tried jam-packing once… very sad batch.
- I once tried rushing the oven time by cranking the temp way up… don’t do this. Outside burns, inside raw. Just wait it out.
Q&A: Real Questions (with, let’s be honest, imperfect answers)
- Can I use chicken thighs instead?
Yes, and they’re juicier! They shred a little more, though, so nugget shapes go a bit off. Still delish. - How do I make these ahead for a party?
Actually, I find it works better if you bread them, pop in the fridge on trays (up to 8 hours), then just bake before serving. They hold up surprisingly well this way. - Do I have to flip them?
If you want both sides crispy, yes. If you’ve got a rack and like a little softness underneath, you could maybe skip it. - My nuggets won’t get brown. What gives?
Honestly, sometimes the oven just isn’t hot enough (old oven troubles?). Slosh on a bit more oil or finish under the broiler. Or, if you used the wrong tray (like a glass one), swap for metal next time. - Is it really as good as takeout?
Well, depends where you order from… but I like to think these are crunchier and taste more like actual chicken, not just “nugget.” It’s not McDonald’s, but that’s sort of the point, right?
And that’s pretty much it… except: one mild digression. I genuinely think a day spent shaking chicken cubes in breadcrumbs is better than most meetings I’ve ever attended. See if you agree! Happy nuggeting.
Ingredients
- 2 large boneless skinless chicken breasts, cut into 1-inch pieces
- 1 cup panko breadcrumbs
- 1/2 cup grated Parmesan cheese
- 1 teaspoon garlic powder
- 1 teaspoon paprika
- 1/2 teaspoon salt
- 1/2 teaspoon black pepper
- 2 large eggs
- 2 tablespoons milk
- 2 tablespoons olive oil (for drizzling or spraying)
Instructions
-
1Preheat the oven to 425°F (220°C). Line a baking sheet with parchment paper and lightly spray or brush with olive oil.
-
2In a shallow dish, combine panko breadcrumbs, Parmesan cheese, garlic powder, paprika, salt, and black pepper.
-
3In another bowl, whisk together eggs and milk until well combined.
-
4Dip each chicken piece into the egg mixture, then coat thoroughly with the breadcrumb mixture. Place on the prepared baking sheet.
-
5Drizzle or spray the coated chicken nuggets with olive oil for extra crispiness.
-
6Bake in the preheated oven for 18-20 minutes, flipping halfway, until golden brown and cooked through. Serve hot with your favorite dipping sauce.
CLICK FOR NUTRITION INFO
↑
Approximate Information for One Serving
Serving Size:
1 serving
Calories:
325 caloriescal
Protein:
33gg
Fat:
12gg
Saturated Fat:
0g
Trans Fat:
0g
Cholesterol:
0mg
Sodium:
0mg
Potassium:
0mg
Total Carbs:
22gg
Fiber:
0g
Sugar:
0g
Net Carbs:
0g
Vitamin A:
0
Vitamin C:
0mg
Calcium:
0mg
Iron:
0mg
Nutrition Disclaimers
Number of total servings shown is approximate. Actual number of servings will depend on your preferred portion sizes.
Nutritional values shown are general guidelines and reflect information for 1 serving using the ingredients listed, not including any optional ingredients. Actual macros may vary slightly depending on specific brands and types of ingredients used.
To determine the weight of one serving, prepare the recipe as instructed. Weigh the finished recipe, then divide the weight of the finished recipe (not including the weight of the container the food is in) by the desired number of servings. Result will be the weight of one serving.
Did you make this recipe?
Please consider Pinning it!!