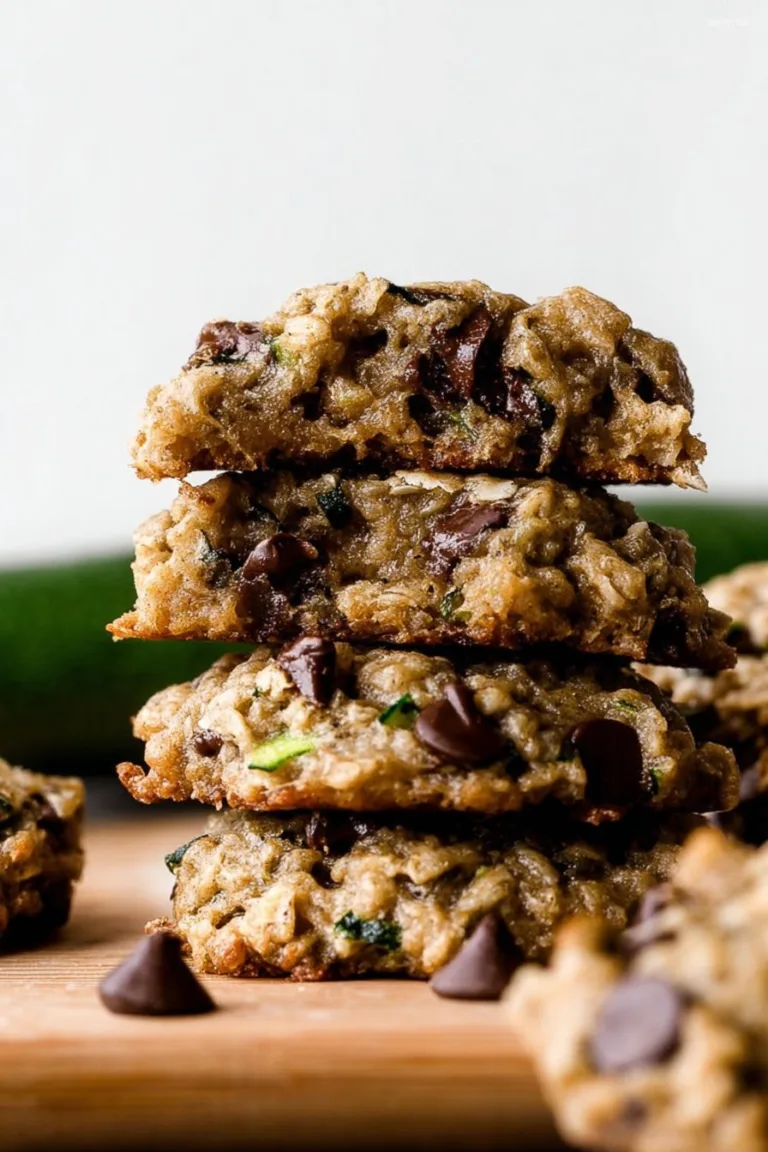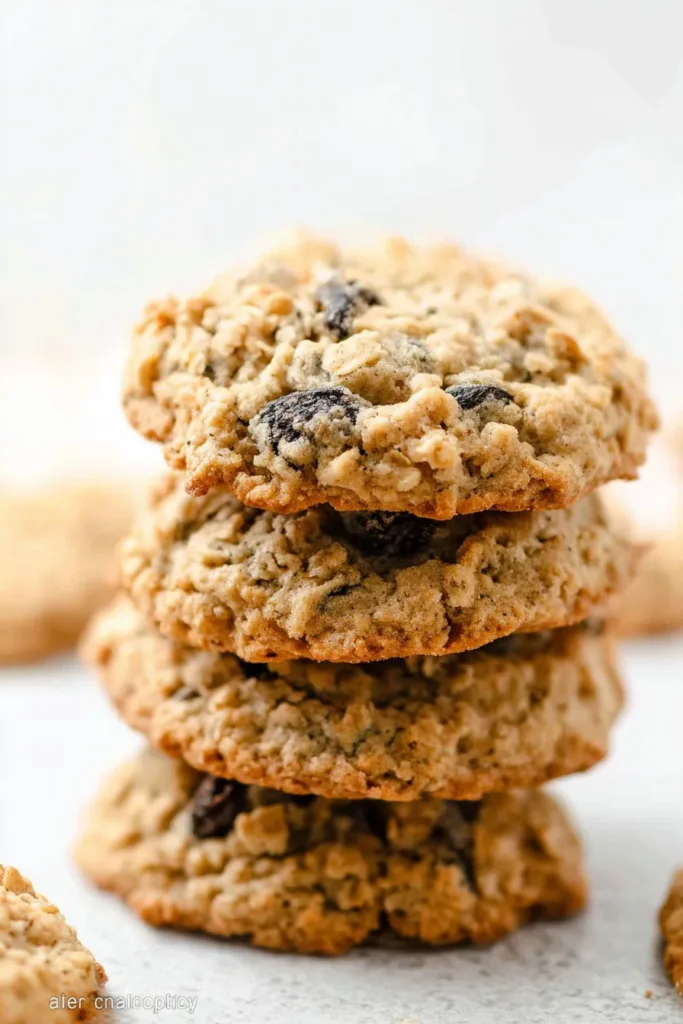
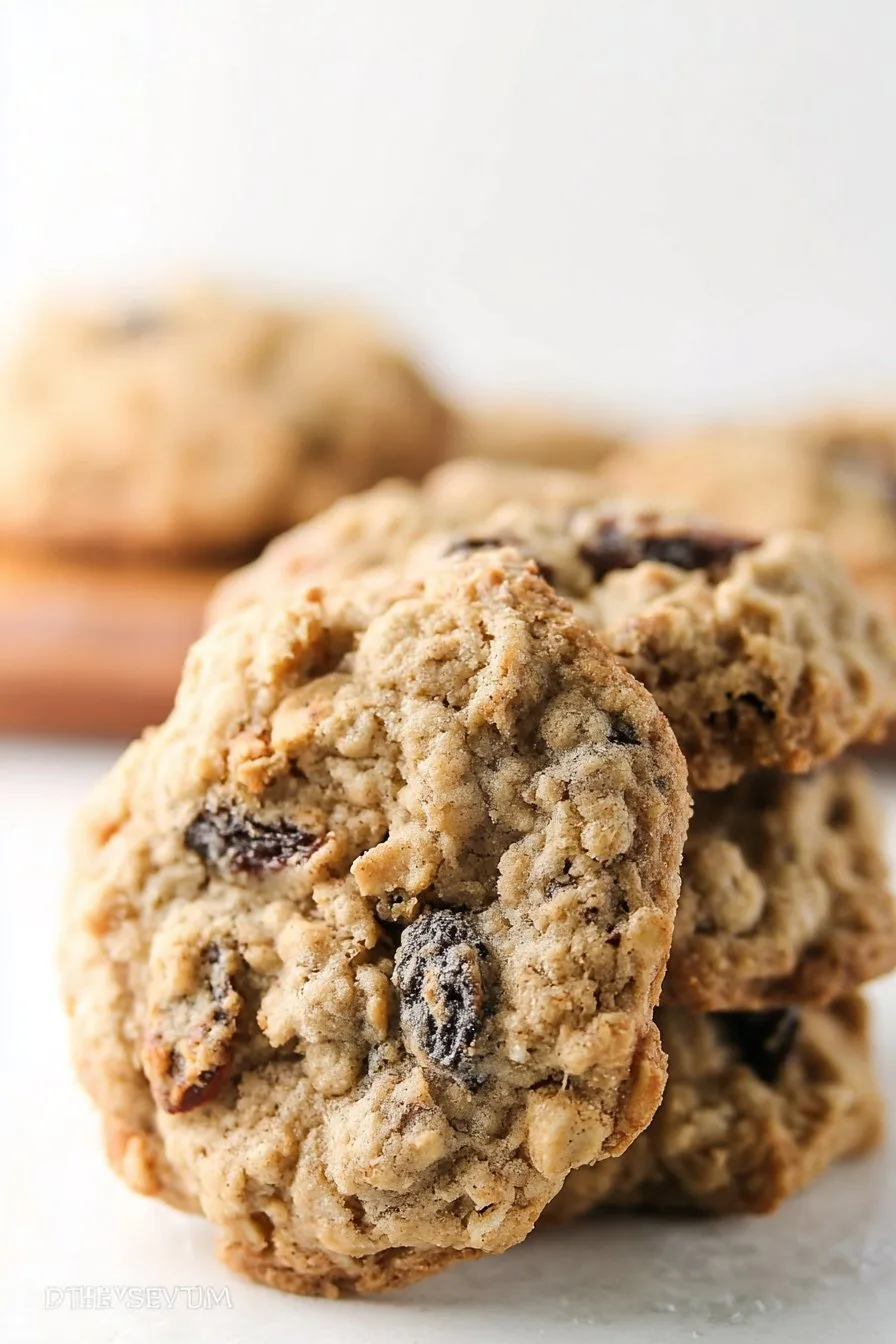
Let Me Tell You About These Oatmeal Raisin Cookies…
Alright, gather ’round. If you’ve ever been caught snacking in the kitchen at 1am, only to discover someone else had the same midnight craving (my sister, every time), you’ll know why I love these soft & chewy oatmeal raisin cookies. Actually, there was this one time I tried to bake them as a “healthy” after-school snack—let’s just say the raisins were less of a decoy than I hoped. Kids can spot a raisin from a mile away, but somehow, when they’re inside these cookies? Suddenly raisins are cool again. Go figure.
Why You’re Gonna Want to Make This
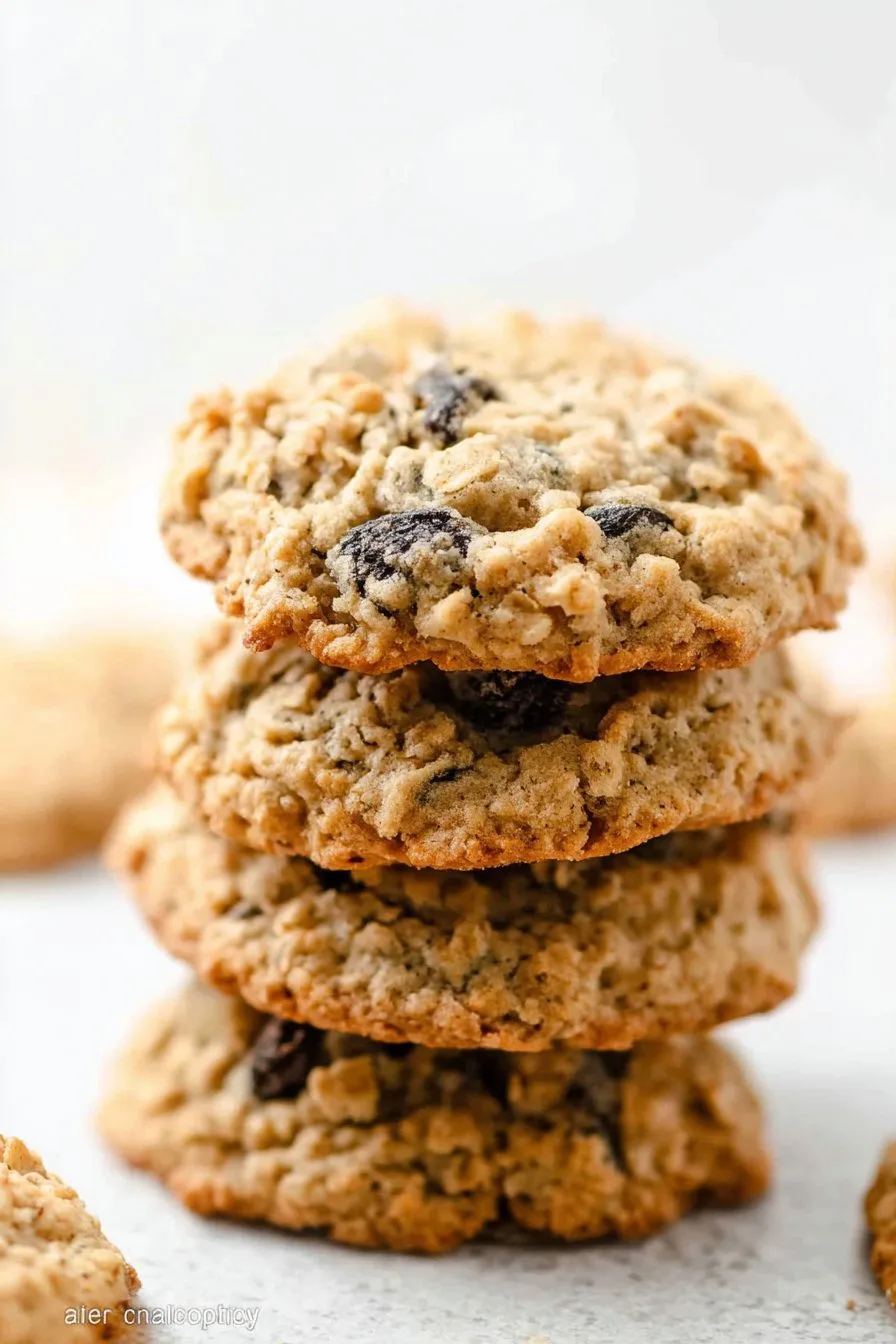
I make these when it’s gloomy or when friends are coming over and I want the house to smell like someone’s hugged it from the inside. My family basically races to the cooling rack—sometimes I don’t even get one (which, honestly, is rude). And if you’re not a huge raisin fan, don’t worry, I wasn’t either until these. Seriously, it’s the cinnamon and those glorious chewy oats. Oh, and full disclosure: I’ve burned my fair share of cookie bottoms, but if I can get these right, anyone can. Pinky promise.
What You’ll Need (Give or Take)
- 1 cup (225g) unsalted butter, softened (Don’t have the patience? Microwave it in 10 second bursts, but don’t melt it to soup!)
- 1 cup packed brown sugar (light or dark—or, I once used half honey in a pinch, worked great…)
- 1/2 cup granulated sugar (Grandma swore by caster sugar, honestly, white is fine)
- 2 large eggs
- 1.5 teaspoons vanilla extract (I don’t measure, I just splash it in—who’s judging?)
- 1.5 cups all-purpose flour (Whole wheat works, but the cookies end up a bit more, uh, rustic)
- 1 teaspoon baking soda
- 1.5 teaspoons ground cinnamon (Sometimes I spice things up with a pinch of nutmeg, too)
- 1/2 teaspoon salt
- 3 cups old-fashioned oats (Quick oats in a pinch, but they make the cookies a bit less chewy)
- 1 cup raisins (Or, for fun, half raisins/half chopped dates. Or, if you must, chocolate chips. I won’t tell.)
How I Make Them (And You Can Too)
- Preheat your oven to 350°F (175°C). Or 180, if your oven is moody like mine. Line two baking sheets with parchment (if you don’t have any, just grease ‘em—works almost as well).
- Beat the butter and both sugars together in a big bowl. You want it nice and fluffy. I use a hand mixer (when I remember where it is), but a wooden spoon and some elbow grease totally does the trick. This is where I usually sneak a taste because, well, it’s basically frosting at this point.
- Add eggs and vanilla. Mix until it’s all smooth and not weirdly separated. (My best advice: crack the eggs in a separate bowl unless you like fishing out shells!)
- In another bowl, whisk the flour, baking soda, cinnamon, and salt. Or honestly, just dump them on top of the wet stuff if you hate dishes. Stir until just combined; don’t overmix or you’ll get tough cookies and who wants that?
- Add oats and raisins. Stir in by hand. It’ll look a bit thick and maybe even stubborn. Totally normal. If it seems dry, keep stirring, it’ll come together. And if your arm gets tired, that’s how you know you’re doing it right.
- Scoop dough into heaping tablespoons (or just use your clean hands—I do). Plop them on the tray, leave space, they spread a bit. If you want them extra thick, chill the dough 30 mins; but honestly, sometimes I just can’t be bothered.
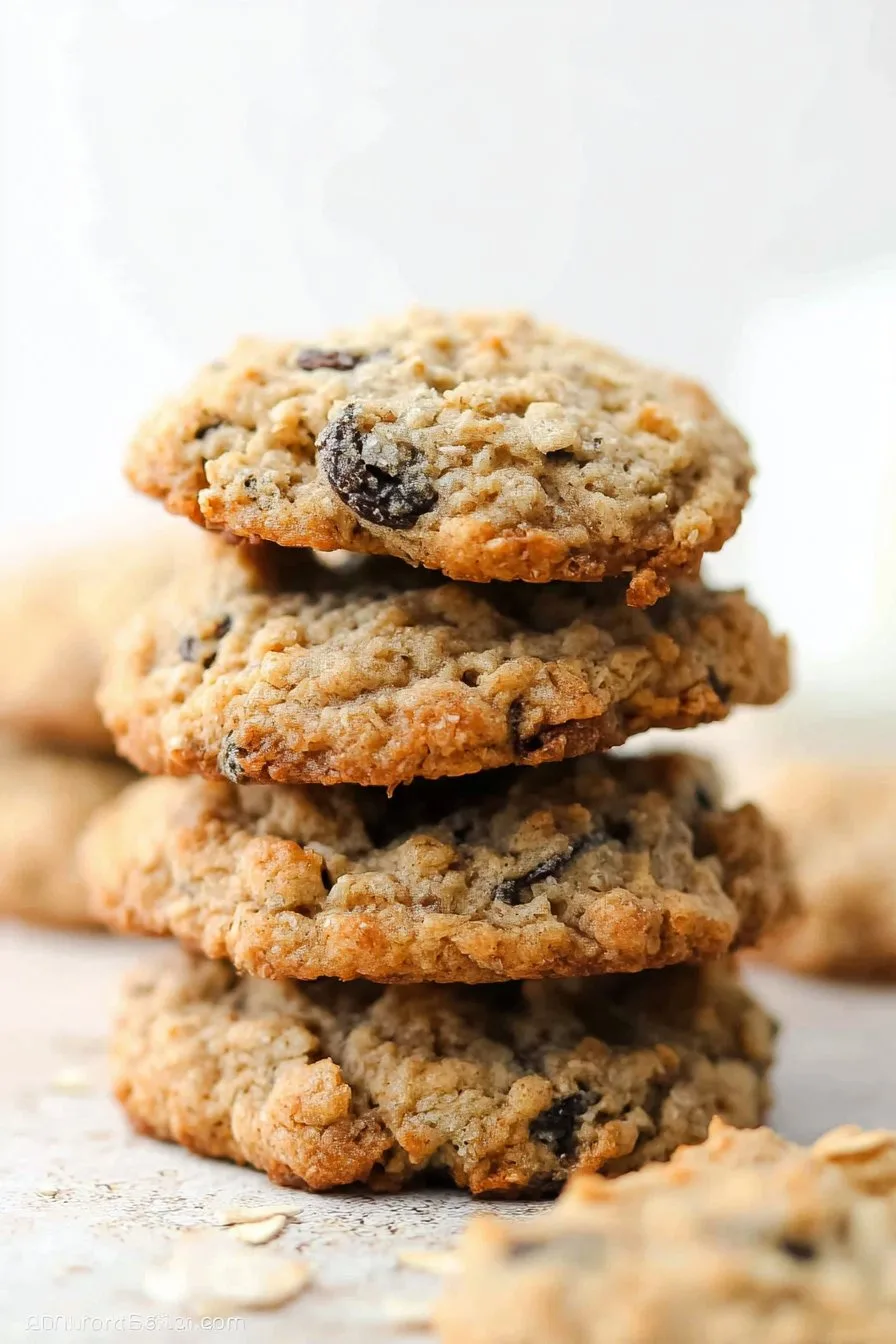
- Bake for 10–12 mins, until the edges are set but the middles look a bit underdone. Trust me, they finish on the tray. Don’t wait for fully browned tops or you’ll end up with crunchy hockey pucks. Let ’em cool (or, in my house, at least try).
Notes From My Cookie Experiments
- Chilling the dough makes them puffier, but I forget half the time and no one’s ever complained.
- Extra cinnamon never hurt anyone. (Actually, maybe it did, but not with these cookies.)
- If you forget the salt, they taste a bit flat, but still edible. Ask me how I know…
What I’ve Tried (And One Flop)
- Swapping half the butter for coconut oil—nice, but more cake than cookie.
- White chocolate and cranberry instead of raisins? Big hit with kids. (Not so much with my granddad. “Where’s the real stuff?”)
- Once I tried using agave instead of sugar. Result? Weirdly sticky, didn’t set up. Don’t bother, honestly.
No Mixer? No Problem
I once thought a mixer was essential, but a sturdy wooden spoon and a bit of determination is all you really need. Got a neighbor with a strong arm? Invite them over—call it a workout, then pay them in cookies.
How I (Try to) Store Them
These cookies keep in an airtight container for about 4 days, probably longer, but honestly, in my house they never last more than a day! For longer storage, freeze dough balls on a tray, then toss ‘em in a bag for impromptu cookie cravings (like, midnight Tuesday, no judgment).
How To Serve (Besides, You Know, In Your Mouth)
Honestly, warm with a mug of tea or coffee. My dad swears by dunking them in milk (classic!). Or, for a weekend treat, sandwich a scoop of vanilla ice cream between two cookies. We did this once for a birthday and now my niece insists it’s a tradition. Kids have long memories.
Lessons Learned (Pro Tips)
- Don’t rush creaming the butter and sugar. I did once, thinking I’d save time, and the cookies tasted…meh. Texture matters!
- Let them cool on the tray. I was impatient and tried moving them early—cookie carnage. Seriously, let ‘em settle.
- If you forget to leave space on the tray, you’ll get a cookie sheet pancake. Not the end of the world; just cut them up and call them bars.
FAQ (You Asked, I Answered)
- Can I use quick oats? Yep, it works, but you’ll get a less chewy vibe. Still tasty though!
- Can I make them gluten-free? Sure, just grab a good GF flour blend. Oats are often GF (check the label), but double check if you’re sensitive. Oh, and don’t expect them to taste exactly the same—it’s a bit different, but not bad.
- Help! My cookies spread too much? Usually means your butter is too soft or you skipped chilling the dough. But, hey, still edible—just more like lace cookies.
- Can I double the recipe? I do all the time. Use a big bowl, though, or you’ll be chasing oats across the counter like me last Christmas.
- Is it okay to leave out the raisins? Absolutely. Some folks swap for chocolate chips, dried cranberries, or even chopped nuts (pecans are grand). If you’re feeling wild, try a mix.
Oh, and if you’re looking to geek out on cookie science (or just want to procrastinate like I do), check out Sally’s Baking Addiction’s deep dive or King Arthur’s version for more ideas. Not that you’ll need them—these are pretty much perfection (in my humble, cookie-loving opinion).
Anyway, if your batch doesn’t survive the first day, you’re in good company. Happy baking, mate!
Ingredients
- 1 cup (226g) unsalted butter, softened
- 1 cup (200g) packed brown sugar
- 1/2 cup (100g) granulated sugar
- 2 large eggs
- 1 teaspoon vanilla extract
- 1 1/2 cups (190g) all-purpose flour
- 1 teaspoon baking soda
- 1/2 teaspoon salt
- 1 1/2 teaspoons ground cinnamon
- 3 cups (240g) old-fashioned rolled oats
- 1 cup (150g) raisins
Instructions
-
1Preheat the oven to 350°F (175°C). Line two baking sheets with parchment paper.
-
2In a large bowl, cream together the softened butter, brown sugar, and granulated sugar until light and fluffy.
-
3Beat in the eggs one at a time, then stir in the vanilla extract.
-
4In a separate bowl, whisk together the flour, baking soda, salt, and cinnamon. Gradually add the dry ingredients to the wet ingredients and mix until just combined.
-
5Fold in the rolled oats and raisins until evenly distributed.
-
6Drop rounded tablespoons of dough onto the prepared baking sheets, spacing them about 2 inches apart. Bake for 10-12 minutes, or until the edges are golden but the centers are still soft. Allow cookies to cool on the baking sheet for 5 minutes before transferring to a wire rack to cool completely.
CLICK FOR NUTRITION INFO
↑
Approximate Information for One Serving
Serving Size:
1 serving
Calories:
140 caloriescal
Protein:
2gg
Fat:
6gg
Saturated Fat:
0g
Trans Fat:
0g
Cholesterol:
0mg
Sodium:
0mg
Potassium:
0mg
Total Carbs:
21gg
Fiber:
0g
Sugar:
0g
Net Carbs:
0g
Vitamin A:
0
Vitamin C:
0mg
Calcium:
0mg
Iron:
0mg
Nutrition Disclaimers
Number of total servings shown is approximate. Actual number of servings will depend on your preferred portion sizes.
Nutritional values shown are general guidelines and reflect information for 1 serving using the ingredients listed, not including any optional ingredients. Actual macros may vary slightly depending on specific brands and types of ingredients used.
To determine the weight of one serving, prepare the recipe as instructed. Weigh the finished recipe, then divide the weight of the finished recipe (not including the weight of the container the food is in) by the desired number of servings. Result will be the weight of one serving.
Did you make this recipe?
Please consider Pinning it!!