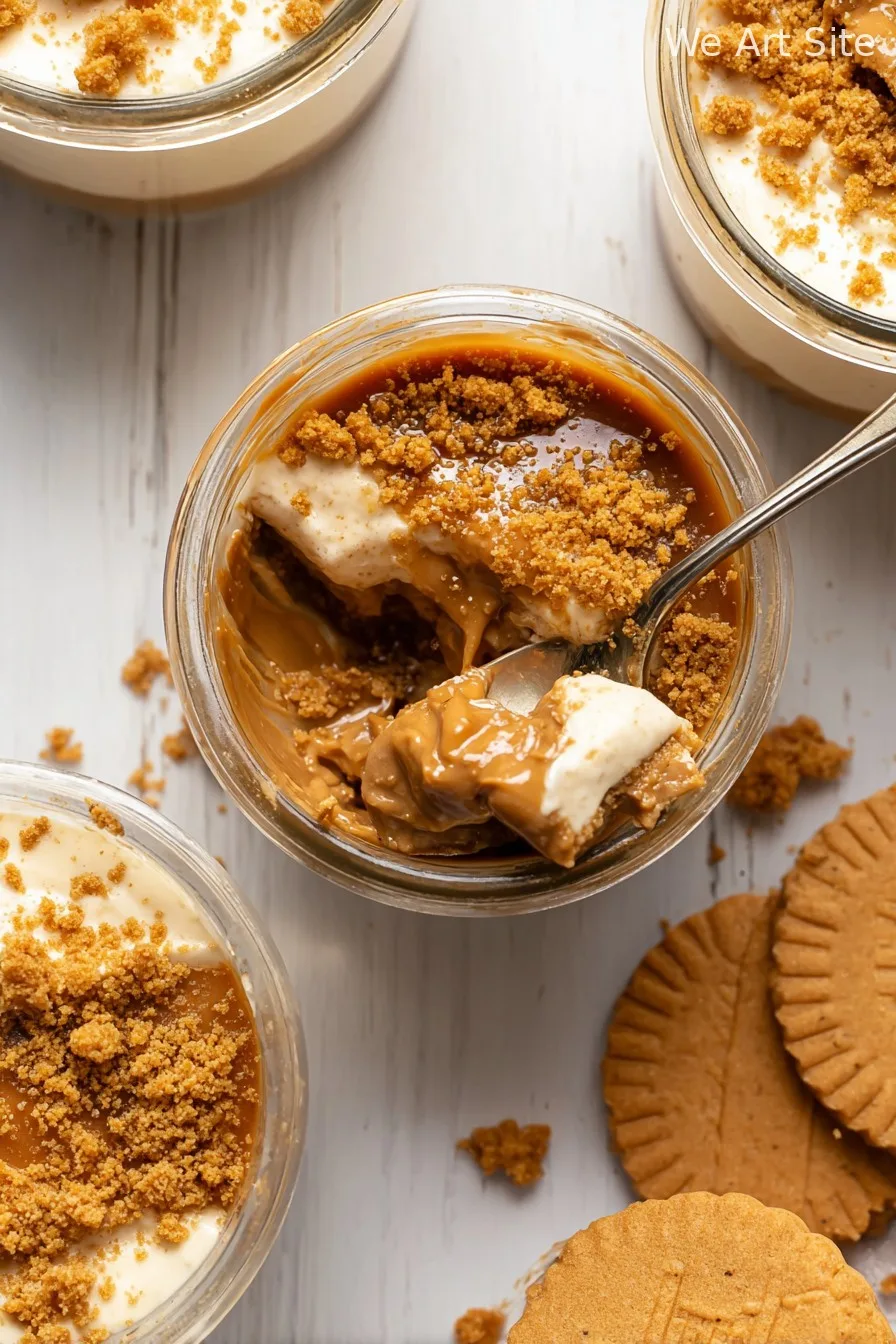
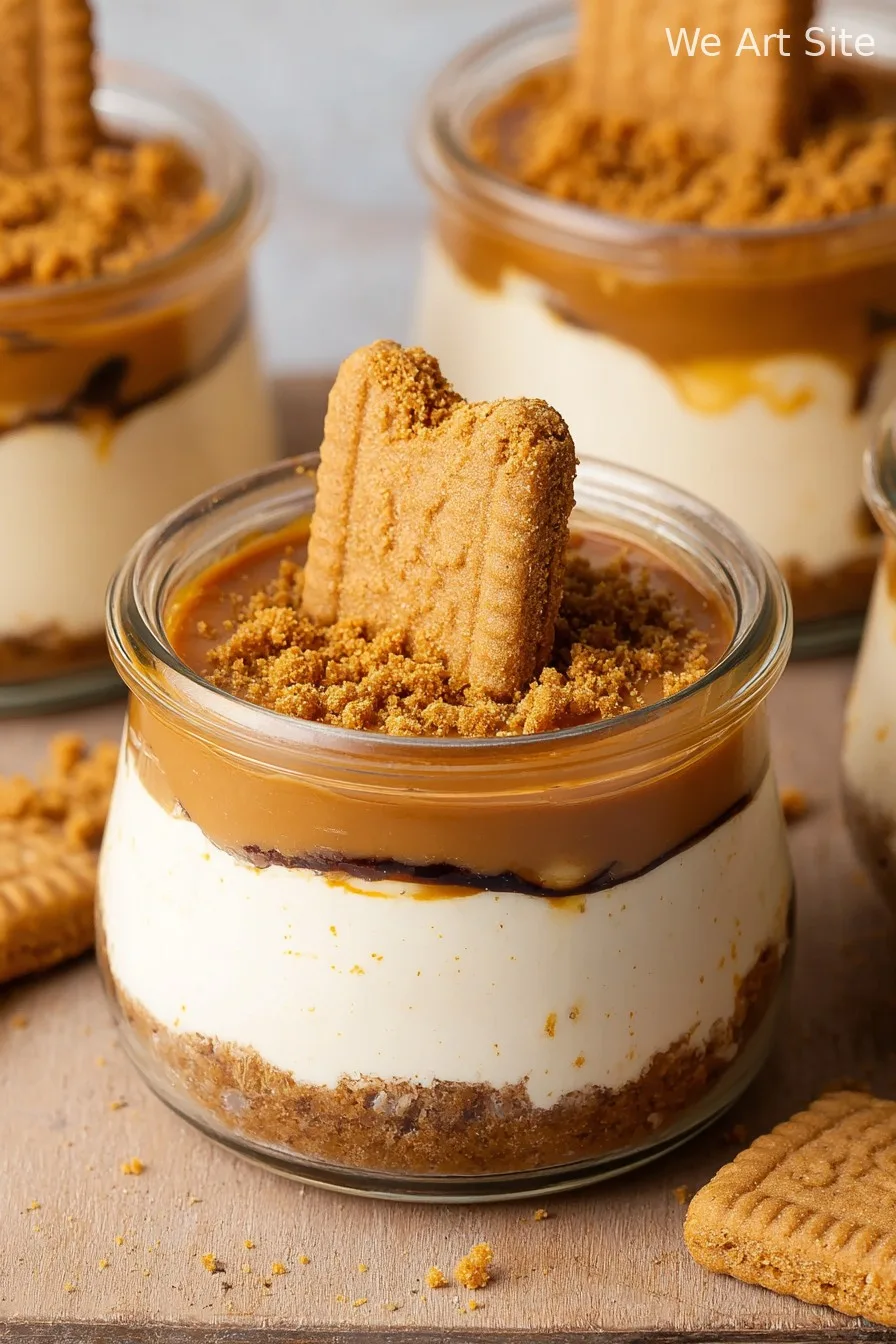
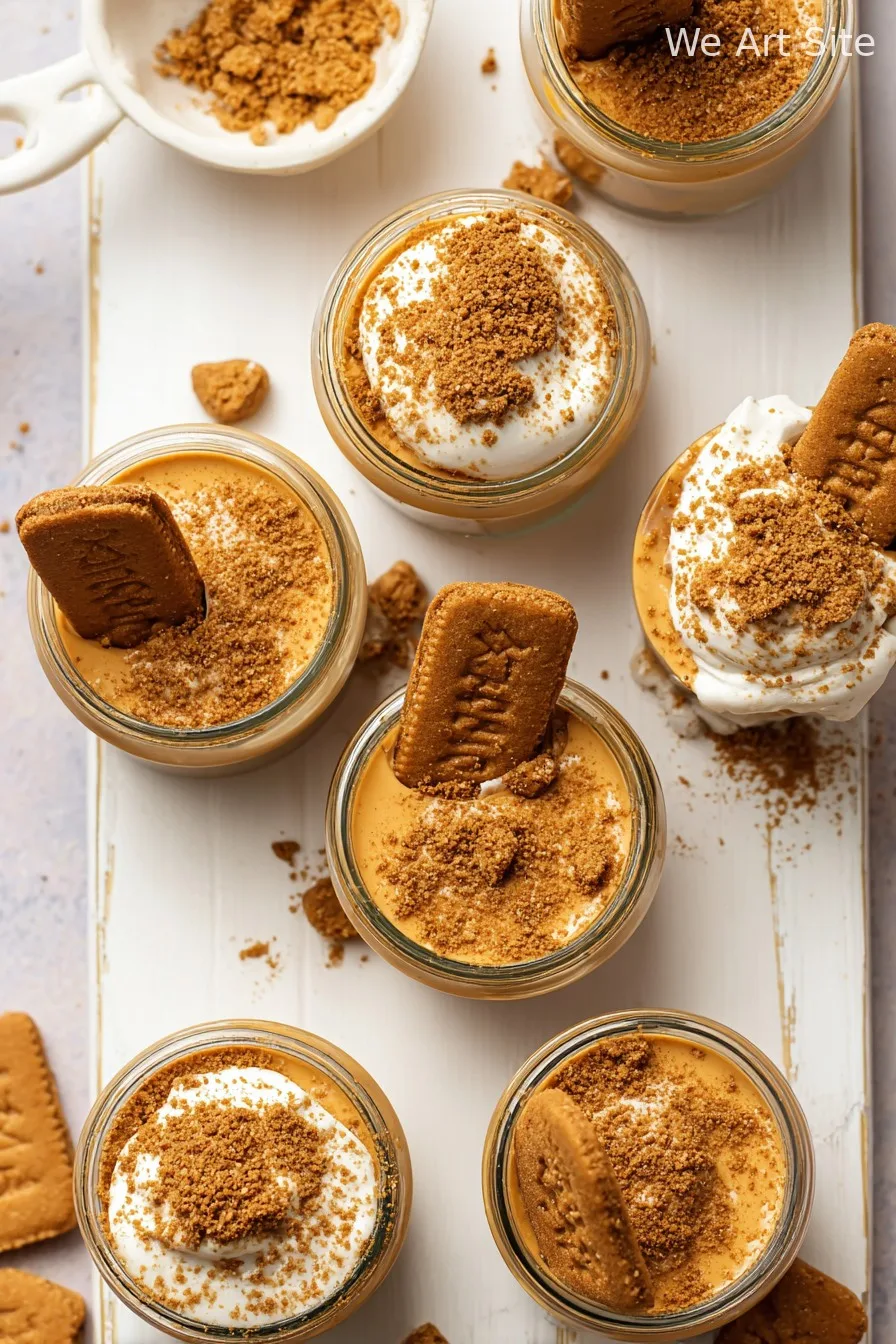
Hey y’all! If you’re looking for a show-stopping dessert that’s ridiculously easy, look no further than these No-Bake Biscoff Cheesecake Cups. With creamy, dreamy cheesecake filling nestled atop a crunchy Lotus Biscoff cookie crust, each cup is packed with irresistible caramelized cookie flavor. They’re perfect for parties, cozy nights in, or whenever your sweet tooth strikes—no oven required! Ready to wow your tastebuds? Let’s get cooking!
Why You’ll Love This
- No oven needed—just mix, assemble, and chill!
- The spiced caramel flavor from Biscoff cookies is simply unforgettable.
- Perfect for make-ahead desserts, potlucks, or holiday gatherings.
- Individual servings make them adorable and easy for entertaining.
- Velvety-smooth cheesecake balanced by a crunchy cookie crumble base.
Ingredients
- 12 Lotus Biscoff cookies (about 90g), plus extra for garnish
- 3 tablespoons unsalted butter, melted
- 8 oz (225g) cream cheese, softened
- 1/3 cup (40g) powdered sugar
- 1 teaspoon vanilla extract
- 1/2 cup (120ml) heavy whipping cream, cold
- 1/3 cup (85g) Biscoff cookie spread
- A pinch of salt
Directions
1. Prepare the Biscoff Cookie Base
- Crush 12 Biscoff cookies in a food processor or place them in a zip-top bag and bash with a rolling pin until fine crumbs form.
- Combine cookie crumbs with melted butter and mix until the texture resembles wet sand.
- Spoon about 2 tablespoons of the mixture into each of 6 small serving cups or jars (about 4-5 oz each) and gently press down to form the crust. Set aside.
2. Make the Creamy Cheesecake Filling
- In a medium bowl, beat the softened cream cheese, powdered sugar, and vanilla extract with an electric mixer until smooth and fluffy (about 1-2 minutes).
- Add the Biscoff cookie spread and a pinch of salt, then beat until fully combined.
3. Whip the Cream
- In a separate bowl, whip the cold heavy cream until stiff peaks form (about 2-3 minutes).
- Gently fold the whipped cream into the cheesecake mixture until smooth and evenly incorporated.
4. Assemble the Cups
- Spoon or pipe the Biscoff cheesecake filling over the prepared crusts, dividing evenly among the cups.
- Chill in the fridge for at least 2 hours, or until set.
- Just before serving, garnish with extra crushed Biscoff cookies and, if desired, a drizzle of melted Biscoff spread.
Notes
- For a firmer texture, chill the cups for up to 4 hours or overnight.
- Use room temperature cream cheese for the smoothest, lump-free filling.
- Lightly spray cups with nonstick spray if you want the dessert to easily slide out for plating.
Variations
- Chocolate Swirl: Swirl in some melted chocolate to the cheesecake mixture before assembling.
- Berry Bliss: Add a fresh raspberry or blueberry layer between the crust and cheesecake layer.
- Dairy-Free: Substitute dairy-free cream cheese, whipped coconut cream, and vegan butter for an allergy-friendly version.
Required Equipment
- Mixing bowls
- Hand mixer or stand mixer
- Spatula
- Food processor or rolling pin (for crushing cookies)
- Measuring cups and spoons
- 6 small serving cups or jars (4-5 oz each)
Storage Instructions
- Store the assembled cheesecake cups in the refrigerator, covered with plastic wrap or lids, for up to 4 days.
- For best flavor and freshness, garnish just before serving.
- Freezing is not recommended, as it may alter the creamy texture.
Serving Recommendations & Pairings
- Serve chilled, topped with extra crushed Biscoff or a dollop of whipped cream.
- Pair with a piping hot coffee or spiced chai latte for ultimate coziness.
- For a party platter, arrange with chocolate-covered strawberries and mini tartlets.
Pro Tips
- Chill your mixing bowl and beaters before whipping cream—it whips up faster and fluffier!
- Use a piping bag for neat, bakery-worthy layers.
- Let the cheesecake cups sit out for 5 minutes before serving for maximum creaminess.
FAQ
- Can I make these cheesecake cups ahead of time?
- Absolutely! Make them the night before and chill overnight. Add toppings just before serving for freshness.
- Can I use another type of cookie for the base?
- Yes! Graham crackers or digestive biscuits also work well if you can’t find Biscoff cookies.
- Is there a way to make these gluten-free?
- Use gluten-free speculoos-style cookies or any gluten-free crunchy cookie as the base.
Ingredients
- 12 Lotus Biscoff cookies (about 90g), plus extra for garnish
- 3 tablespoons unsalted butter, melted
- 8 oz (225g) cream cheese, softened
- 1/3 cup (40g) powdered sugar
- 1 teaspoon vanilla extract
- 1/2 cup (120ml) heavy whipping cream, cold
- 1/3 cup (85g) Biscoff cookie spread
- A pinch of salt
Instructions
-
1Crush 12 Biscoff cookies in a food processor or place them in a zip-top bag and bash with a rolling pin until fine crumbs form.
-
2Combine cookie crumbs with melted butter and mix until the texture resembles wet sand.
-
3Spoon about 2 tablespoons of the mixture into each of 6 small serving cups or jars (about 4-5 oz each) and gently press down to form the crust. Set aside.
-
4In a medium bowl, beat the softened cream cheese, powdered sugar, and vanilla extract with an electric mixer until smooth and fluffy (about 1-2 minutes).
-
5Add the Biscoff cookie spread and a pinch of salt, then beat until fully combined.
-
6In a separate bowl, whip the cold heavy cream until stiff peaks form (about 2-3 minutes).
-
7Gently fold the whipped cream into the cheesecake mixture until smooth and evenly incorporated.
-
8Spoon or pipe the Biscoff cheesecake filling over the prepared crusts, dividing evenly among the cups.
-
9Chill in the fridge for at least 2 hours, or until set.
-
10Just before serving, garnish with extra crushed Biscoff cookies and, if desired, a drizzle of melted Biscoff spread.
CLICK FOR NUTRITION INFO
↑
Approximate Information for One Serving
Serving Size:
1 serving
Calories:
370cal
Protein:
4 gg
Fat:
27 gg
Saturated Fat:
0g
Trans Fat:
0g
Cholesterol:
0mg
Sodium:
0mg
Potassium:
0mg
Total Carbs:
30 gg
Fiber:
0g
Sugar:
0g
Net Carbs:
0g
Vitamin A:
0
Vitamin C:
0mg
Calcium:
0mg
Iron:
0mg
Nutrition Disclaimers
Number of total servings shown is approximate. Actual number of servings will depend on your preferred portion sizes.
Nutritional values shown are general guidelines and reflect information for 1 serving using the ingredients listed, not including any optional ingredients. Actual macros may vary slightly depending on specific brands and types of ingredients used.
To determine the weight of one serving, prepare the recipe as instructed. Weigh the finished recipe, then divide the weight of the finished recipe (not including the weight of the container the food is in) by the desired number of servings. Result will be the weight of one serving.
Did you make this recipe?
Please consider Pinning it!