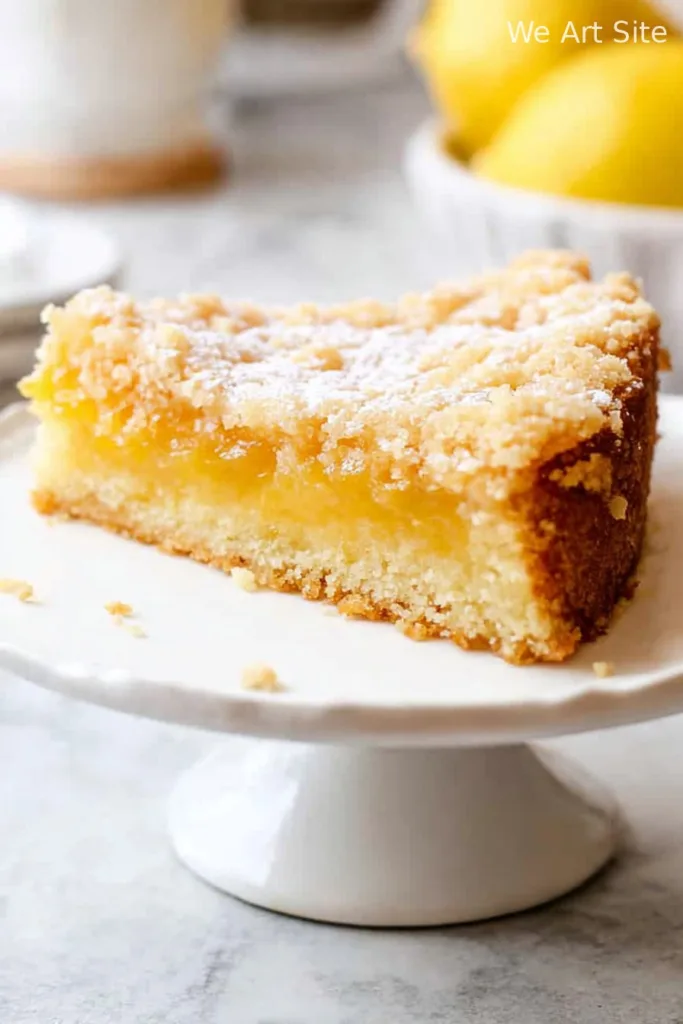
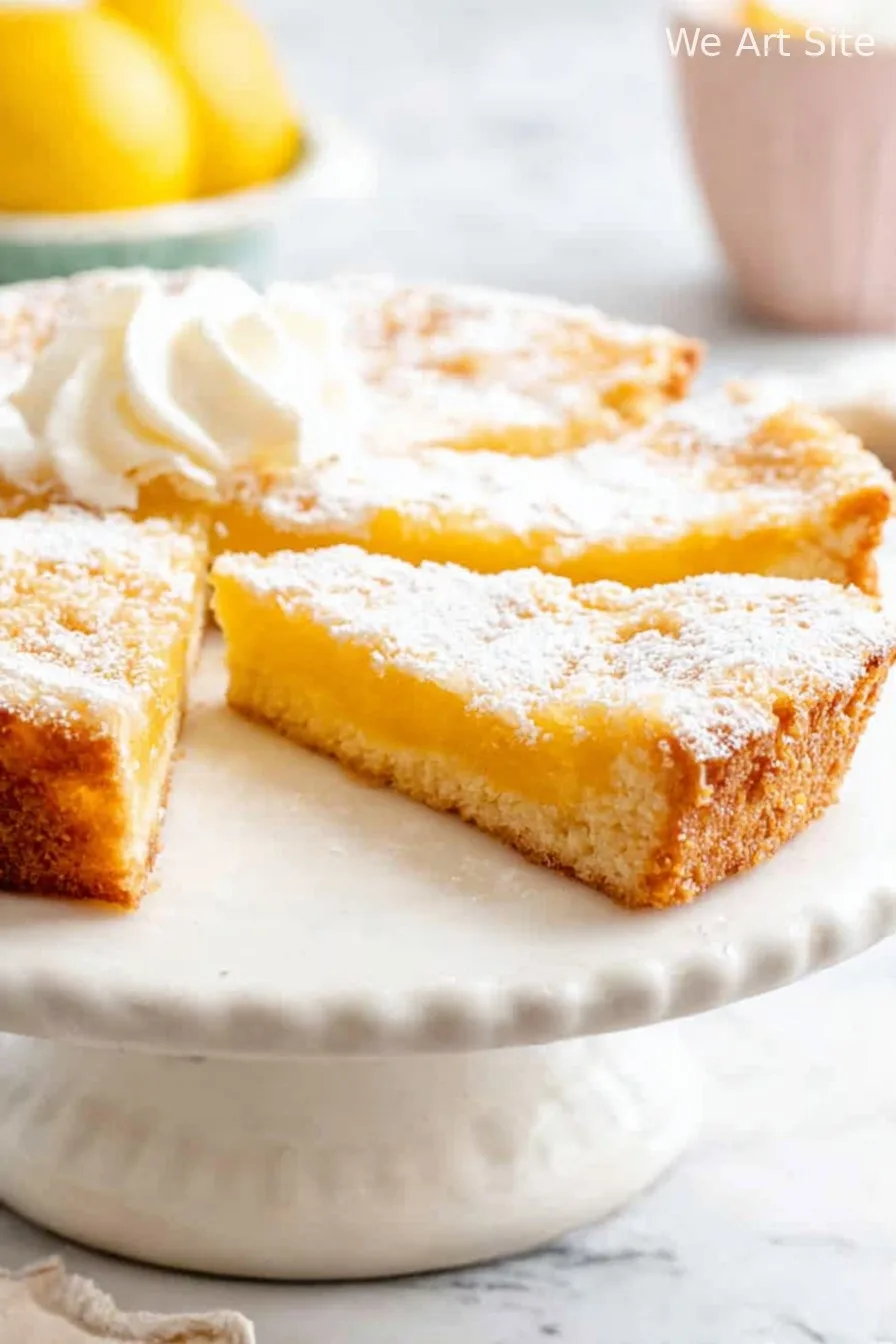
Hey y’all! If you love bright, citrusy desserts that are both elegant and downright delicious, this Lemon Curd Cake (Gluten-Free Option) is about to become your new favorite go-to. With its buttery crumb, luscious homemade lemon curd, and a pillowy-soft texture, this cake looks impressive but comes together without a fuss. It’s the ultimate treat for spring brunches, tea parties, birthdays, or whenever you crave a little sunshine on your table! Let’s get cooking!

Why You’ll Love This Lemon Curd Cake
- Bright, tangy lemon flavor in every bite for a refreshing dessert experience.
- Moist, tender crumb whether you choose classic or gluten-free flours.
- Perfect for special occasions, family gatherings, or casual treats.
- Easy to adapt with simple ingredients and clear steps.
- Gluten-free option keeps it accessible for more guests!
Ingredients
- 1 3/4 cups (220g) all-purpose flour or gluten-free 1:1 baking flour
- 1 1/2 tsp baking powder
- 1/2 tsp baking soda
- 1/2 tsp salt
- 1/2 cup (113g) unsalted butter, room temperature
- 1 cup (200g) granulated sugar
- 3 large eggs, room temperature
- 1/2 cup (120ml) whole milk or any dairy-free milk
- 1/4 cup (60ml) fresh lemon juice
- 2 tsp lemon zest (about 2 lemons)
- 1 tsp pure vanilla extract
- 1 cup lemon curd (store-bought or homemade; see notes for recipe)
- Powdered sugar, for dusting (optional)
Directions
Step 1: Preheat & Prep
- Preheat your oven to 350°F (175°C).
- Grease and line an 8-inch round cake pan with parchment paper.
Step 2: Whisk Dry Ingredients
- In a medium bowl, whisk together flour, baking powder, baking soda, and salt.
Step 3: Cream Butter & Sugar
- In a large bowl, cream the butter and sugar until pale and fluffy (about 3 minutes).
- Beat in eggs, one at a time, mixing well after each addition.
- Mix in vanilla extract, lemon juice, and lemon zest.
Step 4: Combine Wet & Dry
- Add half of the flour mixture to the wet ingredients and mix gently.
- Pour in half the milk, then repeat with remaining flour and milk, mixing until just combined.
Step 5: Layer & Bake
- Pour half the batter into the prepared pan and smooth the top.
- Spoon the lemon curd over the batter in an even layer (try to avoid the very edges).
- Top with remaining batter and gently spread to cover the curd.
- Bake for 35-40 minutes, or until golden and a toothpick inserted into the center comes out clean (minus any curd streaks).
Step 6: Cool & Serve
- Allow the cake to cool in the pan for 15 minutes, then transfer to a wire rack to cool completely.
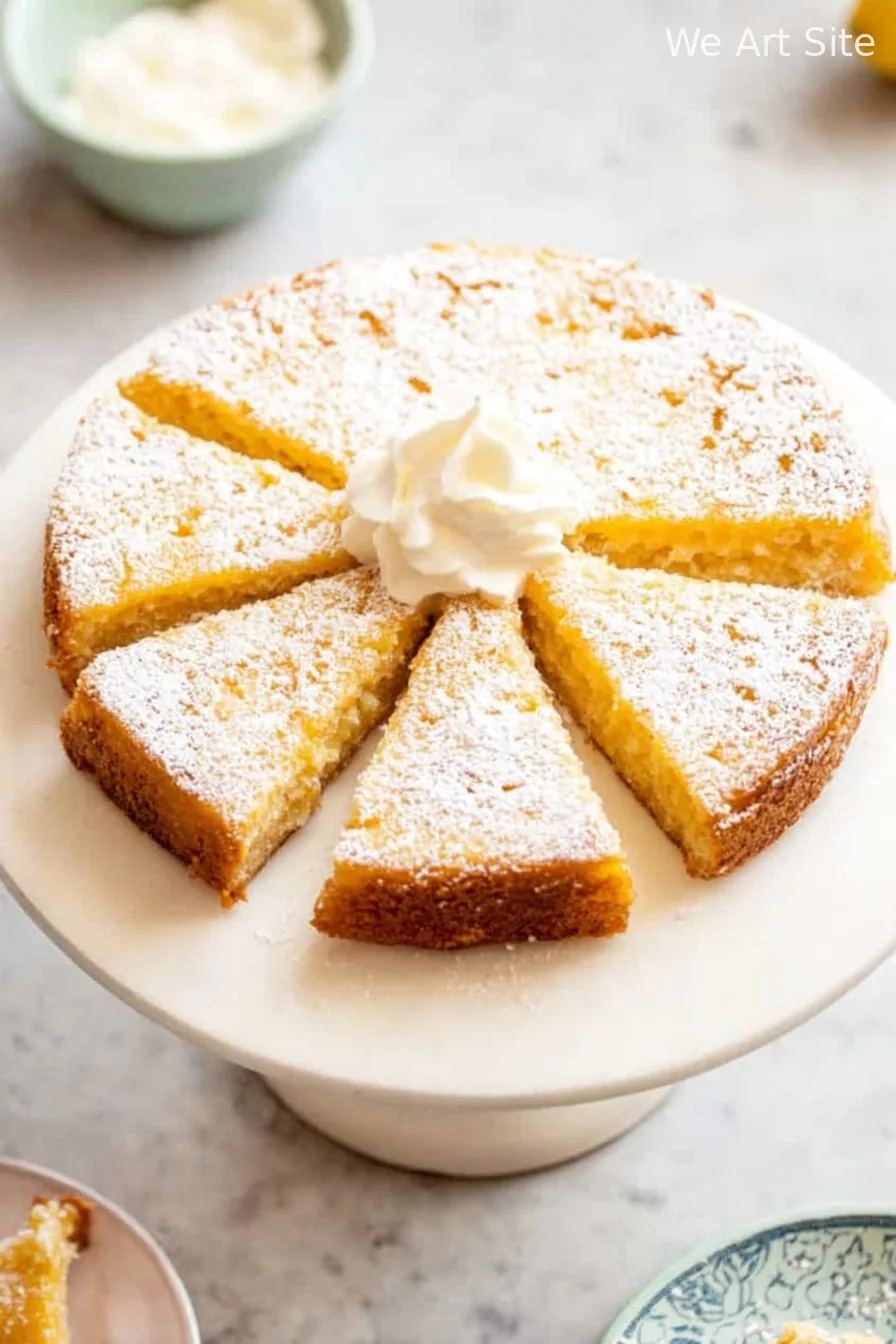
- Dust with powdered sugar before serving, if you like.
Notes
- For homemade lemon curd: Whisk together 2 eggs, 1/2 cup sugar, 1/4 cup lemon juice, 1 tbsp zest, and 4 tbsp butter over gentle heat until thickened.
- Let the lemon curd cool to room temperature before spreading onto the cake.
- Don’t overmix the batter for the softest, fluffiest texture.
Variations
- Lemon Blueberry Curd Cake: Fold 1 cup of fresh blueberries into the batter for bursts of fruitiness.
- Dairy-Free Version: Use plant-based butter and non-dairy milk for a lactose-free treat.
- Lemon Raspberry Layer Cake: Alternate layers of lemon curd and raspberry preserves for a tart twist.
Required Equipment
- 8-inch round cake pan
- Parchment paper
- Mixing bowls
- Electric mixer or hand whisk
- Measuring cups and spoons
- Wire rack
Storage Instructions
- Wrap the cooled Lemon Curd Cake in plastic wrap or store in an airtight container.
- Keep at room temperature for up to 2 days, or refrigerate for up to 5 days.
- For longer storage, freeze sliced cake for up to 2 months; thaw overnight in the refrigerator before serving.
Suggested Pairings & Serving Recommendations
- Serve slices with a dollop of whipped cream or a scoop of vanilla ice cream for extra decadence.
- Perfect alongside hot tea, iced coffee, or a sparkling glass of lemonade.
- Garnish with fresh berries and mint for a pop of color and flavor.
Pro Tips
- Let all ingredients come to room temperature before mixing for a smoother batter.
- If using store-bought curd, give it a quick stir for easy spreading.
- Chill the cake before slicing for clean, beautiful layers.
FAQ
Can I make this Lemon Curd Cake ahead of time?
Yes! This cake keeps well for several days, so you can bake it a day ahead and store it covered until ready to serve.
How can I tell if the cake is done baking?
The top should be golden, and a toothpick poked into the center should come out with a few moist crumbs but no raw batter (ignore any lemon curd streaks).
Can I substitute another citrus fruit?
Absolutely! Try orange or lime for a delicious twist on the classic lemon curd flavor.
Ingredients
- 1 1/2 cups all-purpose flour or gluten-free flour blend
- 1 cup granulated sugar
- 1/2 cup unsalted butter, softened
- 2 large eggs
- 1/2 cup milk (dairy or non-dairy)
- 2 teaspoons baking powder
- 1/4 teaspoon salt
- 2 tablespoons fresh lemon zest
- 1/2 cup fresh lemon juice
- 3/4 cup lemon curd (store-bought or homemade)
- 1 cup whipped cream or buttercream frosting
Instructions
-
1Preheat oven to 350°F (175°C). Grease and flour an 8-inch round cake pan. If using the gluten-free option, dust pan with gluten-free flour.
-
2In a large bowl, cream together the butter and sugar until light and fluffy. Add eggs one at a time, beating well after each addition.
-
3In a separate bowl, whisk together the flour, baking powder, salt, and lemon zest.
-
4Gradually mix the dry ingredients into the wet mixture, alternating with milk and lemon juice. Mix until just combined.
-
5Pour batter into the prepared pan and bake for 30–35 minutes, or until a toothpick inserted in the center comes out clean. Cool cake completely on a wire rack.
-
6Once cooled, slice the cake in half horizontally. Spread lemon curd evenly on the bottom layer, replace the top layer, and frost with whipped cream or buttercream. Garnish with extra lemon zest if desired.
CLICK FOR NUTRITION INFO
↑
Approximate Information for One Serving
Serving Size:
1 serving
Calories:
320 caloriescal
Protein:
4gg
Fat:
14gg
Saturated Fat:
0g
Trans Fat:
0g
Cholesterol:
0mg
Sodium:
0mg
Potassium:
0mg
Total Carbs:
45gg
Fiber:
0g
Sugar:
0g
Net Carbs:
0g
Vitamin A:
0
Vitamin C:
0mg
Calcium:
0mg
Iron:
0mg
Nutrition Disclaimers
Number of total servings shown is approximate. Actual number of servings will depend on your preferred portion sizes.
Nutritional values shown are general guidelines and reflect information for 1 serving using the ingredients listed, not including any optional ingredients. Actual macros may vary slightly depending on specific brands and types of ingredients used.
To determine the weight of one serving, prepare the recipe as instructed. Weigh the finished recipe, then divide the weight of the finished recipe (not including the weight of the container the food is in) by the desired number of servings. Result will be the weight of one serving.
Did you make this recipe?
Please consider Pinning it!!