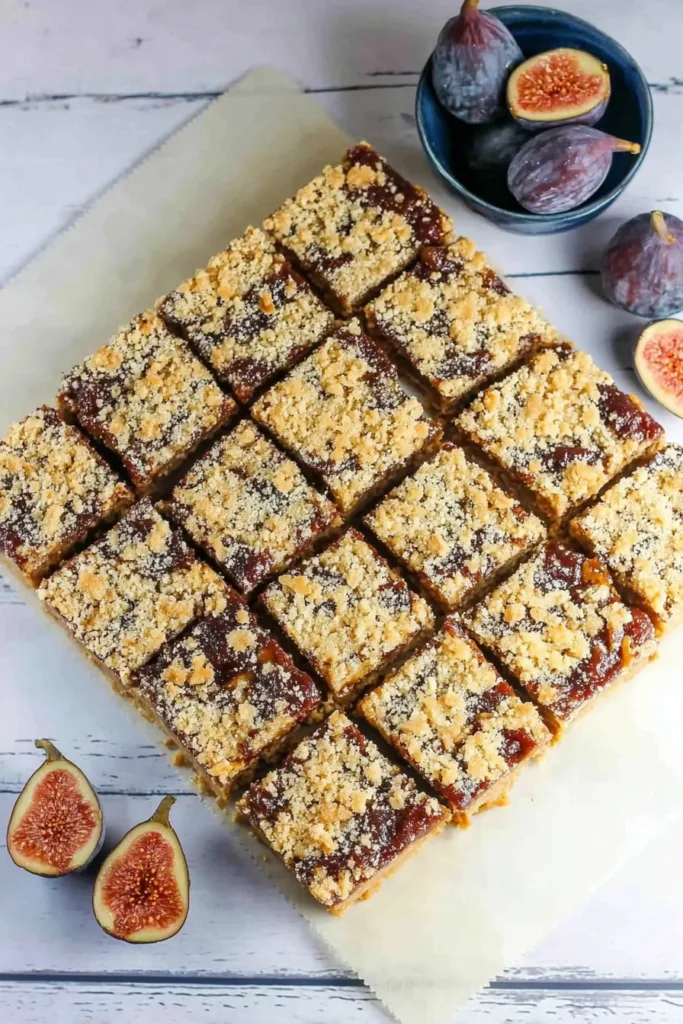
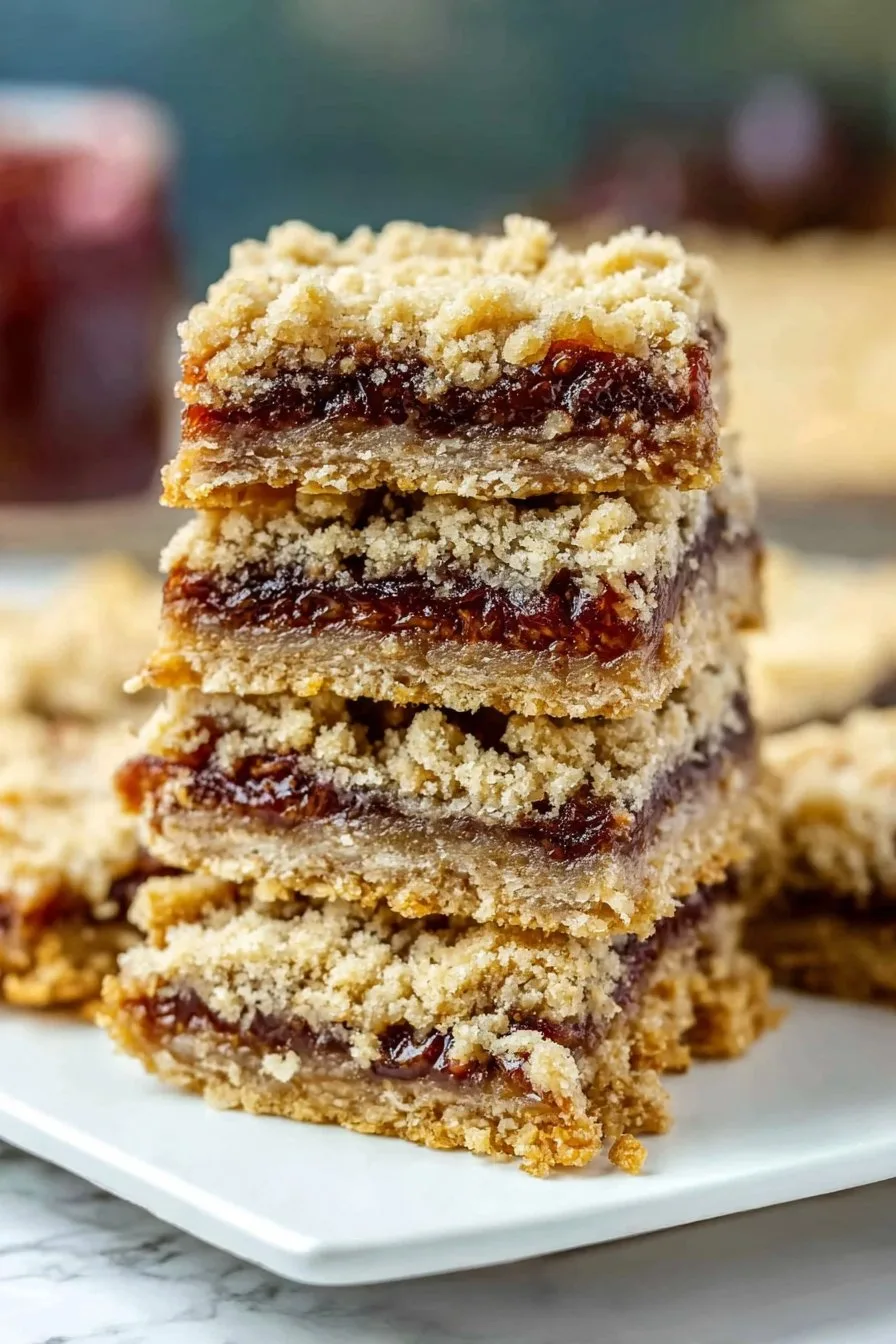
Let Me Tell You About These Homemade Fig Bars
Okay, sooo, here’s the thing: I started making fig bars during a rainy week when everyone in the house was a bit cranky and we’d basically run out of any snack that wasn’t suspiciously sticky or loud (looking at you, chip bags). My grandma used to hand me fig bars from a tin—her secret stash, always a little too dry—which I guess is why I got the urge to bake something homemade, soft, and old-school. Actually, I once tried to pass these off as store-bought, but my youngest called me out because, and I quote, “yours are a bit more crumbly, Mum!” Rude, but fair.
To be honest, making these is a bit of a weekend project, but not an annoying one. It’s kind of like putting on your favorite playlist and just sort of… settling in. And if you end up with flour everywhere (I always do), well, that’s just extra character, right?
Why I Always End Up Making These
I make this when I want something snacky but not super sweet—plus, my family goes crazy for the smell. It’s one of those things where people wander into the kitchen, pretending not to be nosy, then suddenly everyone’s nibbling the corners. (Disclaimer: I burn the bottom occasionally, but honestly, a little golden brown is nice.)
Also, these keep pretty well, unless, like me, you eat half before they’ve cooled. And, um, I sometimes make a double batch because they’re just as good with coffee the next morning as they are straight out of the tin. Or at midnight when no one’s looking. Not that I’d know.
Gathering Up the Ingredients (Substitutions Welcome)
- 1 1/2 cups dried figs (I use Black Mission, but Smyrna works too; honestly, just whatever’s cheap at the shop)
- 1/2 cup orange juice (my grandmother insisted on fresh, but—carton juice does the job)
- 1/2 cup sugar (sometimes I swap half for honey if I’m feeling rustic)
- 1 cup unsalted butter, softened (you can use margarine, but it’s not the same; just saying!)
- 1/2 cup brown sugar (light or dark—I’ve swapped in coconut sugar by mistake, it tasted fine)
- 2 eggs (large, but I’ve used medium in a pinch and lived to tell the tale)
- 1 tsp vanilla extract (the good stuff if you’ve got it; otherwise, imitation is fine)
- 2 cups all-purpose flour (I tried whole wheat once…let’s just say, not my best idea)
- 1/2 tsp salt (I use Maldon flakes but table salt works, too)
- 1 tsp baking soda
- 1 1/2 cups quick oats (I sometimes toss in a handful more if the dough looks too sticky)
How I Throw It All Together
- Make the fig filling: Chop your figs (I just snip with kitchen scissors, like a lazy legend), toss them in a saucepan with the orange juice and 1/2 cup sugar. Simmer gently, and stir a bit, until it goes jammy—about 10 minutes. Don’t wander off; they can stick. Let it cool. This is where I usually sneak a taste. Or two.
- Whip up the dough: In a big bowl, beat the butter and brown sugar together until fluffy. Add eggs one at a time, then chuck in the vanilla. Mix flour, salt, and baking soda in a separate bowl (I sometimes skip this, but it does help avoid lumps), then fold this into the butter mixture. Add oats. You want a thick-ish dough. Sometimes it looks a bit wonky; don’t stress.
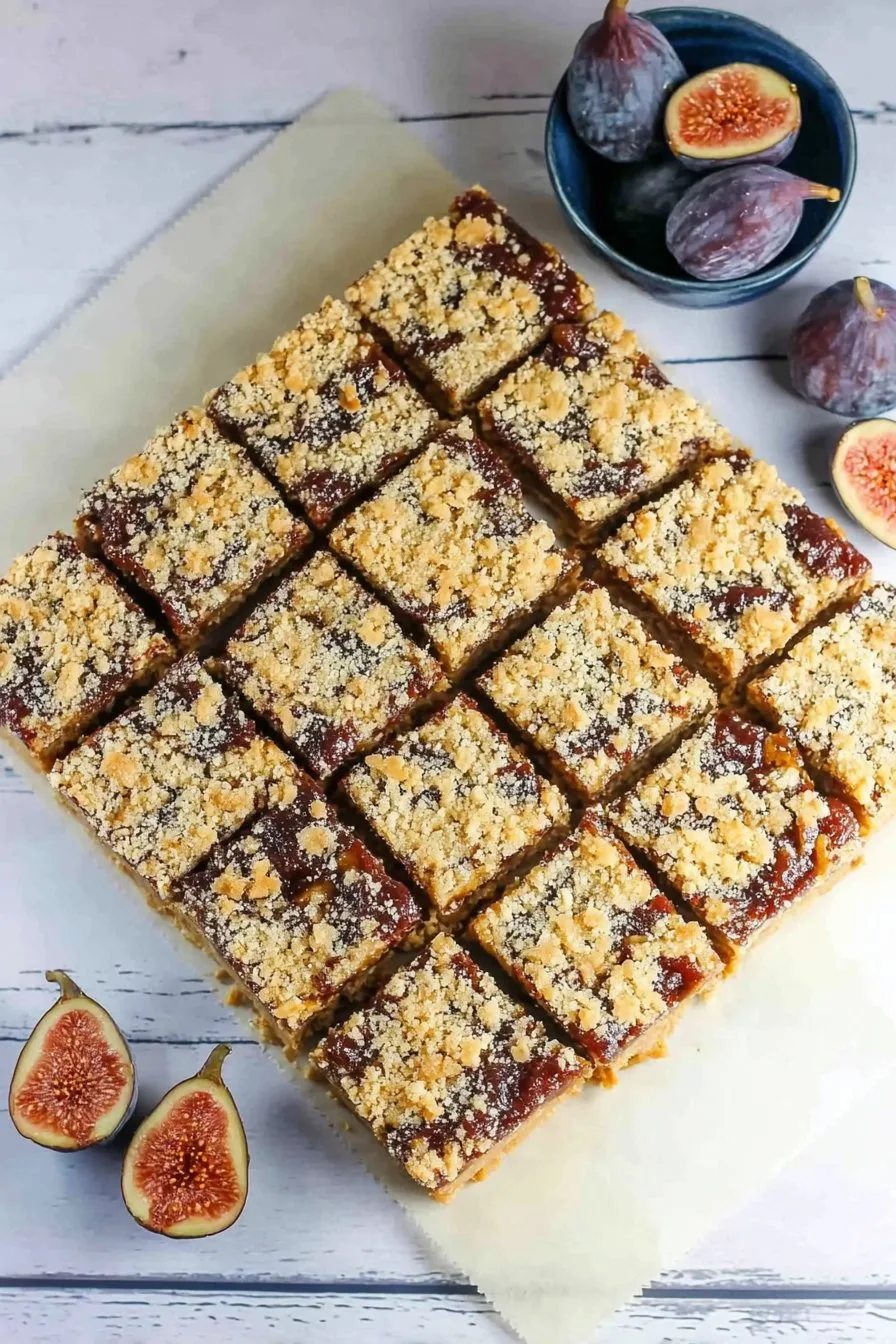
- Assembly time! Plop half the dough into a lined 9×13-inch pan (I just use whatever baking paper I have, nothing fancy). Press it out—it can be sticky, so dip your fingers in water if you need. Spread the cooled fig mixture over. Top with the rest of the dough. I just kind of drop blobs over and smooth gently. If it looks patchy, that’s fine—it’ll bake up cozy.
- Baking: Bake at 180°C (350°F) for about 25-30 minutes, until the top is light golden and looks a bit set. Don’t worry if the edges go a bit brown; those bits are the best.
- Cool and slice: Let it cool before cutting—seriously, I always get eager and slice too soon, which is messy but delicious. Squares, bars, triangles—whatever shape your heart desires.
Notes From the (Sometimes Messy) Trenches
- If the dough seems way too soft, stick it in the fridge for 10 min. Actually, I find it works better if you chill it a bit, especially if your kitchen’s warm.
- Chopping figs is sticky business. Rub a bit of oil on your scissors, makes life easier.
- Don’t panic if the filling bubbles up at the corners—tastes great a little caramelized.
- And, if you accidentally buy figs with lots of seeds, just roll with it. Adds crunch. Maybe too much, but oh well.
Variations and Experiments (Some More Successful Than Others)
- I tried swapping half the figs for dates—turned out sweeter, not bad! Kind of like if a fig and a date got into a friendly brawl and both won.
- One time I added a handful of chopped walnuts to the dough. Not everyone was a fan, but I liked the crunch.
- Once, I thought I’d be clever and add lemon zest to the filling. It was… okay. Not my favorite. Maybe more for citrus lovers.
- To be honest, the chocolate drizzle experiment was a bust. If you find a way to make it work, let me know?
Equipment (or Just Make Do)
- Mixing bowls (big and small)
- Electric mixer (or a wooden spoon and some elbow grease—good for the muscles!)
- 9×13 inch baking pan. I’ve used a slightly smaller one and the bars were a bit thicker, no biggie.
- Baking paper (or just butter the pan well—sometimes I forget, and that’s what spatulas are for)
- Kitchen scissors for figs…or just a sharp knife, but I always lose mine in the drawer
How to Store Them (If You Can Actually Wait)
Store in an airtight container for up to 4 days, room temp. I think these taste better the next day, but honestly, in my house it never lasts more than a day! If you want to freeze them, just wrap tightly in foil (I learned the hard way that plastic wrap alone isn’t enough; they took on a freezer taste, blech).
How I Like to Serve Fig Bars
So, my favorite way is slightly warm, with a dollop of Greek yoghurt and a mug of strong tea. If it’s a fancy occasion (which, let’s face it, is usually just me and a pal), I dust a little icing sugar over the top. The kids dunk them in milk. My partner says they’re best with coffee, but I’m not so sure.
Pro Tips Learned the Hard Way
- Don’t try to speed up the cooling time by putting them in the fridge—once, mine got weirdly soggy. Patience!
- If you overwork the dough, it gets a bit tough. I always want to keep mixing, but stopping early gives you a more tender bar (lesson learned, after a couple of brick-like attempts).
- Tried to cut them straight out of the oven once (couldn’t wait), and they just fell apart. But the crumbs are a snack, too, so not a total loss.
Fig Bar FAQ (Stuff My Friends Have Actually Asked)
- Can I use fresh figs?
- Sort of, but honestly, they make the filling too wet unless you simmer it down a lot. I’ve done it, but it’s more faff than it’s worth, unless you’re swimming in figs.
- Do I have to use oats?
- Nope, but I like the chew. You could try swapping them for ground almonds, though I haven’t. Let me know if you do!
- What if I don’t have orange juice?
- I’ve used apple juice, even a splash of water with a squeeze of lemon, in a pinch. Maybe it’s not classic, but it works.
- Are these gluten free?
- Not as written, but I’ve seen people use gluten-free flour blends. Haven’t tried it myself, but here’s a version you might like.
- Can I double the filling?
- Oh, for sure. Actually, I think more filling is always a good idea, but it’ll be messier (not a dealbreaker around here).
- How do I clean the pan afterwards?
- Soak it. Trust me. And maybe delegate that bit if you can.
Oh, and one more thing—if you’re looking for a new way to enjoy figs, or just want to make something that feels like a hug from your kitchen, give these a go. If you need more fig ideas, here’s some inspiration I’ve used myself. Enjoy, mate!
Ingredients
- 1 1/2 cups dried figs, stems removed and chopped
- 1/2 cup water
- 2 tablespoons honey
- 1 teaspoon lemon juice
- 1 1/2 cups all-purpose flour
- 1/2 teaspoon baking soda
- 1/4 teaspoon salt
- 1/2 cup unsalted butter, softened
- 1/2 cup brown sugar
- 1 large egg
- 1 teaspoon vanilla extract
Instructions
-
1Preheat the oven to 350°F (175°C). Line an 8-inch square baking pan with parchment paper.
-
2In a small saucepan, combine chopped figs, water, honey, and lemon juice. Simmer over medium heat for 10 minutes until figs are soft and mixture is thickened. Let cool, then blend into a smooth paste.
-
3In a bowl, whisk together flour, baking soda, and salt. In a separate bowl, cream butter and brown sugar until light and fluffy. Beat in egg and vanilla extract.
-
4Gradually add the dry ingredients to the wet ingredients, mixing until just combined. Divide the dough in half.
-
5Press half of the dough evenly into the prepared pan. Spread the fig filling over the dough. Top with the remaining dough, pressing gently to cover the filling.
-
6Bake for 25 minutes or until golden brown. Cool completely before cutting into bars.
CLICK FOR NUTRITION INFO
↑
Approximate Information for One Serving
Serving Size:
1 serving
Calories:
180 caloriescal
Protein:
2gg
Fat:
6gg
Saturated Fat:
0g
Trans Fat:
0g
Cholesterol:
0mg
Sodium:
0mg
Potassium:
0mg
Total Carbs:
30gg
Fiber:
0g
Sugar:
0g
Net Carbs:
0g
Vitamin A:
0
Vitamin C:
0mg
Calcium:
0mg
Iron:
0mg
Nutrition Disclaimers
Number of total servings shown is approximate. Actual number of servings will depend on your preferred portion sizes.
Nutritional values shown are general guidelines and reflect information for 1 serving using the ingredients listed, not including any optional ingredients. Actual macros may vary slightly depending on specific brands and types of ingredients used.
To determine the weight of one serving, prepare the recipe as instructed. Weigh the finished recipe, then divide the weight of the finished recipe (not including the weight of the container the food is in) by the desired number of servings. Result will be the weight of one serving.
Did you make this recipe?
Please consider Pinning it!!