Let Me Tell You About These Oatmeal Bars (and My Very Odd First Try)
I swear, healthy baking is like a rodeo: sometimes you’re the cowboy, sometimes you’re the mud. The first time I tried making these Healthy Chocolate Chip Oatmeal Bars, I thought if I just threw in some whole oats and swapped the sugar for applesauce, I’d invented the next superfood. My teenage son took a bite, nodded politely, and then made himself a cheese toastie. Since then, I’ve – well, we’ve — ironed out the kinks. Now these bars pretty much vanish before the pan’s actually cool. Oh, and if you’re the sort of person who likes to sneak chocolate chips straight from the bag, I won’t judge. (I mean, who honestly does measure them?)
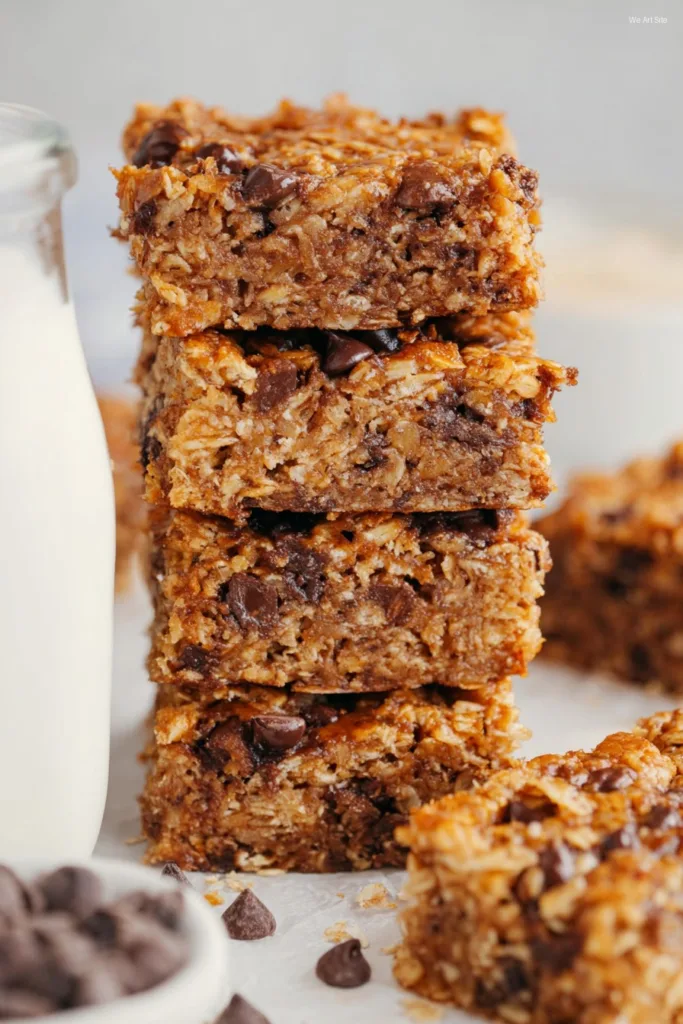
Why I Keep Making These Bars (And a Few Annoyances I’ve Worked Through)
I make this when I want something snacky that’s not going to leave me in a weird sugar coma. My family loves these because they’re soft and a little chewy — but not so healthy you feel like you’re gnawing on cardboard (which, for the record, I have absolutely baked by accident, let’s not talk about my first attempt at sugarfree banana bread). I also love that I can throw them in my bag for work or a hike; they don’t crumble into dust. Once though, I forgot the baking powder and they just kind of… sank. Still tasted fine, but not as photogenic, let’s put it that way.
What You Need (It’s a Flexible Situation)
- 2 cups rolled oats (sometimes I use half quick oats if that’s what’s left, turns out fine)
- 1 cup whole wheat flour (or white flour if that’s all you’ve got, gran doesn’t mind)
- 1/2 teaspoon baking powder (key for lift, don’t forget like I did once)
- 1/2 teaspoon cinnamon (optional, but smells amazing—trust me)
- 1/4 teaspoon salt (I just use a regular pinch, my friend Niamh skips it but I notice the difference)
- 1/3 cup honey or pure maple syrup (I go for maple when I’m feeling fancy)
- 1/2 cup unsweetened applesauce (in a pinch, mashed banana mostly works — the bars come out chunkier, though)
- 1 large egg (or a flax egg for vegan, which actually surprised me by working pretty well!)
- 1/3 cup coconut oil, melted (honestly, olive oil is fine too, though gives a chewier texture)
- 1 and 1/2 teaspoons vanilla extract (if you’re out, a touch more cinnamon works, sort of)
- 2/3 cup chocolate chips (or a ‘generous handful’ if you can’t be bothered measuring)
How I Actually Make These Bars
- Preheat your oven to 175°C (that’s about 350°F, or thereabouts — you know your oven best; mine runs hot on Tuesdays for some reason).
- Line a square baking pan (8×8 inches is textbook, but rectangular is fine honestly, adjust baking time down just a bit). You can use parchment, but butter works if, like me, you run out of paper and only realize after your hands are sticky.
- In a big bowl, whisk the oats, flour, baking powder, cinnamon, and salt. This is usually where I spill a bit, just fyi.
- In another bowl, mix the honey (or maple), applesauce, egg, oil, and vanilla. Super quick — I sometimes just do this with a fork.
- Pour the wet into the dry, stir gently until juuuust mixed. Don’t overmix, or it’ll get tough. If it looks a tad dry at this stage, splash in a tablespoon of milk—oat or cow’s, whatever mood strikes.
- Fold in chocolate chips. Actually, I tend to eat a few chips, then add the rest… but you do you.
- Scoop the batter into your prepared pan. It’ll be pretty thick — you’ll need to press it down with the back of a spatula or, honestly, just your clean hand.
- Bake for about 22-26 minutes. The edges should look a bit gold, don’t panic if the middle still feels a little soft—it’ll firm as it cools. Once I took it out too early and, well, it was basically oatmeal. Tasty, but not portable.
- Let cool fully in the pan (good luck if your kitchen is as chilly as mine after November). Slice into bars—neat squares optional.
Kitchen Notes (Because I Mess Up So You Don’t Have To)
- The bars can come out drier if you use quick oats entirely, so I like mixing them — or tossing in a tablespoon of applesauce extra, which helps.
- Once I was out of oil and just used all applesauce, they were edible but, kinda rubbery. Wouldn’t recommend doubling down on applesauce!
- If you want these more cake-like, use a bit less oats and a touch more flour. But then again, why not just make cake? Ha.
My ‘Experimental’ Variations (and Honest Opinions)
- Chopped walnuts or pecans in the batter—good for a bit of crunch if you’re into it.
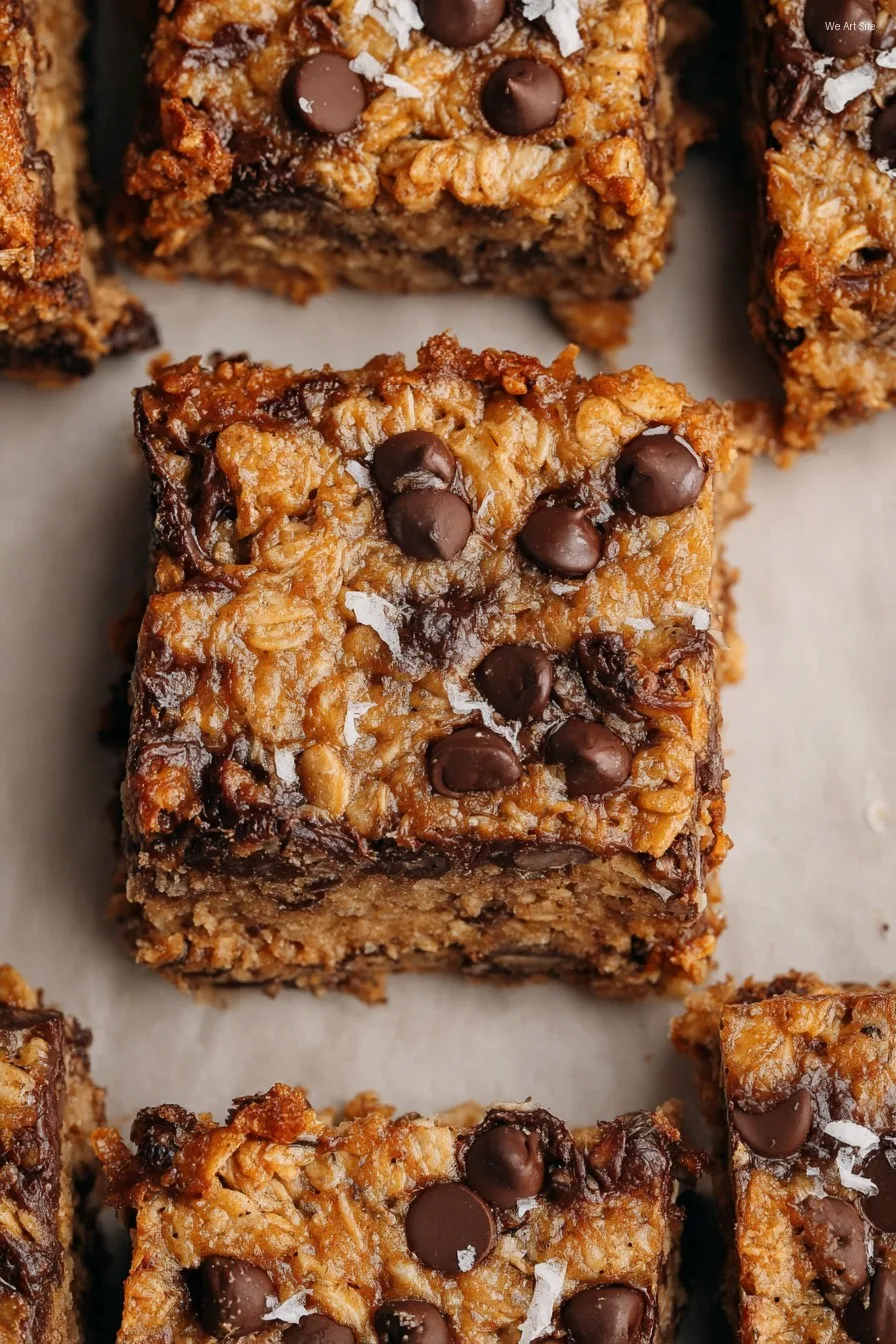
- Sometimes I toss in dried cherries or coconut chips, especially if I’m cleaning out the pantry.
- I tried adding shredded zucchini once (don’t ask why) — came out weirdly moist and, er, green. Wouldn’t do it again unless I’m desperate.
- Swap out chocolate chips for butterscotch morsels or raisins. Or both, if you feel wild!
What If You Don’t Have Fancy Equipment?
No mixer needed, I promise. Sometimes I use a whisk, sometimes just a fork. If you don’t have an 8×8 pan, literally any oven-safe dish works (cookie sheet in a pinch, just bake for less time and cut them smaller). Back in Scotland, I once made these in a pie tin, and though they looked a bit off, they tasted grand!
How Do I Keep These? (If You’re More Disciplined Than Me)
Theoretically, you could keep these in an airtight tin for up to 4 days. Or in the freezer, separated with parchment, for a couple months. But honestly, in my house it never lasts more than a day or so — my husband claims he’s “having just a nibble” and then half the pan’s gone. Story of my life.
Serving These Bars: Our Family Approach
If I’m feeling organized, I’ll wrap them individually for lunchboxes (rare moment!). OR, we just stack them on a plate and nibble with afternoon tea or crumble over some yogurt for breakfast. My daughter likes them slightly warm with a dollop of peanut butter, and I’m not gonna argue with that logic. Actually, I think they taste better the next day, if you can wait.
Tips I Wish I Paid Attention To (The Hard Way)
- Once I tried using all coconut oil and baked it super fast—came out oily and underdone, so yeah, don’t do that. Let the bars bake at their own pace.
- Spooning the dough into the pan is easier if you wet your hands just slightly. Otherwise, it sticks everywhere (including the cat. Don’t ask.)
- I tried to slice while still warm once — everything just mushed together. Wait until they’re cooled, no matter how impatient you (or your kids) get.
Real FAQ From People Who Actually Eat (and Bake) These
Q: Can I make these dairy-free?
Yep. Just use dairy-free chocolate chips (I like Enjoy Life) and swap in coconut or olive oil. Piece of cake—er, bar.
Q: Are these gluten-free?
Actually, they can be! Sub in a gluten-free flour blend, and make sure your oats are certified gluten-free (I learned that the hard way after a friend reacted to my regular batch — lesson learned.)
Q: Are these sweet enough for kids?
Most of the time, yes. But if your kids are used to super-sweet treats, you might want to toss in a bit more honey or even a sprinkle of brown sugar (as my mother-in-law quietly does behind my back; can’t really blame her).
Q: Where do you get good chocolate chips?
Honestly? I just grab whichever is on offer at the shop, but if you want to splurge, King Arthur Baking has some top ones. But Lidl or Aldi basics are fine, too!
(Digression: Am I the only one who stands at the pantry longer than strictly necessary, pretending to search for chocolate chips, while actually eating a handful?)
Hey, Want More Healthy Snack Ideas?
If you like these, I also make healthy banana muffins when I need a break from bars. And granola, if I’m feeling patient. Let me know what works for you!

Ingredients
- 2 cups rolled oats
- 3/4 cup almond butter
- 1/3 cup honey
- 1/4 cup unsweetened applesauce
- 1 teaspoon vanilla extract
- 1/2 teaspoon baking soda
- 1/4 teaspoon salt
- 1/2 cup dark chocolate chips
Instructions
-
1Preheat the oven to 350°F (175°C). Line an 8×8-inch baking pan with parchment paper.
-
2In a large bowl, mix together the almond butter, honey, applesauce, and vanilla extract until smooth.
-
3Add the rolled oats, baking soda, and salt to the wet mixture. Stir until well combined.
-
4Fold in the chocolate chips, reserving a few for sprinkling on top if desired.
-
5Spread the batter evenly in the prepared pan. Sprinkle any remaining chocolate chips on top.
-
6Bake for 25 minutes, or until the edges are golden and the center is set. Let cool completely before cutting into bars.
CLICK FOR NUTRITION INFO
↑
Approximate Information for One Serving
Serving Size:
1 serving
Calories:
180 caloriescal
Protein:
5gg
Fat:
8gg
Saturated Fat:
0g
Trans Fat:
0g
Cholesterol:
0mg
Sodium:
0mg
Potassium:
0mg
Total Carbs:
24gg
Fiber:
0g
Sugar:
0g
Net Carbs:
0g
Vitamin A:
0
Vitamin C:
0mg
Calcium:
0mg
Iron:
0mg
Nutrition Disclaimers
Number of total servings shown is approximate. Actual number of servings will depend on your preferred portion sizes.
Nutritional values shown are general guidelines and reflect information for 1 serving using the ingredients listed, not including any optional ingredients. Actual macros may vary slightly depending on specific brands and types of ingredients used.
To determine the weight of one serving, prepare the recipe as instructed. Weigh the finished recipe, then divide the weight of the finished recipe (not including the weight of the container the food is in) by the desired number of servings. Result will be the weight of one serving.
Did you make this recipe?
Please consider Pinning it!!