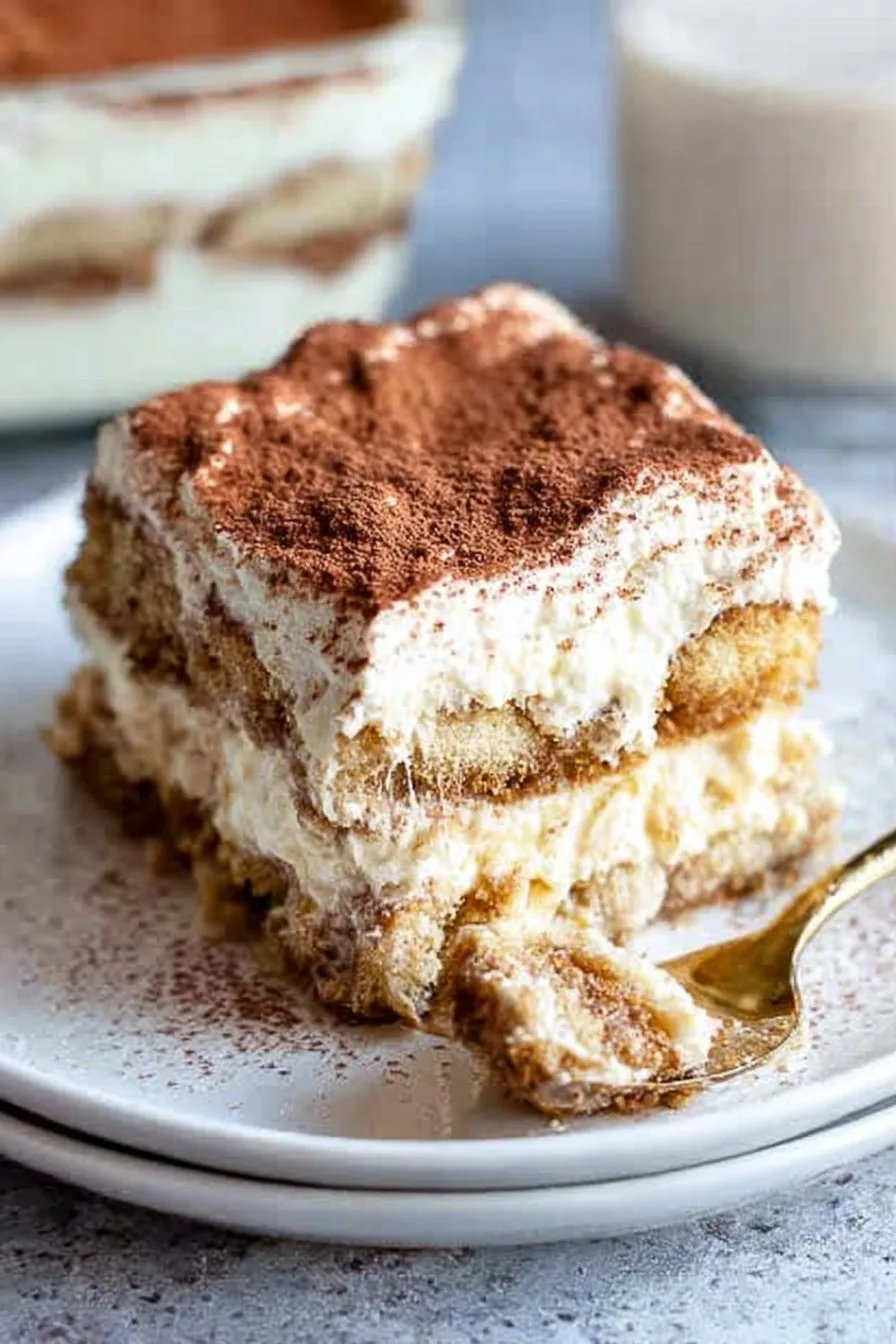
Let’s Talk Tiramisu (And That One Time I Spilled Coffee Everywhere)
Okay, so if you’ve ever tried to impress your friends with a “fancy” dessert but only realized halfway through you’re missing, I dunno, half the ingredients, you are definitely my people. My first attempt at tiramisu, I got more espresso on the countertop than in the bowl (and then my dog tried to “help clean”). Still, somehow, this dish manages to come out pretty great almost every time. Maybe it’s forgiving because, honestly, it’s mostly layering delicious things together, right? If you can stack blocks, you can make tiramisu. Trust me.
Why I Always Come Back to This Easy Tiramisu
I make this when I want to look like a hero after dinner but really don’t want to turn on the oven. My family goes absolutely bonkers for this—my cousin once threatened to lick the pan clean (he’s not a small guy). And making tiramisu feels a bit like cheating because people just assume it’s complicated. It isn’t. My only beef is when I forget to chill it long enough—patience is not my strong suit. But hey, even a slightly messy tiramisu is still tiramisu.
What You’ll Need (AKA, What’s Actually in My Pantry)
- 250g mascarpone cheese (but honestly, I’ve mixed in cream cheese in a pinch; it’s not classic, but it’s still dreamy)
- 3 large eggs, separated (I’ve used those cartons of egg whites before—works, but a bit sad looking)
- About 100g (half a cup) sugar
- 1 cup strong coffee, cooled (sometimes I use instant espresso, and nobody’s noticed—shh!)
- 2 tbsp coffee liqueur (like Kahlúa, but once I just used a splash of rum and it was quite fun)
- 200g ladyfingers (savoiardi) (my gran swore by the hard Italian ones, but I’ve made it with soft sponge fingers too when Tesco was out)
- Unsweetened cocoa powder, for dusting
Let’s Get Stuck In: The Nitty Gritty Directions
- First thing—brew your coffee and let it cool. If you’re using instant, all good, just make it strong. This is usually when I realize the kettle needs descaling but… priorities.
- Separate the eggs (I just use my hands, but if you’ve got one of those little gadgets, now’s the time). Beat the yolks with half the sugar till they’re pale and fluffy. Sometimes I get bored and just call it good enough.
- In another bowl, whip the egg whites and the rest of the sugar until you get stiff peaks (I mean, if it stands up and doesn’t slide, you’re golden). My arm gets tired, so I use a mixer, but you can go old-school if you’re feeling strong.
- Add the mascarpone to the yolk mix and blend gently until smooth. Then fold in the egg whites—don’t mash it, but don’t stress either. It always looks a bit lumpy at first, but it sorts itself out, promise.
- Mix your cooled coffee with the liqueur in a shallow bowl. Here’s the fun part—quickly dunk the ladyfingers. Don’t let them bathe too long or you’ll have soggy sadness. Line them up in your dish (I use a 20cm square, but, whatever fits).
- Spoon half the creamy stuff over the ladyfingers, spread it out (this is where I sneak a taste, every time), then repeat with another layer of dunked fingers and the rest of the cream.
- Cover and chill at least 4 hours (honestly, overnight is better, but I rarely make it that long). Right before serving, dust with cocoa. The more dramatic, the better. I use a little sieve but my mate just flicks it on with a spoon. Both work.
A Few Notes (Learned the Hard Way)
- If you over-soak the ladyfingers, you’ll get tiramisu soup—it’s… not ideal.
- I used to try and make it look perfect, but patchy layers taste just as good.
- Sometimes the cocoa gets clumpy on top if you’re heavy-handed. Actually, sifting is worth it.
Variations I’ve Tried (And One Fail…)
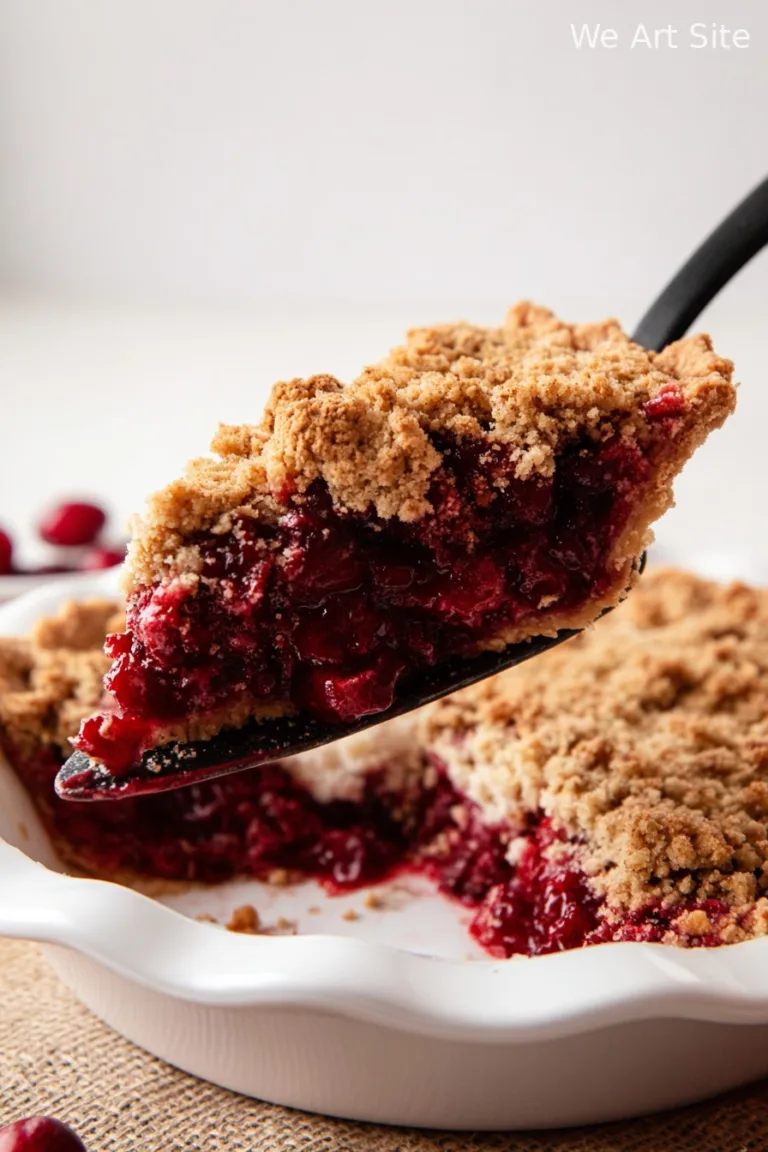
- Berries layered in—lovely in summer. But don’t use frozen ones, unless you like purple streaks everywhere (ask me how I know).
- I tried making it with oat-based cream cheese once for a vegan friend. Tasted good, but didn’t really set up, so maybe not the best for a first go.
- Added grated chocolate on top instead of cocoa—someone said it looked like dirt, but she ate three pieces.
About Equipment (Don’t Panic)
Look, a stand mixer is brilliant for whipping eggs, but I’ve done this with a £3 hand whisk and some determination. If you don’t have a fancy serving dish, a casserole tin or those takeaway containers work fine—just less Instagrammable.
How Long Can You Keep It?
In theory, covered in the fridge, it’s good for 2-3 days. But honestly, in my house, it’s vanished by breakfast the next morning. If you somehow have leftovers, they firm up a bit and taste even better—just don’t freeze it, it goes all weird.
How I Like to Serve It
We usually dig in straight from the pan (no shame), but if I’m feeling posh, I’ll dust each piece with extra cocoa right before serving. Sometimes I add a few chocolate curls for drama. My aunt always wants hers with a shot of espresso on the side—go wild.
Pro Tips (Learned from, Uh, Experience…)
- I once tried to speed-chill it in the freezer and ended up with a weird icy crust. Don’t do that.
- Don’t skimp on the chill time. I know, I know, but it’s so much better if you wait.
- If your mascarpone looks lumpy, just whisk it gently—it’ll usually smooth out.
FAQ (Yes, I Actually Get Asked These)
- Can I make easy tiramisu without eggs? I’ve done it with whipped cream instead—different, but still good! Maybe not as rich.
- What if I can’t find ladyfingers? I’ve used plain sponge cake, even digestives once (desperate times…). Just don’t soak them too long.
- Do I have to use alcohol? Nope! Just up the coffee, or add a splash of vanilla. The Kahlua is just for grown-up fun.
- Can I double this for a crowd? Oh absolutely. You’ll need a bigger dish (or two). And more patience for layering.
By the way, if you want to nerd out over tiramisu’s history, I love The Kitchn’s deep dive. And for UK folks, BBC Good Food’s recipe is a solid backup if you’re feeling a bit nervous. Also, if you’re after proper cocoa, I like Valrhona’s cocoa—it’s a bit extra, but lush.
Anyway, if you end up with cocoa powder all over your shirt and the dog underfoot, you’re doing it right. Enjoy your easy tiramisu, mate!
Ingredients
- 200 g ladyfinger biscuits
- 250 g mascarpone cheese
- 200 ml strong brewed coffee, cooled
- 3 large eggs, separated
- 80 g granulated sugar
- 2 tbsp cocoa powder
- 1 tsp vanilla extract
- A pinch of salt
Instructions
-
1Brew the coffee and let it cool to room temperature. Set aside.
-
2In a large bowl, whisk the egg yolks with sugar and vanilla extract until pale and creamy. Add mascarpone and mix until smooth.
-
3In a separate bowl, beat the egg whites with a pinch of salt until stiff peaks form. Gently fold the egg whites into the mascarpone mixture.
-
4Quickly dip each ladyfinger into the cooled coffee and arrange a layer in the bottom of a serving dish.
-
5Spread half of the mascarpone mixture over the ladyfingers. Repeat with another layer of dipped ladyfingers and the remaining mascarpone mixture.
-
6Dust the top with cocoa powder. Refrigerate for at least 2 hours before serving.
CLICK FOR NUTRITION INFO
↑
Approximate Information for One Serving
Serving Size:
1 serving
Calories:
320cal
Protein:
7 gg
Fat:
18 gg
Saturated Fat:
0g
Trans Fat:
0g
Cholesterol:
0mg
Sodium:
0mg
Potassium:
0mg
Total Carbs:
32 gg
Fiber:
0g
Sugar:
0g
Net Carbs:
0g
Vitamin A:
0
Vitamin C:
0mg
Calcium:
0mg
Iron:
0mg
Nutrition Disclaimers
Number of total servings shown is approximate. Actual number of servings will depend on your preferred portion sizes.
Nutritional values shown are general guidelines and reflect information for 1 serving using the ingredients listed, not including any optional ingredients. Actual macros may vary slightly depending on specific brands and types of ingredients used.
To determine the weight of one serving, prepare the recipe as instructed. Weigh the finished recipe, then divide the weight of the finished recipe (not including the weight of the container the food is in) by the desired number of servings. Result will be the weight of one serving.
Did you make this recipe?
Please consider Pinning it!!