Crispy, Tangy, and Way Too Easy: My Dill Pickle Story
So here’s the thing—every summer, when cucumbers are practically falling off the neighbor’s vines (cheers, Mrs. Miller), I end up making jar after jar of dill pickles. The first time, I messed up and basically made weird cucumber soup, but hey, we all start somewhere, right? Now, it’s become this quirky tradition—my kitchen smells like vinegar for days, and the kids try to snag pickles before they’ve even soaked. Oh, and a warning: if you leave them out to cool, don’t be surprised if a couple of spears vanish mysteriously. I blame the dog, but we all know it’s my partner.
Why You’ll Love This (Or At Least Eat the Whole Jar)
I make these when I need something crunchy to munch while the baseball game is on, or when the fridge looks a bit boring. My family goes crazy for them because, honestly, store pickles just taste flat (and sometimes weirdly sweet?). The best part? You control the tang, crunch, and even the garlic. Not to mention, chopping things up is pretty therapeutic after a long day—unless the kitchen is too hot, then I just grumble through it.
Here’s What You’ll Need: Ingredients
- 6-8 small pickling cucumbers (about a pound; sometimes I just use whatever cucumbers are on the clearance rack—works fine!)
- 2 cups water (filtered if your tap is, well, funky)
- 1 cup white vinegar (apple cider vinegar is okay too, but it does get a bit cloudy)
- 2 tablespoons kosher salt (table salt in a pinch, but it’s a bit stronger, so maybe go easy)
- 4 cloves garlic, smashed (sometimes I use just two if I’m feeling lazy)
- 1 tablespoon whole black peppercorns (or just a bunch of cracked black pepper if that’s what you have—see if you notice the difference, I usually don’t)
- 4-5 fresh dill sprigs (I’ve used dried dill a few times; it’s not quite the same but gets the job done when the store’s out)
- Optional: 1/2 teaspoon red pepper flakes (for a little kick; my uncle swears by this, but the kids aren’t fans)
- 1/2 teaspoon mustard seeds (to be honest, most of the time I skip this)
How To Make ‘Em (AKA: Directions)
- Wash & Slice: Scrub those cucumbers. I cut mine into spears, but rounds are cute too. Or leave ’em whole if you’re feeling wild. This is where I usually sneak a bite—plain cucumber, but somehow it tastes better just because I’m prepping pickles.
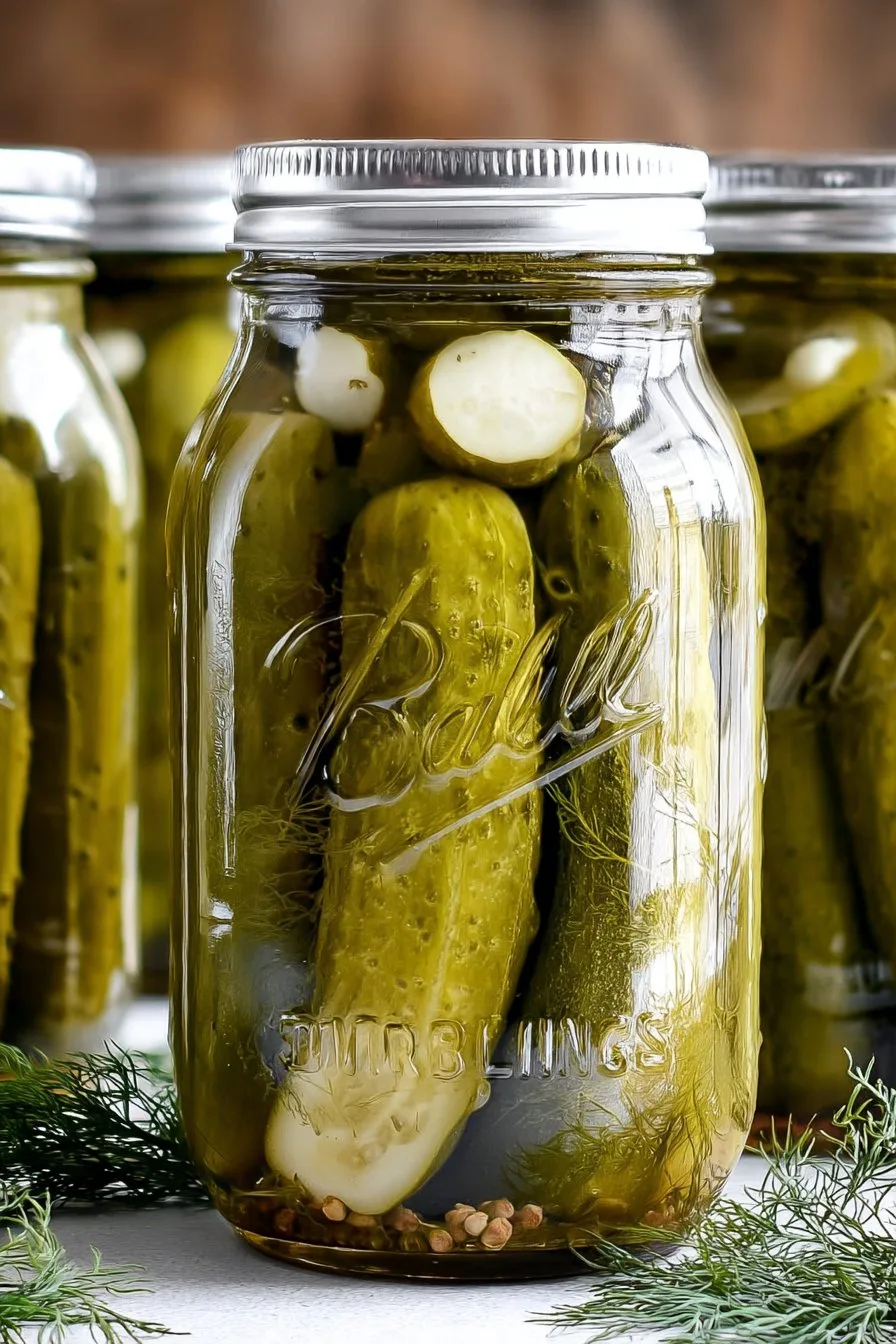
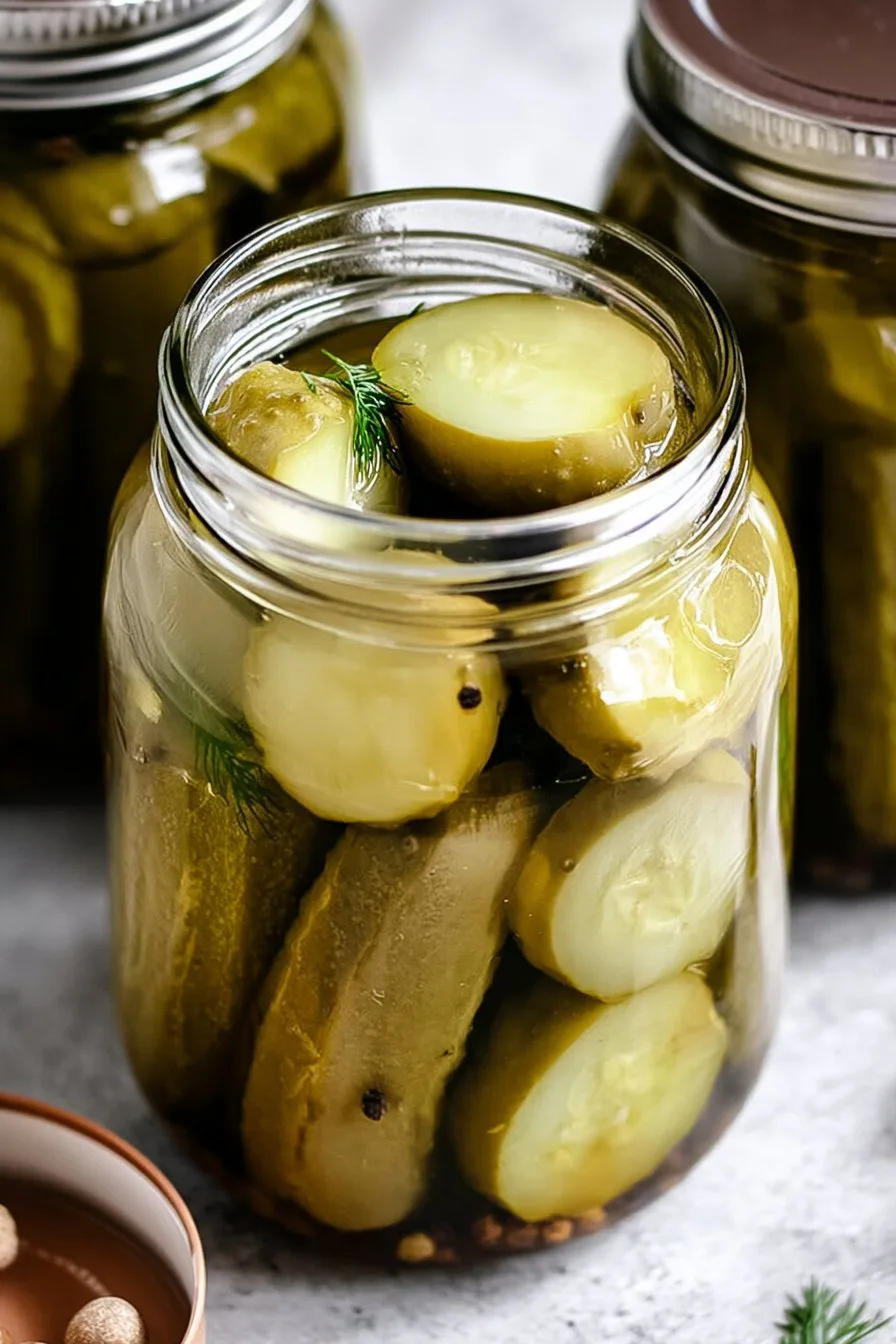
- Pack the Jars: In clean jars (I use old pasta sauce jars, don’t judge), stuff the cucumber pieces, dill sprigs, and garlic. Pack them in tight—nobody likes a floppy pickle.
- Mix the Brine: Combine water, vinegar, salt, peppercorns, mustard seeds, and red pepper flakes. I bring it to a boil in a small saucepan, stirring now and then. Don’t worry if the salt looks like it’s not dissolving at first—it’ll get there. Take it off the heat once it’s clear.
- Pour & Seal: Carefully pour the hot brine over the cucumbers, covering them completely. If you’re like me and spill a bit on the counter, just mop it up (the dog usually helps out, not recommended). Screw the lids on tightly.
- Cool & Chill: Let the jars cool to room temperature. Then pop them in the fridge. Here’s the hard bit: wait at least 24 hours before eating. Honestly, I think these taste better the next day, but I’ve been known to crack a jar after just a few hours.
A Few Notes From My Messy Kitchen
- Don’t worry if the brine goes a bit cloudy—apple cider vinegar does that.
- If your pickles go soft, it’s probably just from slicing them too thin or using overripe cucumbers. (Been there, not fun.)
- Actually, I find it works better if you wait a full 48 hours, but who has that kind of patience?
Variations I’ve Tried… And a Fail
- Spicy Pickles: Toss in a sliced jalapeño. Turns out, the seeds make it way spicier than you’d think, so go easy unless you like living on the edge.
- Garlic Bomb: Double the garlic if you’re not kissing anyone soon.
- Lemon Zest: Tried adding a bit once for a citrusy kick—honestly, didn’t love it. But you do you.
About the Equipment (You Don’t Need Fancy Stuff, Promise)
Most folks say you need mason jars, but I just use whatever jars I’ve got lying around. If you don’t have a saucepan, I’ve even microwaved the brine. Wasn’t my proudest moment, but it worked. Serious Eats has a nice breakdown if you want to geek out on jar types.
How to Store (If They Last That Long)
These keep in the fridge for up to two weeks, though honestly, in my house it never lasts more than a day. If you want to make a big batch, just double everything and use bigger jars. Food52’s got a clever trick for bigger batches, by the way.
How I Like to Serve ‘Em
On burgers, chopped in tuna salad, or just straight out of the jar with a fork (late at night, lights off, hoping no one catches me). My cousin likes them alongside grilled cheese—kind of weird, but it’s grown on me.
Pro Tips (a.k.a. My Mistakes So You Don’t Have To)
- I once tried rushing the chilling step and ended up with lukewarm, floppy pickles. Don’t do it—patience pays off here.
- Don’t skip smashing the garlic; whole cloves just aren’t the same.
Your Questions, Answered (The Ones I Actually Get)
- Can I use big salad cucumbers?
- Sure, but they can get a bit mushy. I sometimes scoop out the seeds if they’re big. Or just use what you’ve got—no big deal.
- Is the brine reusable?
- I mean, you could, but the pickles won’t be as punchy. I usually just start fresh. (Learned that the hard way, ha!)
- Do I have to refrigerate them?
- Yeah, unless you’re canning for real. These are quick pickles—fridge only. I tried leaving one out on the counter once… it got weird.
- Can I cut the salt?
- You can, but they don’t quite taste right. On second thought, maybe just make smaller batches if you’re watching salt.
- What if I don’t have fresh dill?
- Dried works, just use a bit less. Or skip it and call them garlic pickles. Nobody’s judging!
And just as a side note, did you know you can pickle almost anything? I once tried pickled green beans—tasted like crunchy salad dressing, honestly. But if you want more pickling ideas, The Kitchn has a bunch. Anyway, let me know if you try this—always love hearing what works (or doesn’t) for other folks!
Ingredients
- 4 cups sliced cucumbers
- 2 cups water
- 1 cup distilled white vinegar
- 2 tablespoons kosher salt
- 2 teaspoons granulated sugar
- 4 cloves garlic, peeled and smashed
- 8 sprigs fresh dill
- 1 teaspoon black peppercorns
- 1/2 teaspoon red pepper flakes (optional)
Instructions
-
1Wash and slice the cucumbers into spears or rounds as desired.
-
2In a medium saucepan, combine water, vinegar, kosher salt, and sugar. Bring to a boil, stirring until the salt and sugar dissolve. Remove from heat and let cool slightly.
-
3Place garlic, dill, black peppercorns, and red pepper flakes (if using) into clean glass jars.
-
4Pack the cucumber slices tightly into the jars.
-
5Pour the warm brine over the cucumbers, ensuring they are fully submerged. Let cool to room temperature.
-
6Seal the jars and refrigerate for at least 24 hours before enjoying for best flavor.
CLICK FOR NUTRITION INFO
↑
Approximate Information for One Serving
Serving Size:
1 serving
Calories:
25 caloriescal
Protein:
1gg
Fat:
0gg
Saturated Fat:
0g
Trans Fat:
0g
Cholesterol:
0mg
Sodium:
0mg
Potassium:
0mg
Total Carbs:
5gg
Fiber:
0g
Sugar:
0g
Net Carbs:
0g
Vitamin A:
0
Vitamin C:
0mg
Calcium:
0mg
Iron:
0mg
Nutrition Disclaimers
Number of total servings shown is approximate. Actual number of servings will depend on your preferred portion sizes.
Nutritional values shown are general guidelines and reflect information for 1 serving using the ingredients listed, not including any optional ingredients. Actual macros may vary slightly depending on specific brands and types of ingredients used.
To determine the weight of one serving, prepare the recipe as instructed. Weigh the finished recipe, then divide the weight of the finished recipe (not including the weight of the container the food is in) by the desired number of servings. Result will be the weight of one serving.
Did you make this recipe?
Please consider Pinning it!!