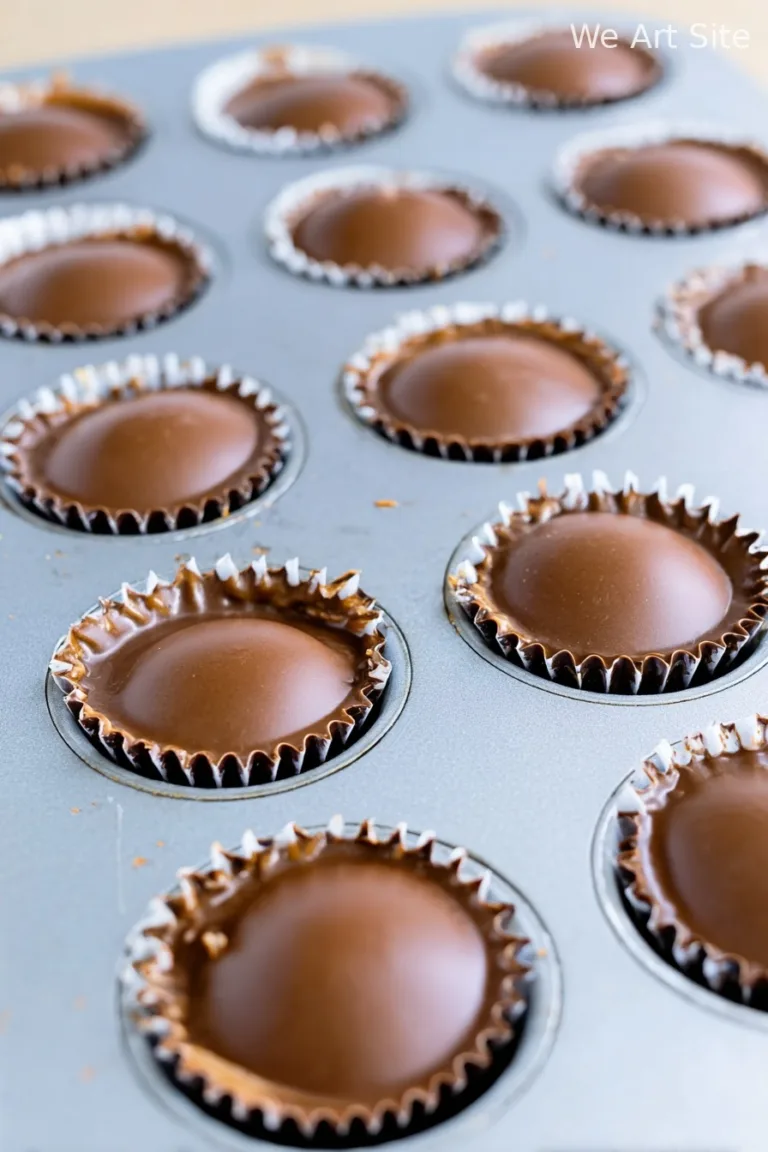
Hey y’all! Ready for a cookie that’s as beautiful as it is scrumptious? These Easy Hershey’s Red Velvet Blossoms Cookies are soft, chewy, and crowned with a melty Hershey’s Kiss. Whether you’re baking for the holidays, Valentine’s Day, or just need something sweet and festive, these Cookies knock it out of the park every time. They’re eye-catching, simple, and so fun to make—Let’s get cooking!

Why You’ll Love This
- Quick and easy – No chilling required!
- Rich, fudgy red velvet flavor with that classic tang.
- Perfect for gifting or parties due to their stunning look.
- Kid-friendly and super fun to assemble.
- Stay soft for days, making them great for make-ahead.
Ingredients
- 1 1/2 cups (192g) all-purpose flour
- 1/4 cup (22g) unsweetened cocoa powder
- 1 tsp baking powder
- 1/4 tsp baking soda
- 1/4 tsp salt
- 1/2 cup (113g) unsalted butter, softened
- 1 cup (200g) granulated sugar
- 1 large egg
- 2 tbsp (28ml) milk
- 1 tbsp (15ml) red food coloring
- 1 tsp vanilla extract
- 36 Hershey’s Kisses (milk chocolate, unwrapped)
- Additional granulated sugar for rolling (about 1/4 cup)
Step-by-Step Directions
Step 1: Prep Everything
Preheat your oven to 350°F (175°C) and line two baking sheets with parchment paper. Unwrap all Hershey’s Kisses and set aside.
Step 2: Mix the Dry Ingredients
In a medium bowl, whisk together the flour, cocoa powder, baking powder, baking soda, and salt. Set aside.
Step 3: Cream Butter and Sugar
In a large bowl, beat the softened butter and granulated sugar together with a hand mixer (or stand mixer) until light and creamy, about 2-3 minutes.
Step 4: Add Wet Ingredients
Beat in the egg, milk, red food coloring, and vanilla extract until smooth and fully combined.
Step 5: Combine Wet and Dry
Gradually add the dry ingredients to the wet mixture, stirring just until a soft dough forms. Don’t overmix!
Step 6: Shape and Coat
Scoop dough into 1-inch balls (about 1 tablespoon each), roll in granulated sugar, and place them 2 inches apart on prepared baking sheets.
Step 7: Bake
Bake Cookies for 8-10 minutes, until they’re set around the edges but still soft in the middle.
Step 8: Add Kisses
Immediately press a Hershey’s Kiss into the center of each cookie. Let cool on the sheet for 5 minutes, then transfer to a wire rack to cool completely.
Notes
- If dough is sticky, chill for 15 minutes before rolling.
- Don’t overbake—the Cookies should be slightly underdone for the best chewy texture.
- Use gel food coloring for a brighter, bolder red hue.

Variations
- Swap Hershey’s Kisses for white chocolate or dark chocolate varieties.
- Mix in mini chocolate chips for extra fudgy bites.
- Use heart-shaped Kisses for Valentine’s Day flair!
Required Equipment
- Hand or stand mixer
- Mixing bowls
- Baking sheets
- Parchment paper
- Wire rack
- Measuring cups & spoons
Storage Instructions
Store cookies in an airtight container at room temperature for up to 5 days. For longer storage, freeze (wrapped tightly) for up to 2 months. Allow to come to room temperature before enjoying for best texture.
Serving Suggestions & Pairings
- Serve with a tall glass of cold milk or a cup of hot cocoa.
- Pair with vanilla ice cream for a fun dessert sandwich.
- Include on holiday cookie trays with snickerdoodles or chocolate crinkles.
Pro Tips
- Roll dough balls evenly for uniform baking and perfect appearance.
- Press Kisses in gently as soon as the cookies come out of the oven for the best “blossom” look.
- Let cookies cool completely before storing to avoid melty chocolates and condensation.
FAQ
Can I make these cookies ahead of time?
Absolutely! They stay fresh and chewy for several days, and you can prep the dough up to 48 hours in advance (keep chilled).
Can I use a red velvet cake mix instead of making the dough from scratch?
You can! Substitute with a red velvet cake mix, following the package instructions for cookies, then proceed with rolling in sugar and topping with Hershey’s Kisses.
My cookies turned out dry—what went wrong?
This usually means they were overbaked. Make sure to pull them out when they’re still soft in the center and allow them to finish setting on the baking sheet.
Prep Time: 15 minutes
Cook Time: 10 minutes
Total Time: 25 minutes
Yield: 36 cookies
Ingredients
- 1 1/2 cups all-purpose flour
- 1/3 cup unsweetened cocoa powder
- 1 teaspoon baking powder
- 1/4 teaspoon salt
- 1/2 cup unsalted butter, softened
- 3/4 cup granulated sugar
- 1 large egg
- 1 tablespoon red food coloring
- 1 teaspoon vanilla extract
- 24 Hershey’s Kisses, unwrapped
Instructions
-
1Preheat the oven to 350°F (175°C) and line baking sheets with parchment paper.
-
2In a bowl, whisk together the flour, cocoa powder, baking powder, and salt.
-
3In a large bowl, beat the butter and sugar until light and fluffy. Add the egg, red food coloring, and vanilla extract, and mix until combined.
-
4Gradually add the dry ingredients to the wet ingredients, mixing until a soft dough forms.
-
5Roll tablespoons of dough into balls and place on the prepared baking sheets. Bake for 9–10 minutes, until set.
-
6Immediately press a Hershey’s Kiss into the center of each cookie. Cool on the baking sheet for 5 minutes, then transfer to a wire rack to cool completely.
CLICK FOR NUTRITION INFO
↑
Approximate Information for One Serving
Serving Size:
1 serving
Calories:
110 caloriescal
Protein:
1gg
Fat:
6gg
Saturated Fat:
0g
Trans Fat:
0g
Cholesterol:
0mg
Sodium:
0mg
Potassium:
0mg
Total Carbs:
14gg
Fiber:
0g
Sugar:
0g
Net Carbs:
0g
Vitamin A:
0
Vitamin C:
0mg
Calcium:
0mg
Iron:
0mg
Nutrition Disclaimers
Number of total servings shown is approximate. Actual number of servings will depend on your preferred portion sizes.
Nutritional values shown are general guidelines and reflect information for 1 serving using the ingredients listed, not including any optional ingredients. Actual macros may vary slightly depending on specific brands and types of ingredients used.
To determine the weight of one serving, prepare the recipe as instructed. Weigh the finished recipe, then divide the weight of the finished recipe (not including the weight of the container the food is in) by the desired number of servings. Result will be the weight of one serving.
Did you make this recipe?
Please consider Pinning it!!