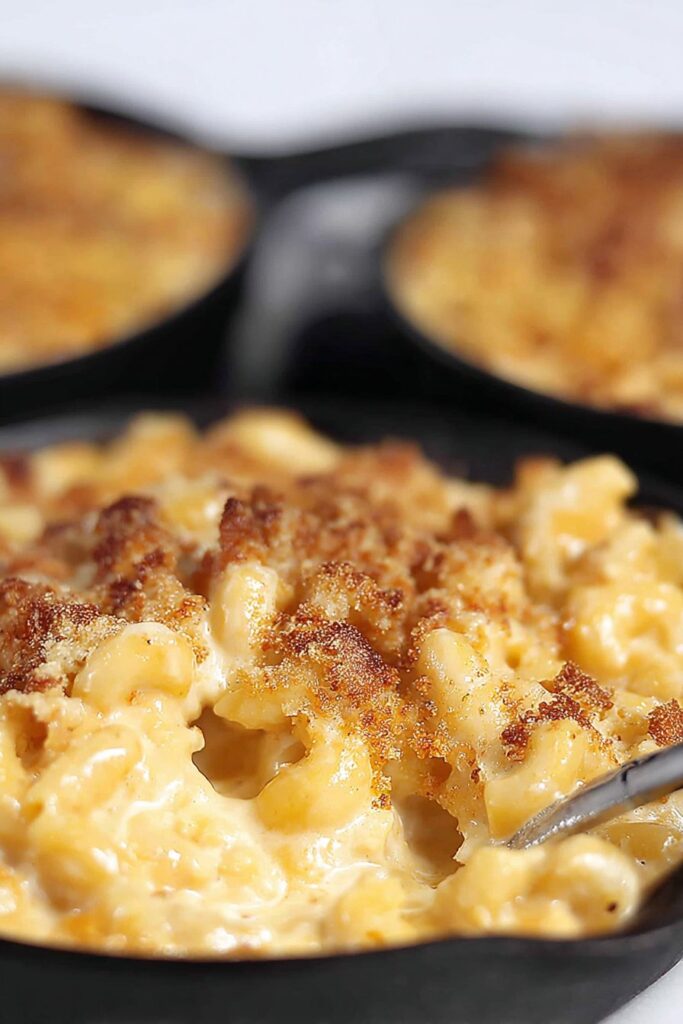
If you ever want to know what happiness in a casserole dish looks like, I swear this creamy baked mac and cheese is it. I first made it on a rainy Thursday (because, let’s be honest, Thursdays need help), and I’ve been hooked ever since. Once, my nephew tried to sneak a third helping and I pretended not to notice—mainly because I was already scraping the crispy edges off the pan for myself. Anyway, if you’re expecting something fancy, sorry mate—this is more like the woolly jumper of recipes: warm, reliable, and a bit lumpy in spots, but that’s part of the charm.
Why You’ll Love This Mac and Cheese (No, Seriously)
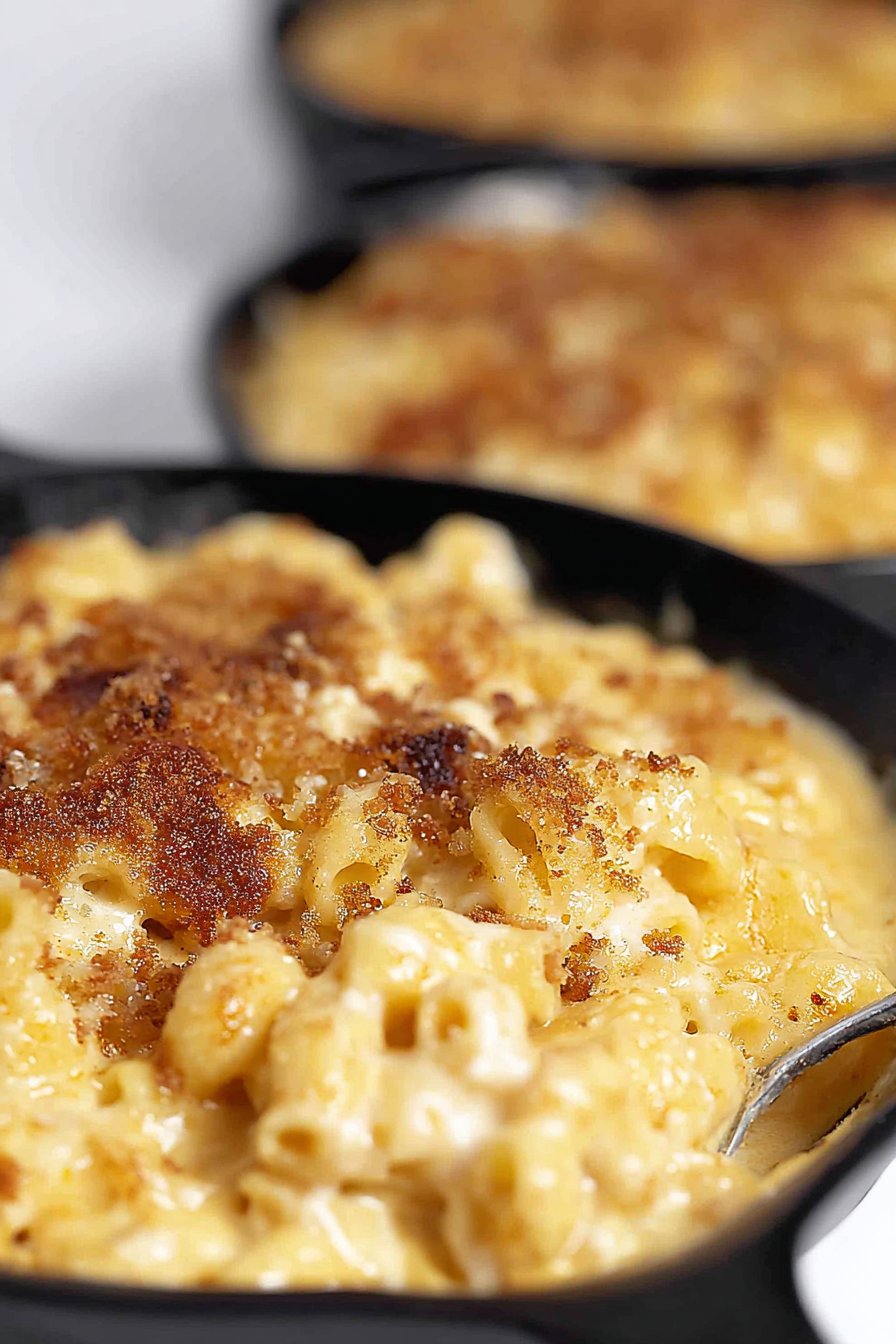
I make this whenever my brain is fried and I need something that feels like a hug (also, it’s the only way my partner eats broccoli without drama, if I throw a handful in). My family goes wild for this because the sauce is creamy without being gloopy, and—here’s my secret—I sometimes double the cheese. Oh, and if you’ve ever had a baked mac and cheese that’s all dried out and sad on top? Yeah, I’ve been there, too. Not fun. This one stays melty, with those little golden pockets of cheese you want to dive into, spoon-first.
What You’ll Need (Plus a Few Cheeky Swaps)
- 400g (about 14oz) dried macaroni (or penne, or, honestly, whatever’s living in the cupboard)
- 2 1/2 cups whole milk (I sometimes use 1 cup cream and 1 1/2 cups milk if the fridge is looking fancy)
- 1/4 cup (half a stick) butter (Grandma always insisted on salted, but I’ll use unsalted and just throw in extra salt)
- 1/4 cup all-purpose flour (plain flour, for my UK pals)
- 2 cups shredded sharp cheddar (the stronger, the better—you can sub half for Gruyère if you’re feeling posh)
- 1 cup shredded mozzarella (makes it gooey, but Monterey Jack works too)
- 1/2 cup grated Parmesan (the real stuff is amazing, but the pre-grated shaker isn’t a crime either)
- 1 1/2 tsp mustard powder (or a generous squeeze of Dijon in a pinch)
- 1/2 tsp smoked paprika (optional, but it makes a difference)
- Salt and black pepper to taste
- 1 cup panko breadcrumbs (or just blitz some stale bread—no judgment)
How to Make It (The Laid-Back, Slightly Messy Way)
- First, preheat your oven to 200°C (390°F), or whatever your oven’s “hot but not incinerating” setting is. Grease a big baking dish—I use my old glass one, which has seen better days.
- Boil the pasta in very salty water until just barely al dente. (You want it still a bit firm; trust me, it keeps things from going mushy.) Drain and set aside. Don’t rinse it! The starch helps the sauce stick later.
- In a large saucepan, melt the butter over medium heat. Stir in the flour and cook for about 2 minutes, whisking until it looks a bit like wet sand (don’t panic if it clumps a bit—just keep whisking, it’ll smooth out).
- Gradually pour in the milk, whisking the whole time. I always end up splashing some, but that’s part of the fun. Cook, stirring constantly, until it thickens—about 5–7 minutes—it should coat the back of a spoon. (This is usually where I sneak a taste, because, why not?)
- Take the pot off the heat and stir in the mustard powder, paprika, most of the cheddar, mozzarella, and Parmesan (save a handful of each cheese for topping). Season generously with salt and pepper. If it looks too thick, just splash in a bit more milk.
- Dump the cooked pasta into the sauce and stir to coat—don’t worry if it looks a bit weird at this point. It always does. Pour everything into your greased baking dish.
- Mix the panko with a tiny drizzle of olive oil (or melted butter, but I’m usually too impatient), then scatter over the top along with the reserved cheese. More is more, in this case.
- Bake uncovered for about 25–30 minutes, until the top is golden and bubbling, and you can’t resist poking at it with a fork.
- Let it cool for at least 10 minutes before serving. (I never wait the full 10, but that’s why I always burn my tongue. You’d think I’d learn…)
Notes From the Trenches (Aka, My Kitchen)
- If you use pre-shredded cheese, it won’t melt as smoothly, but it’s way quicker, so pick your battles.
- Don’t worry if the sauce seems thin before baking—it thickens up a lot.
- Actually, I find it works better if you undercook the pasta by a minute or so, especially if you like it with some bite!
- The crispy corner bits are always the best; I sometimes sneak them before anyone notices.
Variations I’ve Tried (Some Winners, Some Not So Much)
- Adding steamed broccoli florets? Works a treat—kids barely notice them.
- Chopped cooked bacon: Yes, please.
- Once I tried crumbling blue cheese on top—regret. Only do this if you’re seriously into blue cheese (I am not, apparently).
- Hot sauce mixed into the sauce for a kick—pretty good, but start small unless you’re feeling brave.
Stuff You’ll Need (But Don’t Panic if You Don’t Have It All)
- Large saucepan
- Baking dish (any ovenproof pan will do, even a Dutch oven in a pinch)
- Whisk (I’ve used a fork when I couldn’t find mine—just takes more elbow grease)
- Colander (or just tip the pasta out carefully—over the sink, obviously)
How to Store It (If It Even Lasts That Long)
Pop leftovers in an airtight container and keep in the fridge up to 3 days. Reheat in the oven or microwave (a splash of milk helps it loosen up). Though, honestly, in my house it never lasts more than a day! Oh, and if you want to freeze it, wrap it well and it’ll keep for a month or two, but I think the texture isn’t quite as dreamy after thawing.
How I Like to Serve It (Just a Suggestion)
This is a full meal on its own, but sometimes I serve it with a crisp green salad (mainly to feel virtuous). My uncle insists on ketchup, which feels borderline criminal, but families are weird. On chilly nights, I’ll just plonk the dish in the middle of the table and let everyone dive in. No airs or graces needed.
Lessons Learned: My Pro Tips (So You Don’t Make My Mistakes)
- I once tried rushing the bechamel sauce and ended up with lumpy bits. Take the time to whisk, it’s worth it.
- Don’t skip the resting time after baking (I know, I know)—it really does help everything set.
- Actually, adding more cheese on top is always a good idea—ignore anyone who says otherwise.
FAQ (Yes, People Actually Ask These!)
- Can I use gluten-free pasta?
Yep, just watch the cooking time, as some gluten-free types go mushy if you look at them funny. - Is it okay to use evaporated milk?
Sure thing. I’ve done it when I ran out of regular milk, and it’s a bit richer, but still tasty. - Do I have to bake it?
I mean, you could just eat it once it’s sauced, but baking gives you those crispy bits—don’t cheat yourself. - What’s the best cheese combo?
I’m partial to sharp cheddar with a smidge of Gruyère, but you do you. - Can I add veggies?
Absolutely—peas, spinach, broccoli, whatever’s lurking in the fridge. - Where do you get your cheese?
Honestly, just the supermarket, but sometimes I order from Murray’s Cheese when I’m feeling flush. For recipe ideas, Smitten Kitchen’s mac and cheese is also fab.
Well—if you actually read all this, hats off to you. Next time I’ll tell you about the time I accidentally dropped half a packet of chili flakes in the pan and, let’s just say, invented a whole new kind of mac and cheese. But that’s a story for another day. Happy cooking!

Ingredients
- 12 oz elbow macaroni
- 3 cups shredded sharp cheddar cheese
- 1 cup shredded mozzarella cheese
- 1/4 cup unsalted butter
- 1/4 cup all-purpose flour
- 3 cups whole milk
- 1/2 cup heavy cream
- 1 teaspoon salt
- 1/2 teaspoon black pepper
- 1/2 teaspoon paprika
- 1 cup panko breadcrumbs
Instructions
-
1Preheat your oven to 350°F (175°C). Grease a 9×13-inch baking dish.
-
2Cook the elbow macaroni according to package instructions until al dente. Drain and set aside.
-
3In a large saucepan, melt the butter over medium heat. Whisk in the flour and cook for 1-2 minutes until lightly golden.
-
4Gradually whisk in the milk and heavy cream. Cook, stirring constantly, until the mixture thickens, about 4-5 minutes.
-
5Remove from heat and stir in the cheddar and mozzarella cheeses until melted. Season with salt, pepper, and paprika.
-
6Combine the cooked macaroni with the cheese sauce and pour into the prepared baking dish. Sprinkle panko breadcrumbs evenly on top.
-
7Bake for 25-30 minutes, or until the top is golden and bubbly. Let cool slightly before serving.
CLICK FOR NUTRITION INFO
↑
Approximate Information for One Serving
Serving Size:
1 serving
Calories:
520 caloriescal
Protein:
22gg
Fat:
28gg
Saturated Fat:
0g
Trans Fat:
0g
Cholesterol:
0mg
Sodium:
0mg
Potassium:
0mg
Total Carbs:
46gg
Fiber:
0g
Sugar:
0g
Net Carbs:
0g
Vitamin A:
0
Vitamin C:
0mg
Calcium:
0mg
Iron:
0mg
Nutrition Disclaimers
Number of total servings shown is approximate. Actual number of servings will depend on your preferred portion sizes.
Nutritional values shown are general guidelines and reflect information for 1 serving using the ingredients listed, not including any optional ingredients. Actual macros may vary slightly depending on specific brands and types of ingredients used.
To determine the weight of one serving, prepare the recipe as instructed. Weigh the finished recipe, then divide the weight of the finished recipe (not including the weight of the container the food is in) by the desired number of servings. Result will be the weight of one serving.
Did you make this recipe?
Please consider Pinning it!!