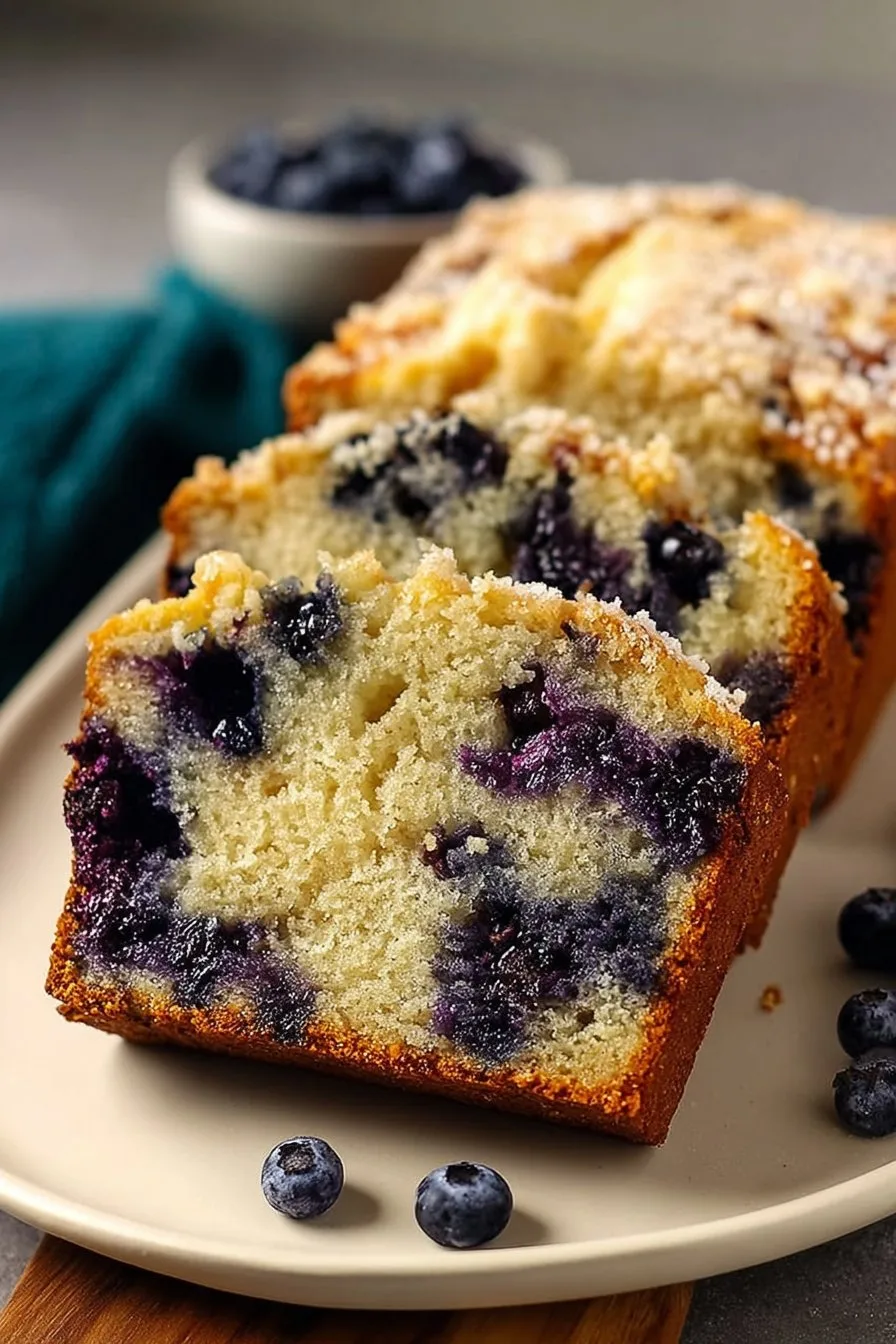
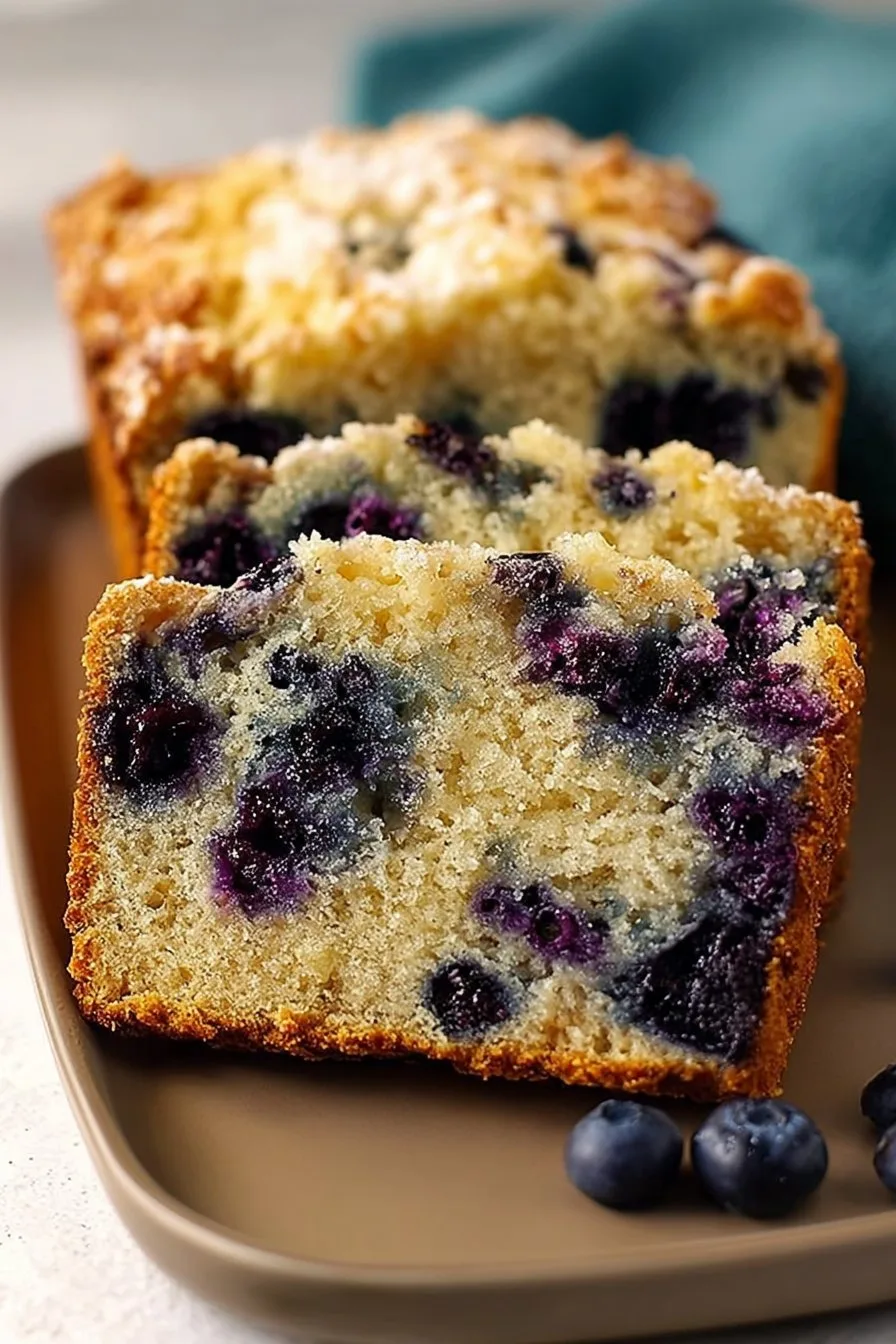
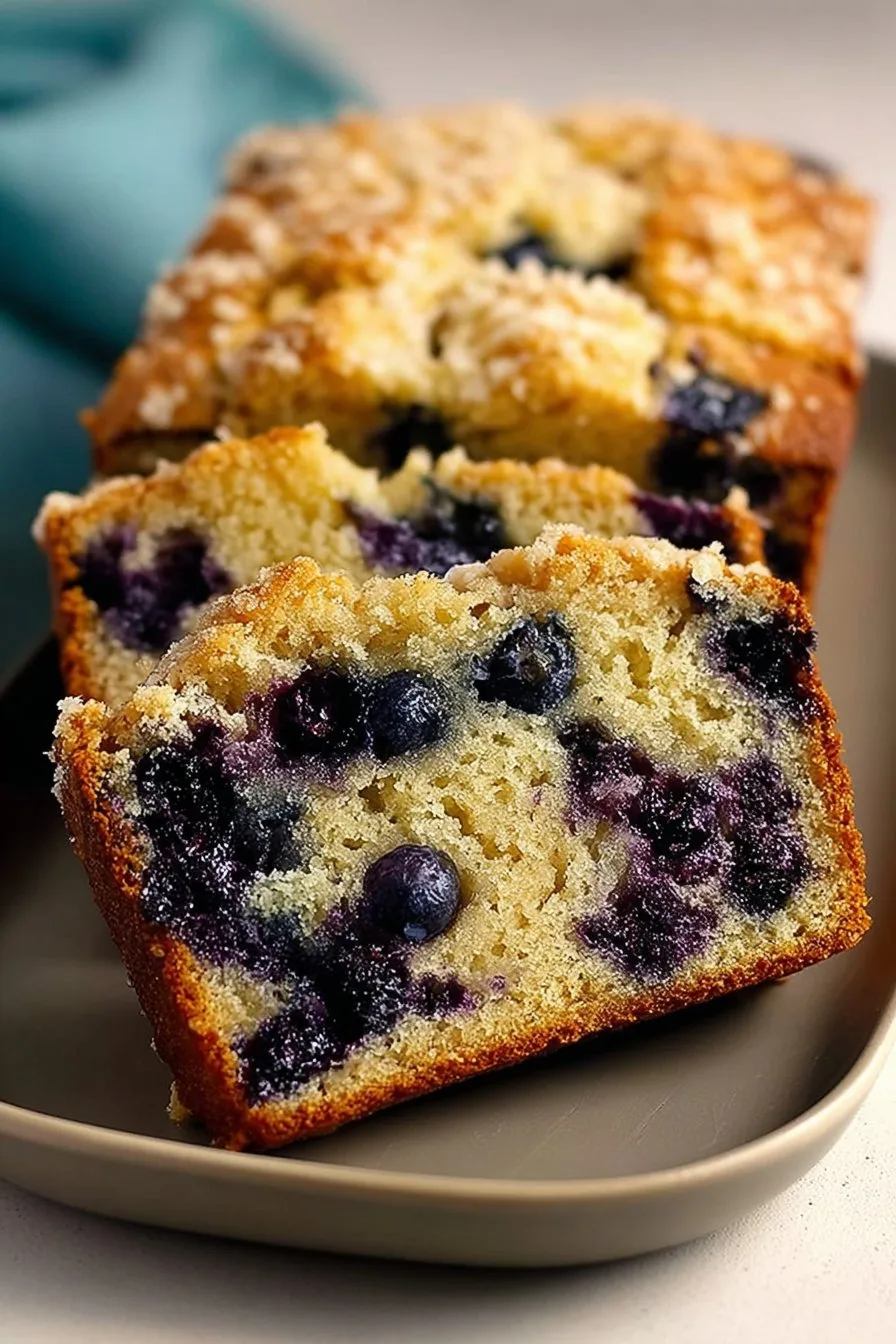
Let Me Tell You About This Blueberry Muffin Bread
So, last winter, I got caught in one of those classic “I’ve got blueberries but no muffin tins” situations (as you do). The kitchen was a bit of a mess, my coffee was getting cold, and I decided, why not just bake the whole thing in a loaf pan? Hence, fluffy blueberry muffin bread was born in my kitchen. There’s something borderline magical about the smell—like your favorite bakery just moved in next door. Sometimes when I bake this, I’m almost tempted to hide a piece for myself before my lot gets to it. Oh, and there was this one time I accidentally left out the sugar (don’t ask, long story involving a phone call and a cat) but trust me—don’t do that.
Why You’ll Love This (Or at Least, Why I Do)
I make this on lazy Sunday mornings, especially if it’s raining and I can’t be bothered with fancy brunch stuff. My family goes nuts for this because it’s got that perfect soft crumb and, honestly, it tastes amazing warm with a knob of butter (or a scoop of vanilla ice cream if you’re feeling cheeky). It’s also a great way to use up those blueberries that have seen better days. Full disclosure: it took me a few tries to get it not-dense, but now I’ve nailed it (most days—baking’s weird like that).
Here’s What You’ll Need (And Some Swaps I Use)
- 2 cups all-purpose flour (my grandmother swears by King Arthur, but any is fine—sometimes I use half whole wheat if I’m pretending to be healthy)
- 1 cup sugar (or light brown sugar for a bit of caramel flavor—honestly, I can’t always tell the difference)
- 2 tsp baking powder
- 1/2 tsp baking soda (don’t leave this out, or your bread will be sad and flat)
- 1/2 tsp salt (I use fine sea salt mostly because it’s what’s in the cupboard)
- 1/2 cup (1 stick) unsalted butter, melted and cooled a tad (I have snuck in margarine in a pinch, no shame)
- 2 large eggs (room temp if you remember, I rarely do)
- 3/4 cup buttermilk (or just add a splash of lemon juice to milk if you’re out, which I usually am)
- 1 tsp vanilla extract (I’ve even used almond extract once—kinda nice)
- 1 1/2 cups fresh or frozen blueberries (don’t bother thawing frozen, just toss them in)
- Optional: zest of 1 lemon for a zingy twist
Directions (With Plenty of Detours)
- Preheat your oven to 350°F (180°C). Grease a standard loaf pan or just line it with parchment if you’re lazy like me—the easier the clean up, the better.
- In a big bowl, whisk together the flour, sugar, baking powder, baking soda, and salt. This is where I sometimes realize I forgot one of the powders, so double check your lineup.
- In another bowl, whisk the eggs, then add in your melted butter (make sure it’s not piping hot or you’ll get scrambled eggs, and trust me, you don’t want that), buttermilk, and vanilla.
- Pour the wet stuff into the dry and gently fold. Don’t overmix here—just go until it’s mostly combined. It might look lumpy and weird, but that’s normal. Actually, I find it works better if you stop while it’s still streaky.
- Toss the blueberries with a spoonful of flour (especially if they’re frozen—it helps keep them from sinking). Fold those in, along with lemon zest if you’re feeling fancy.
- Scrape the batter into your loaf pan. I always sneak a blueberry or two at this point (quality control, obviously).
- Bake for about 55–65 minutes, or until it’s golden and a toothpick comes out with just a few moist crumbs. Some days it’s done at 50, others it needs the full hour—don’t ask me why.
- Let it cool in the pan for 15 minutes, then run a knife around the edge and tip it out to cool fully. Or not fully—I almost always cut it while it’s still warm.
Notes From My Kitchen Disasters (And Successes)
- I once used self-raising flour—it was weirdly fluffy but kinda bland. Plain flour + baking powder works best for me.
- If your loaf sticks, just eat the broken bits out of the pan—no one will know (unless you blog about it).
- Actually, I think this tastes better the next day, if you can stand to wait.
- Don’t panic if the blueberries bleed and turn patches of the bread purple. It’s rustic, that’s all.
Experiments I’ve Tried (Some More Successful Than Others)
- Swapped in raspberries—delicious but a bit tart, so maybe add extra sugar.
- Tried chocolate chips instead of berries—my kids loved it, but it lost that muffin vibe.
- Once attempted using coconut oil instead of butter—made it dense, like a doorstop. Wouldn’t recommend!
What If You Don’t Have a Loaf Pan?
Look, I’ve baked this in a cake tin before (round one, 8-inch, I think). It worked fine, though you need to check it earlier as it cooks faster. Or just make muffins—same batter, just shorter bake time. I’ve even used a casserole dish once, and it turned out…well, edible.
How Long Does It Keep? (Not That It Ever Lasts)
In theory, this’ll keep in an airtight container for 2–3 days at room temp, or up to a week in the fridge. Though honestly, in my house it never lasts more than a day! If you do have leftovers, pop a slice in the toaster for a treat.
How We Serve It (Family Quirks Included)
I like it warm, plain, but my partner insists on slathering it with salted butter—go figure. My youngest likes maple syrup on his slice (I know, wild). Sometimes for brunch, I’ll serve it with a dollop of Greek yogurt and extra berries on top.
Things I’ve Learned (Sometimes the Hard Way)
- Don’t rush creaming the butter with the sugar—if you do, the crumb’s all off.
- Let it cool a bit before slicing, or it crumbles everywhere. I have zero patience for this, so I usually have a messy first slice.
- On second thought, never use old baking powder. Flat bread is just sad.
Questions I’ve Actually Been Asked (And My Honest Answers)
- Can I use frozen blueberries? Yep! Don’t even bother thawing them—just toss in extra flour as mentioned. They do make the batter a little blue, but that’s half the charm.
- What’s the best way to make it dairy free? I’ve used coconut milk and vegan butter. Worked surprisingly well—just be gentle with the mixing. Here’s a good guide on alternative milks I reference sometimes.
- Could I leave out the eggs? Hmm, I haven’t tried it, but a friend swears by using a flax egg. It’ll be a bit denser, though.
- Can I double it? Sure! But use two pans, not one big one. Trust me; the middle won’t bake otherwise (been there, done that, had to eat crusty edges and gooey middle).
- What if I want it less sweet? Just cut the sugar by 1/4 cup. Or check out this recipe with a crumbly topping if you want a breakfast vibe.
Oh, small tangent: if you ever find yourself with too many blueberries, try freezing them on a tray first so you don’t get one giant blue ice cube. Learned that one the hard way. Anyway, happy baking! If you have any weird substitutions or disasters, I’d love to hear them—nothing like a kitchen story to brighten my day.
Ingredients
- 2 cups all-purpose flour
- 1 cup granulated sugar
- 2 teaspoons baking powder
- 1/2 teaspoon baking soda
- 1/2 teaspoon salt
- 2 large eggs
- 1/2 cup unsalted butter, melted
- 1 cup whole milk
- 1 teaspoon vanilla extract
- 1 1/2 cups fresh blueberries
Instructions
-
1Preheat the oven to 350°F (175°C). Grease and flour a 9×5-inch loaf pan.
-
2In a large bowl, whisk together the flour, sugar, baking powder, baking soda, and salt.
-
3In a separate bowl, beat the eggs, then add melted butter, milk, and vanilla extract. Mix well.
-
4Add the wet ingredients to the dry ingredients and stir until just combined. Gently fold in the blueberries.
-
5Pour the batter into the prepared loaf pan and smooth the top. Bake for 50 minutes, or until a toothpick inserted into the center comes out clean.
-
6Allow the bread to cool in the pan for 10 minutes, then transfer to a wire rack to cool completely before slicing.
CLICK FOR NUTRITION INFO
↑
Approximate Information for One Serving
Serving Size:
1 serving
Calories:
260 caloriescal
Protein:
5gg
Fat:
8gg
Saturated Fat:
0g
Trans Fat:
0g
Cholesterol:
0mg
Sodium:
0mg
Potassium:
0mg
Total Carbs:
41gg
Fiber:
0g
Sugar:
0g
Net Carbs:
0g
Vitamin A:
0
Vitamin C:
0mg
Calcium:
0mg
Iron:
0mg
Nutrition Disclaimers
Number of total servings shown is approximate. Actual number of servings will depend on your preferred portion sizes.
Nutritional values shown are general guidelines and reflect information for 1 serving using the ingredients listed, not including any optional ingredients. Actual macros may vary slightly depending on specific brands and types of ingredients used.
To determine the weight of one serving, prepare the recipe as instructed. Weigh the finished recipe, then divide the weight of the finished recipe (not including the weight of the container the food is in) by the desired number of servings. Result will be the weight of one serving.
Did you make this recipe?
Please consider Pinning it!!